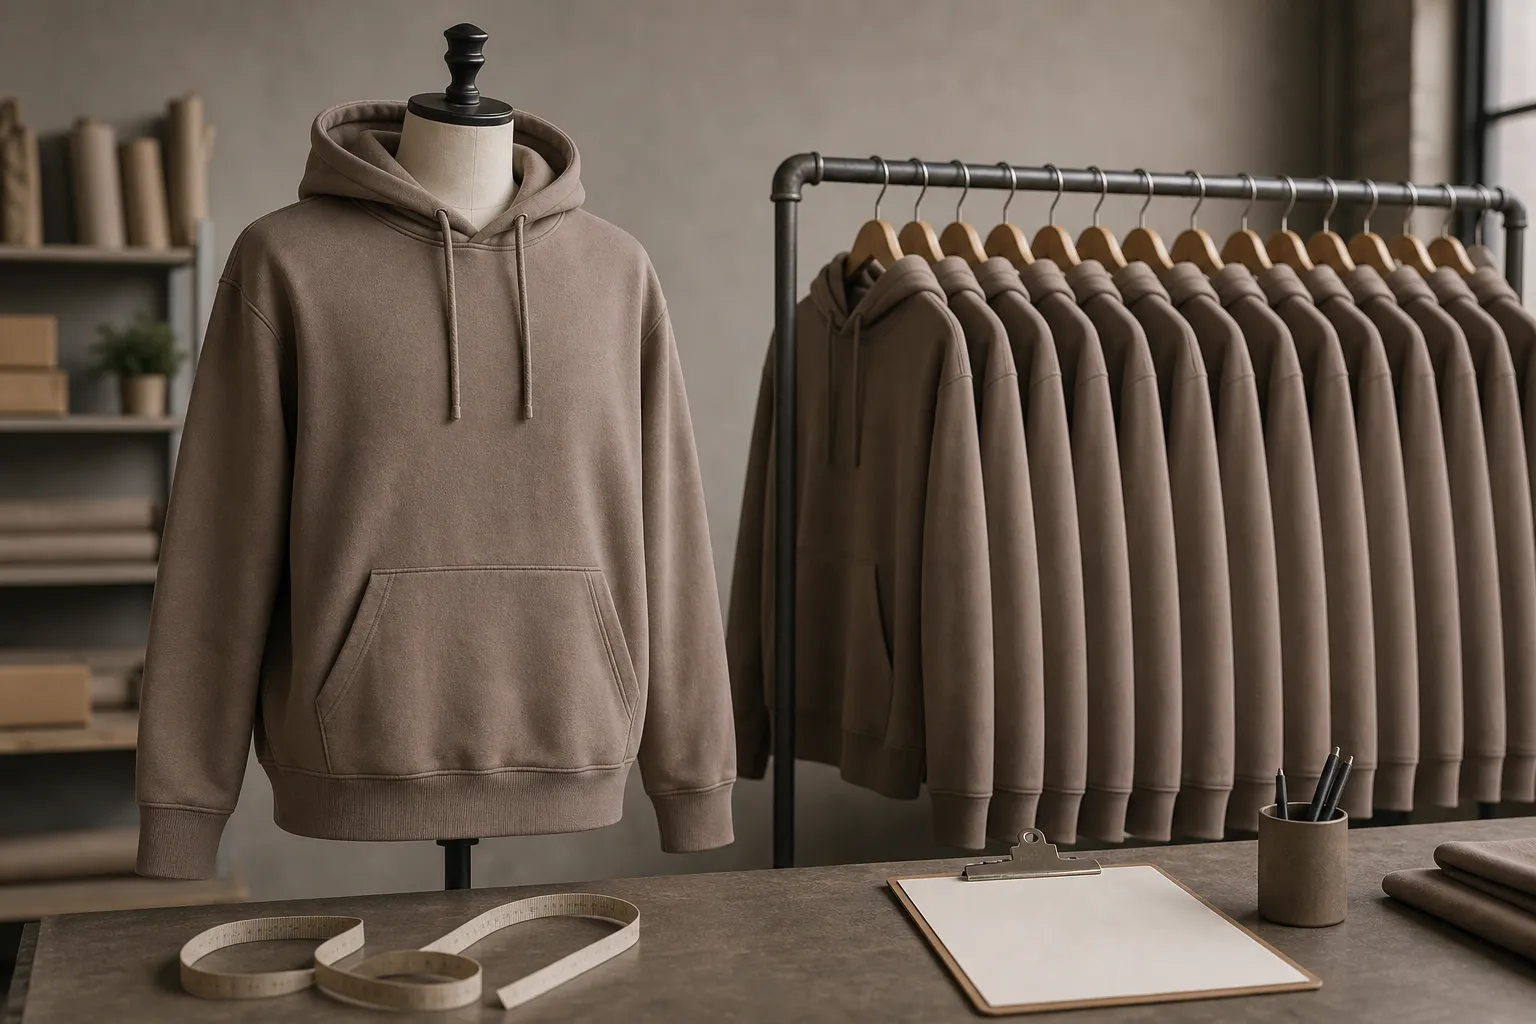
Garment Sample Approval Checklist: One Comment Sheet, One Revision Trail
Inspect a garment sample in 15 steps, then carry every measured, photo-linked comment through response, verification and closure without losing the history.
The sample stage turns a design into an approval standard. What you accept can move toward bulk production. What you miss may be repeated.
A useful review has three parts: inspect the garment, communicate every decision in a form the factory can execute, then carry each issue into the next identified sample until evidence closes it.
Trying it on and saying “looks good” is not approval control. Sending twenty chat messages and unnumbered photos is not revision control.
Here is a 15-point inspection, followed by a practical sample-feedback sheet and one revision trail. It is a recommended control pattern, not a universal industry form.
At Jiashun, simple samples typically take 10–18 working days after project details are confirmed; complex styles or processes take longer. Pricing and delivery are confirmed after project review.
If the physical garment has not been made yet, our clothing sample development service explains which starting files are useful, what still needs to be decided, and how the approved reference connects to the intended bulk order.
Bulk typically takes 20–30 working days after sample approval.
Before inspection: identify the sample
Confirm the style code, sample type, revision, size, colorway, material status, and date before reviewing anything.
A proto, fit, size-set, PP, and TOP sample answer different questions. Our sample-types guide explains what each gate can and cannot approve.
Keep the tech pack, previous comment sheet, approved artwork, color reference, and measuring method beside the garment.
If the package contains an undocumented substitution, record it before judging the result. A sample using substitute fabric cannot approve every property of the final fabric.
Fabric (the foundation — check it first)
1. Weight and hand. Compare the sample with the approved swatch, sourced specification, or reference garment. Record whether weight, structure, drape, surface, and inside feel match the intended direction.
2. Face and interior. Check the right side and reverse. Confirm loop-back or brushed construction, lining, backing, coating, pile, and any secondary material that may not appear in front-view photos.
3. Color under controlled conditions. Compare against the approved reference under consistent lighting. Record the reference ID and whether the issue concerns hue, depth, undertone, wash variation, or panel matching.
Fit (the money check)
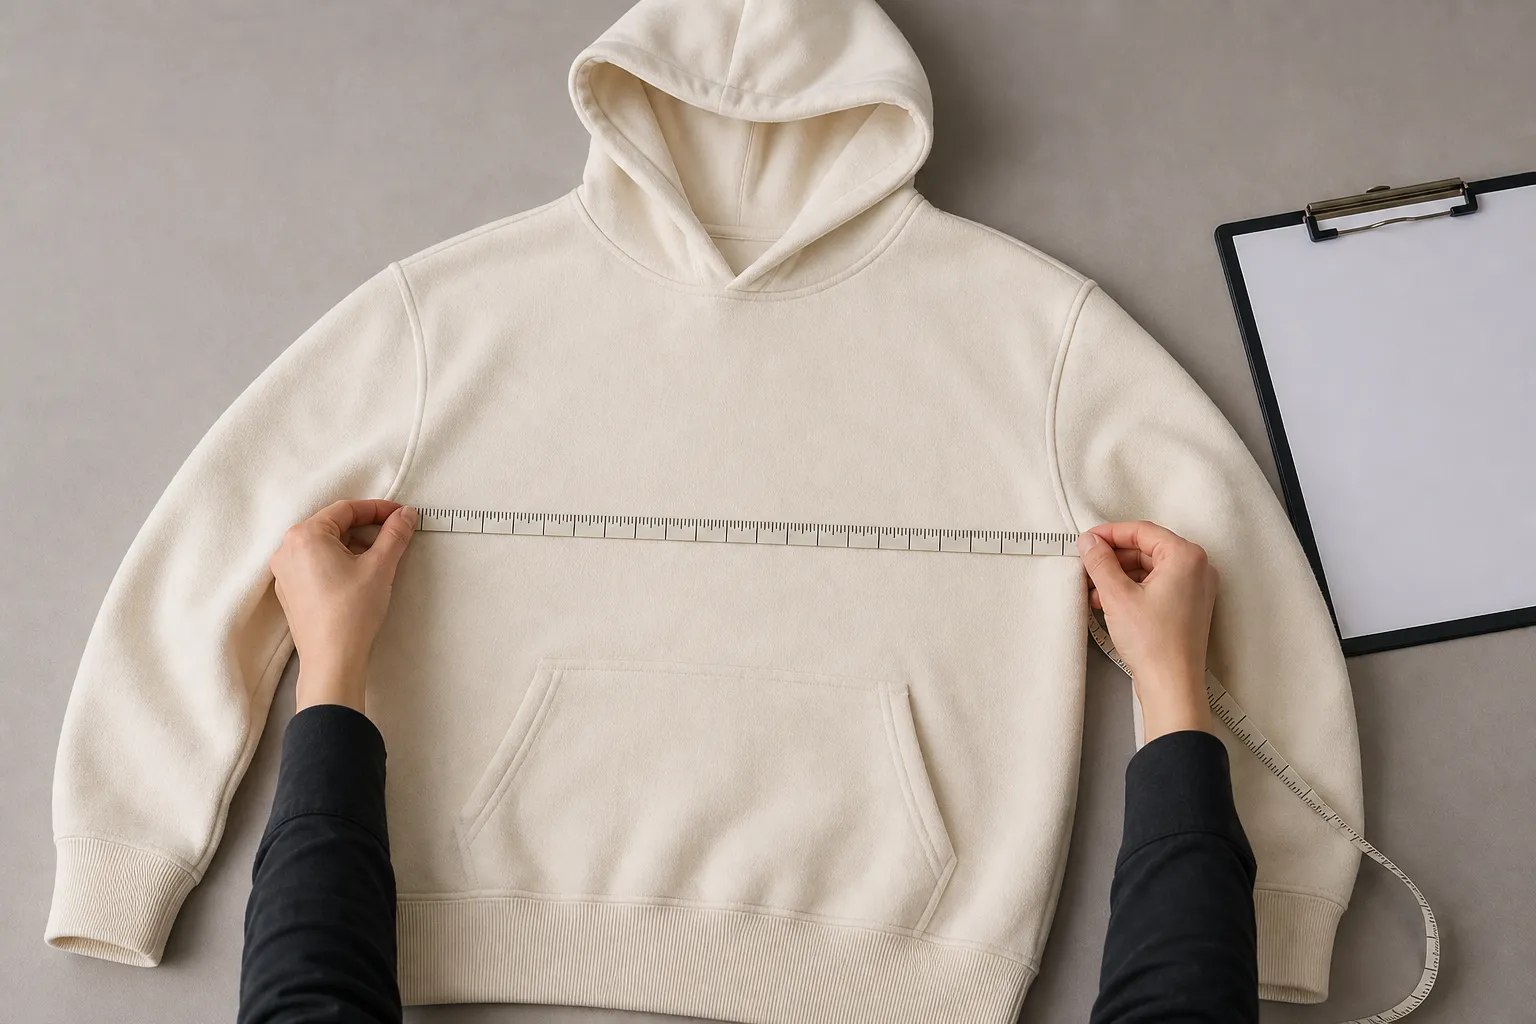
4. Measure before judging. Lay the garment flat and follow the agreed points of measure. Compare the actual value, target, tolerance, and difference for every required POM.
5. Fit the target body. Measurements test conformance. A fit model or target body tests whether the intended silhouette, proportion, balance, and ease are correct.
6. Test movement. Sit, reach, raise the arms, bend, and use closures or pockets. Record pulling, twisting, restriction, riding, gaping, or balance problems that appear only in motion.
Decoration
7. Placement and scale. Measure artwork from the agreed origin point. Record width, height, distance from seams, alignment, and whether placement remains correct while worn.
8. Surface execution. Inspect edges, coverage, registration, texture, expansion, stitch density, thread ends, puckering, scorch marks, adhesive, and unwanted shine.
9. Behavior on the garment. Gently flex or stretch the decorated area when the fabric is meant to move. Check whether the result distorts, lifts, flakes, cracks, puckers, or restricts the garment.
Construction
10. Inside construction. Turn the garment inside out. Check seam type, allowance, stitch consistency, skipped stitches, raw edges, loose threads, reinforcement, and high-stress joins.
11. Hardware in use. Operate zippers, snaps, buttons, cords, adjusters, and pockets repeatedly. Check alignment, attachment, smooth movement, end stops, sharp edges, and component finish.
12. Rib and elastic recovery. Stretch cuffs, hem, waistband, and elastic only as normal use requires. Check recovery, twisting, uneven tension, attachment, and comfort.
Branding
13. Labels, tags, and packing. Confirm content, spelling, size, color, position, orientation, attachment, barcode or sticker data, folding, polybag, and carton instructions against the approved files.
The two sample checks people always skip
14. Run the agreed care or performance check. When wash performance matters, record measurements and appearance before and after the agreed method.
Do not improvise a test and present it as a standard result. State the method, temperature or cycle where relevant, drying method, date, and what acceptance question it answers.
15. Photograph and document every decision. Link each issue to a numbered image, measurement, requested change, owner, and status.
The written comments and approved physical sample should agree. Later inspection needs a defined standard, not a memory of the fitting call.
Keep sample approval separate from lot inspection. ISO 2859-1:2026 describes acceptance-sampling schemes indexed by AQL for lot-by-lot inspection.
This checklist addresses a different gate: whether a development or pre-production sample proves the decisions assigned to that sample type.
Turn observations into executable comments
“The sleeve looks wrong” describes a reaction. It does not tell the pattern maker what changed, where it changed, or how the next sample will be judged.
Write each comment with six parts:
- Location: name the panel, seam, POM, artwork, trim, or packing component.
- Current state: record what the sample measures or shows now.
- Approved target: cite the tech-pack value, reference, artwork, or expected result.
- Requested action: state one measurable change or ask the factory to propose a solution.
- Evidence: link a numbered photo, measurement, drawing, video, or file.
- Disposition: approve, revise, reject, hold, or request clarification.
Use verbs that describe the action: increase, reduce, move, align, replace, remove, reinforce, reopen, confirm, or propose.
Avoid emotional adjectives without a target. “More premium,” “better fit,” “nicer black,” and “fix the quality” force the factory to guess what success means.
Use one revision sheet per sample round
Put every comment from the review into one controlled table. The row should identify both the sample being judged and the document or reference that supplies the target.
| ID and source | Observation versus target | Requested action | Evidence | Owner and status |
|---|---|---|---|---|
| F-01 · FIT2 · TP-R03/POM B | Chest 64.0 cm; target 66.0 cm | Increase half chest 2.0 cm; preserve hem width | IMG-03, measurement sheet | Pattern · Revise |
| D-01 · FIT2 · artwork v3 | Top edge 5.0 cm below seam; target 7.0 cm | Move artwork down 2.0 cm; retain width | IMG-07, placement drawing | Decoration · Revise |
| C-01 · FIT2 · construction callout C4 | Loose thread at left neck-seam end | Secure the end; factory to confirm method | IMG-11 | Sewing · Open |
| P-01 · FIT2 · packing brief R01 | Sticker position not defined | Propose a scannable position with photo | IMG-14 | Packing · Clarify |
The numbers above demonstrate comment structure. They are not universal garment specifications.
One issue gets one ID. If a photo shows three problems, create three rows and reference the same image.
Keep requests atomic. “Make body wider, shorter, and improve shoulder” should be separate comments because each change has a different target and verification method.
The row is the instruction, not the full history. Keep the factory response, next-sample result, closure evidence, verifier and incorporated specification revision attached to the same ID rather than squeezing them into an unreadable table.
Carry one issue ID through the next sample
Do not assign a fresh ID merely because the next parcel arrived. If F-01 remains the same chest-width issue, that ID should connect the observation on FIT2 with the factory response, the implementation in FIT3 and the buyer's verification. A new ID is appropriate only for a different issue.
Use a compact history under each open row:
Issue: F-01
Opened from: ST104-FIT2 / comments R01
Observation: half chest 64.0 cm against TP-R03 target 66.0 cm
Requested action: increase 2.0 cm; preserve hem width
Factory response: acknowledged; pattern correction proposed in PAT-R04
Next evidence: ST104-FIT3, measurement sheet, IMG-04
Observed result: half chest 66.0 cm; hem width unchanged
Disposition: VERIFIED CLOSED
Verified by/date: named approver / review date
Incorporated into: TP-R04 and PAT-R04
The values are synthetic and demonstrate traceability, not a fit specification. The useful chain is instruction → acknowledged response → named implementation → observed result → closure evidence.
Keep these states distinct:
- Open: no accepted response or implementation evidence yet.
- Carried forward: the instruction remains active for the next identified sample.
- Verified closed: the named approver checked the stated closure evidence against the target.
- Reopened: a later sample or document shows the same requirement is not satisfied; record why and continue the original ID.
- Superseded instruction: an authorized decision changed the target. Preserve the old row, name the new controlling revision and explain which instruction replaced it.
Never delete a closed row to make the current sheet look clean. Never overwrite the prior PDF or spreadsheet. Issue a new revision, mark the earlier one superseded, and retain it so a buyer can reconstruct which instruction applied to each sample.
Mark photos so nobody has to interpret them
Use the same sample ID and revision in the photo folder and comment sheet. Name images in sequence, such as ST104-FIT2-IMG-01.
Place an arrow or circle on the exact issue. Add a scale or tape measure when the comment depends on distance.
Show context before detail. One full-garment image establishes location; a close-up proves the defect or measurement.
Do not rely on markup alone. The table carries the instruction, while the photo proves what the instruction refers to.
Keep original, unmarked photos with the annotated copies. Markup can cover an edge, stitch, or measurement that becomes important later.
Control versions and conflicting feedback
Return one consolidated file per sample round. Do not make the factory reconcile separate decisions from email, chat, shared documents, and calls.
Use a clear chain:
Tech pack: ST104-TP-R03
Sample: ST104-FIT2
Comments: ST104-FIT2-COMMENTS-R01
Decision: REVISE
Supersedes: ST104-FIT1-COMMENTS-R02
Next expected sample: ST104-FIT3
Incorporated specification: pending TP-R04 / PAT-R04
Closed issues: none until named evidence is verified
Record who can approve the sample. A group chat reaction is not the same as authorization from the named decision owner.
After a call, update the controlled sheet and send it back for acknowledgement. Acknowledgement shows that the recipient received and understood the current instruction; it does not prove implementation, close the issue or authorize bulk. The document should capture the decision so the call does not become a second hidden version.
When an accepted comment changes a measurement, pattern, artwork, construction, material or BOM field, incorporate it into the next controlling revision. The comment sheet should explain the change trail, not become a competing second specification that later teams must reconcile from memory.
Choose an explicit disposition
End every sample review with one status:
| Disposition | Meaning | Next action |
|---|---|---|
| Approve | The sample meets the stated gate | Record approval owner and date; proceed only to the authorized next step |
| Approve with conditions | Named items can close without another full sample if both sides agree | List conditions, evidence required, owner, and deadline |
| Revise | The design remains active but needs another controlled iteration | Issue the consolidated revision sheet and next-sample scope |
| Reject | The sample cannot satisfy the intended direction or standard | State the failed gate and whether development stops or restarts |
| Hold | A source, test, material, artwork, or business decision is missing | Name the blocker and who will resolve it |
Approval should say what is approved. Fit approval does not automatically approve final color, trims, packing, or bulk execution.
Sample-level disposition and row-level status answer different questions. A sample can be REVISE while several rows are already verified closed; it can be conditionally approved while named rows remain open for documentary evidence. State which open rows may close without another physical sample and which require a new sample. Only the named decision owner should authorize the next step.
If something on the sample is wrong
Classify the cause before prescribing the fix. The issue may come from the specification, interpretation, material, pattern, process, workmanship, handling, or an undocumented substitution.
Ask for a corrective proposal when you know the result but not the safest technical method. Do not invent a construction solution simply to make the comment sound decisive.
If a change affects fabric, pattern, construction, artwork, wash, trims, packaging, quantity, or another priced assumption, request the cost and timing impact before approval.
Iteration is the sample stage doing its job. Polite silence followed by a bulk complaint is not approval control.
Copyable sample-feedback header
Project / brand:
Style code:
Tech-pack revision:
Sample type and number:
Sample size and colorway:
Material status: final / substitute / partly final / TBD
Date received:
Review date:
Decision owner:
Disposition: approve / approve with conditions / revise / reject / hold
Superseded comment sheet:
Next authorized step:
Acknowledged by/date:
Incorporated tech-pack / pattern / artwork / BOM revision:

Open comments:
- ID
- area or POM
- current sample
- approved target or issue
- requested action
- controlling source / reference revision
- evidence filename
- priority
- owner
- required-by / deadline
- status
- factory response
- next-sample result
- closure evidence
- verified by/date
FAQ
How long should I spend evaluating a sample? Long enough to complete the agreed measurements, fitting, movement, construction, decoration, hardware, branding, and required performance checks without rushing.
The review may span more than one session when washing, testing, another approver, or a fit model is required.
What tolerance is normal on measurements? There is no useful universal value for every POM and garment. Agree the tolerance by measurement, material, construction, process, and quality requirement before bulk.
Should I order one sample or several sizes? The required sample set depends on the garment, fit risk, grade, size range, material, buyer requirements, and what the current gate must prove.
One base size cannot by itself prove the full graded range. Use the sample-types guide to define the approval question.
What if I approved something and only noticed a problem at bulk? Compare the bulk issue with the approved specification, sealed sample, comment history, purchase terms, and inspection agreement. Responsibility depends on the evidence.
Can I send sample feedback through WhatsApp or email? Discuss questions in chat or email, but consolidate decisions in one versioned comment sheet. Ask the factory to acknowledge it before the next step.
Can I approve from factory photos or video? Photos and video can close selected visual questions when both sides agree. They cannot prove every measurement, material, handfeel, movement, wash result, or physical construction detail.
Should a closed comment disappear from the next revision sheet? No. Retain the closed row and its evidence in the history, then show it as verified closed in the next revision or an attached closure log. Removing it breaks the trail between the sample, the change and the controlling specification.
References
- Jiashun Clothing, public sample-development boundary — project-specific samples are reviewed and approved before bulk; the example measurements, states and revision IDs here are illustrative controls, not universal garment specifications.
- J.Crew Imports, Vendor Quality Management manual — a public buyer example linking pre-production approval to fit comments, measurements, construction, materials, pattern history and previous references; it is not a universal brand workflow.
- Tillys, Vendor Compliance Manual — a public buyer example of identified TOP approval, comments, decision and sign-off fields.
- ISO, Guidance on documented information for ISO 9001:2015 — general documented-information guidance; it does not prescribe an apparel comment-sheet format.
- ISO, ISO 2859-1:2026 — lot-by-lot acceptance sampling indexed by AQL, a different gate from development-sample approval.