5 steps / beginner guide
Prepare your first sample
Bring your streetwear design, fabric and fit decisions together before sampling.
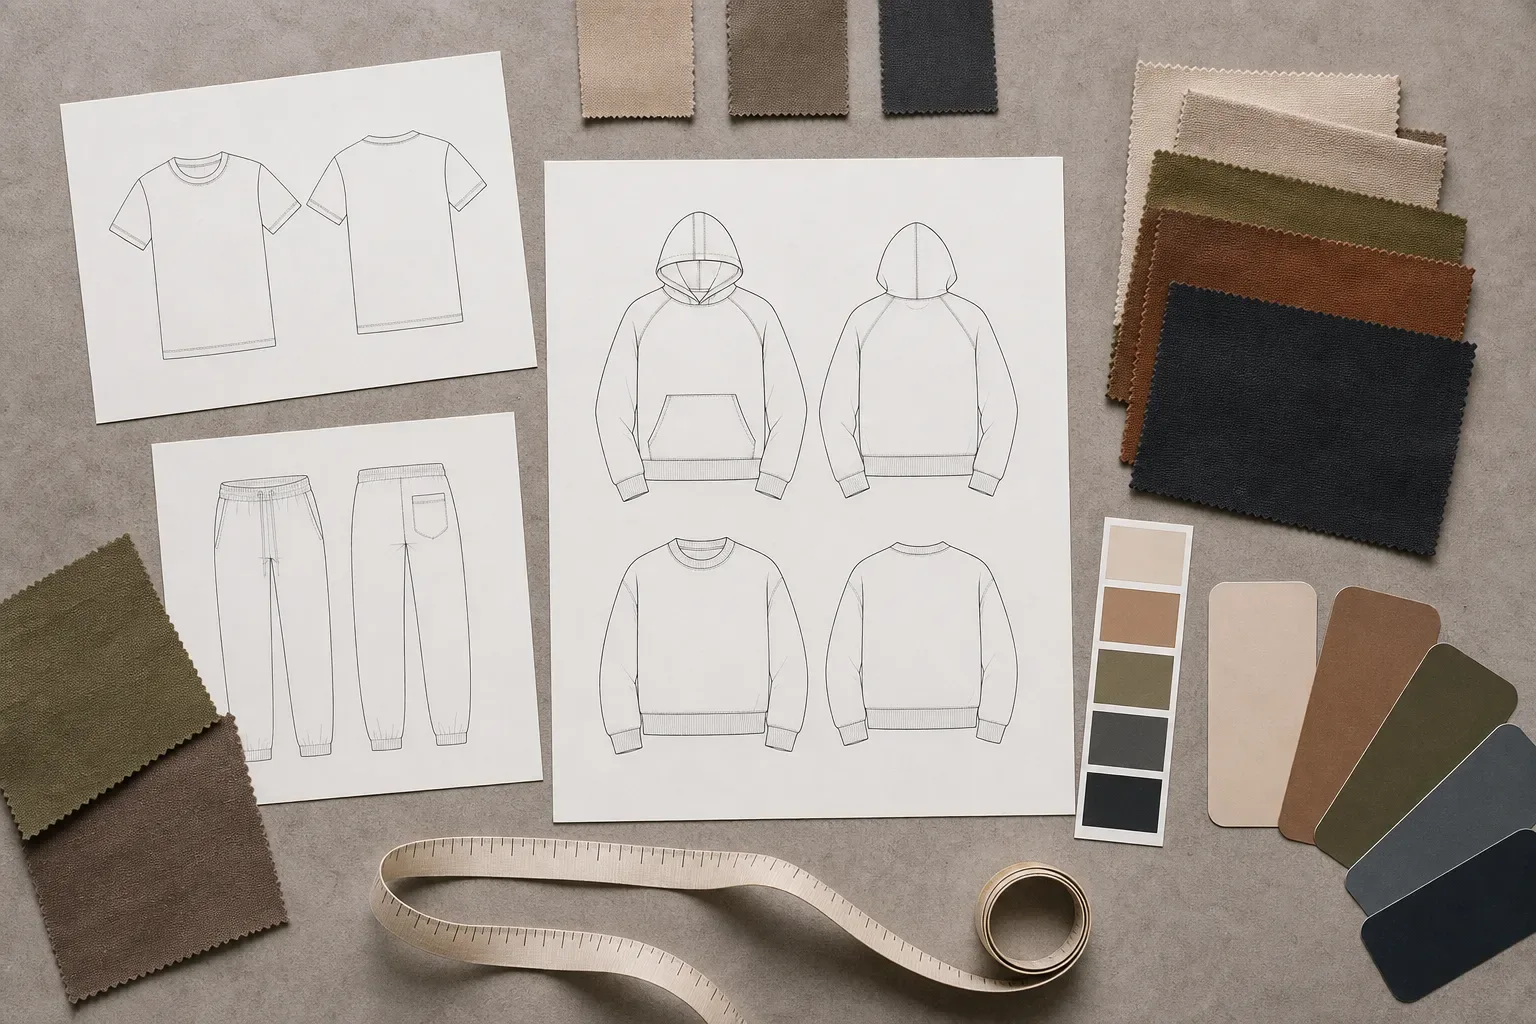
STEP 1 OF 5
Describe the design
What to send a clothing manufacturer for a usable quote—and how to keep one approved tech-pack revision controlling every later sample and production change.
Read the guide →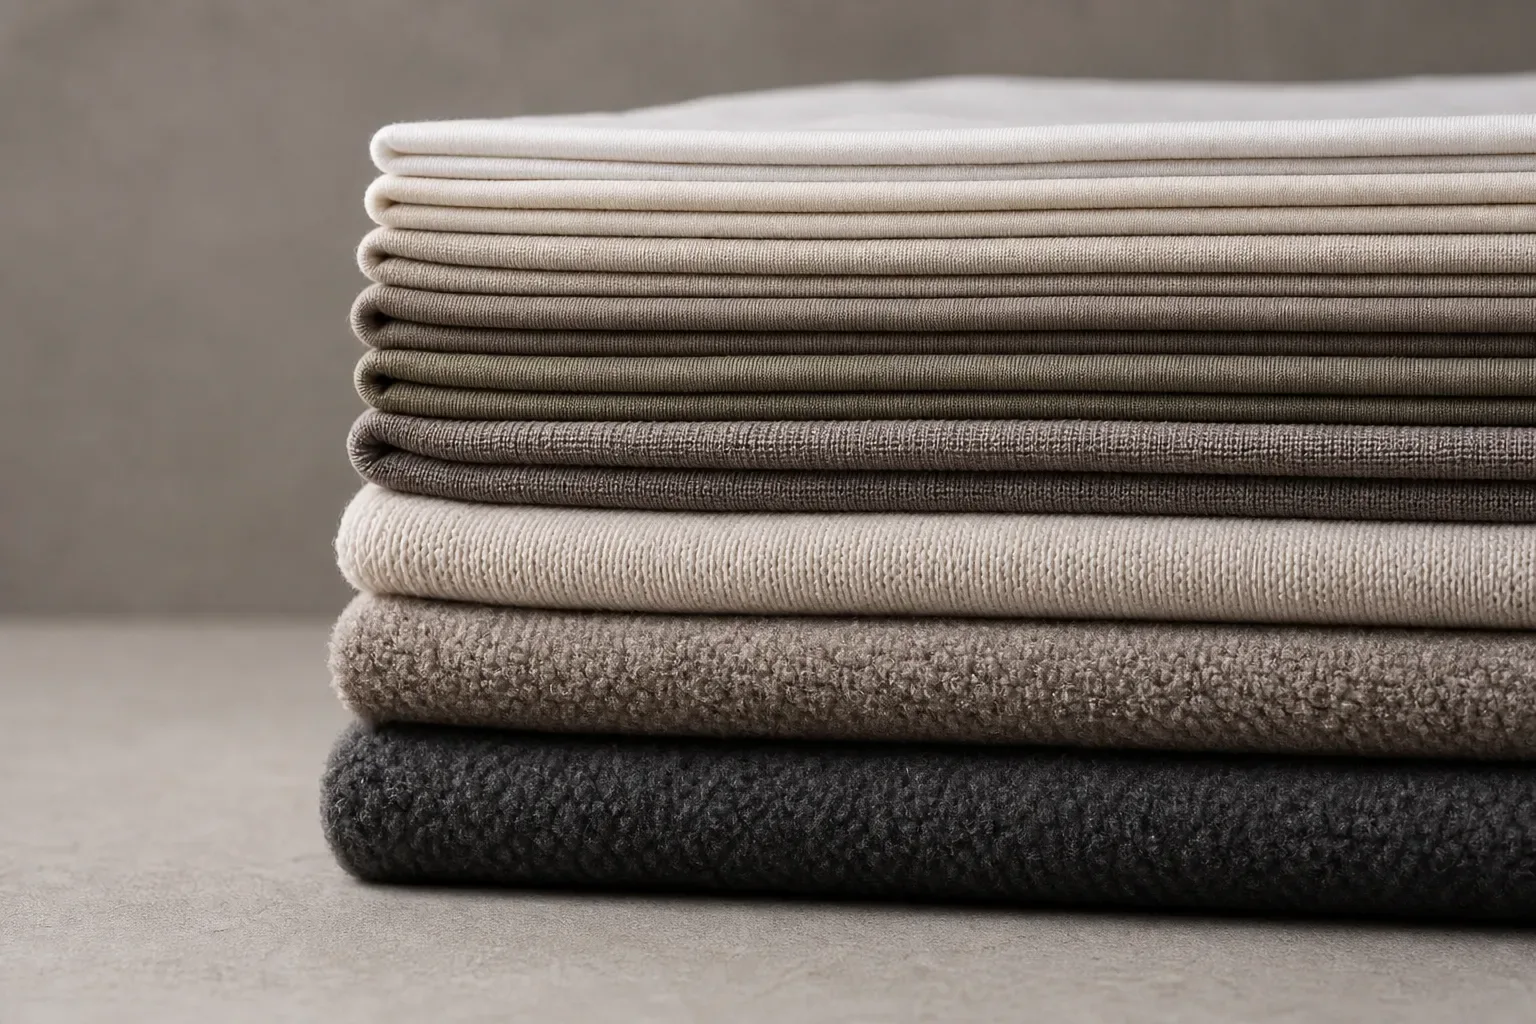
STEP 2 OF 5
Set a fabric-weight direction
GSM measures finished fabric mass per area—not thickness, quality or finished garment weight. Compare candidate fabrics fairly, estimate component mass, and approve the actual garment sample.
Read the guide →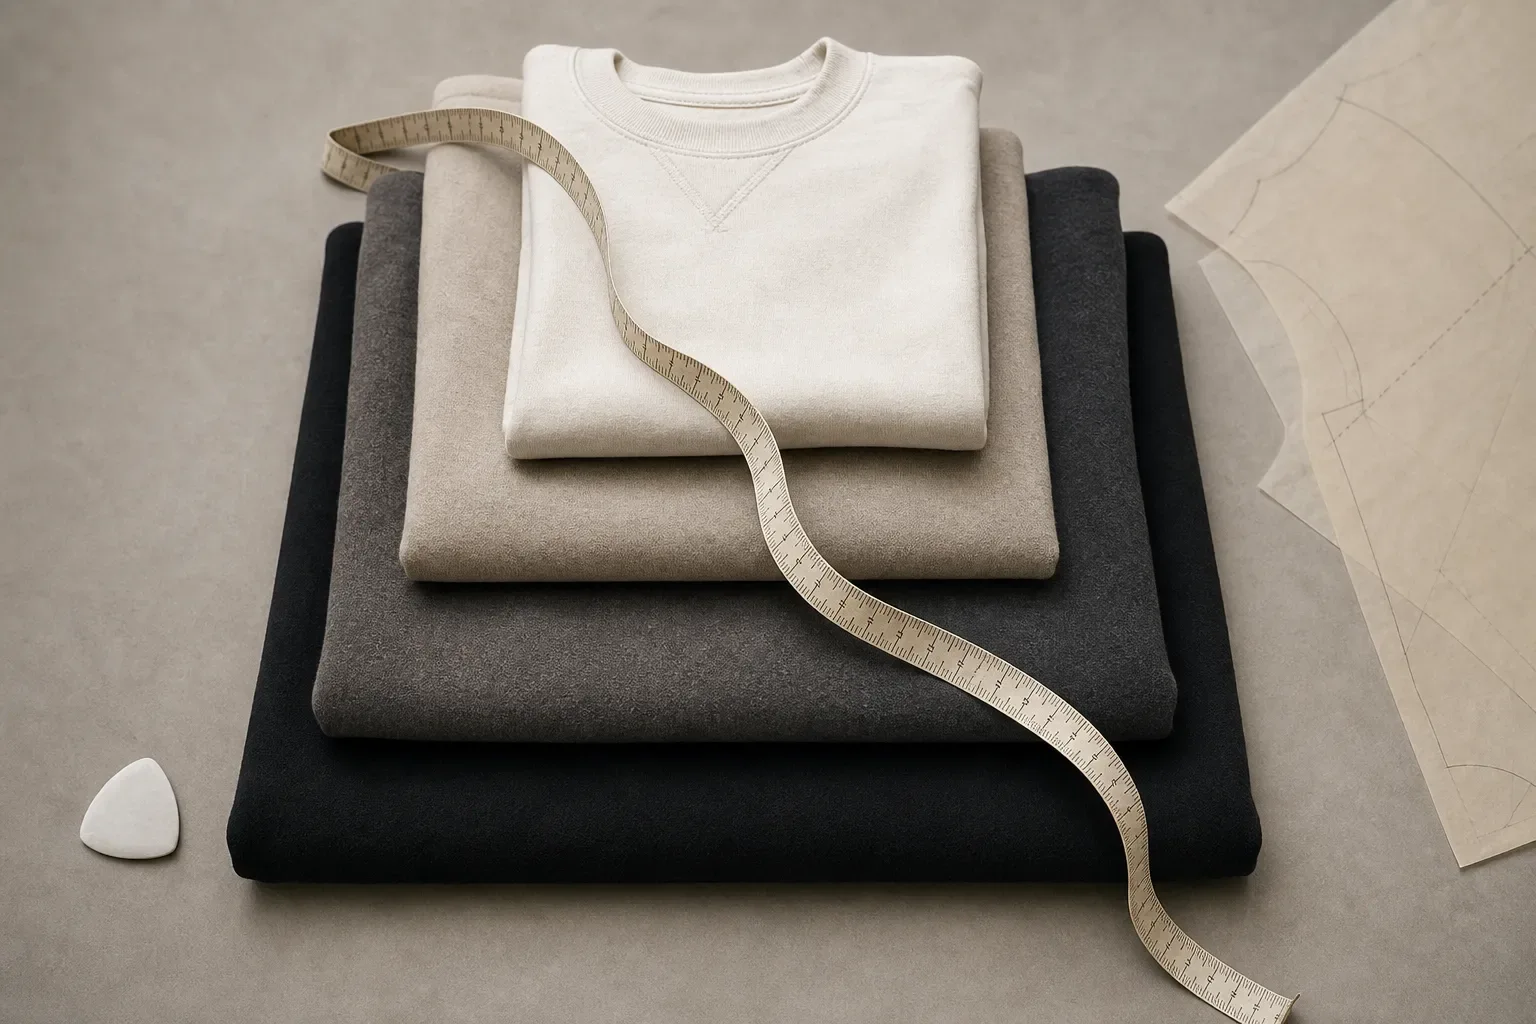
STEP 3 OF 5
Specify measurements and fit
Build a production-ready size chart from a reference garment: define every point of measurement, grade deliberately, set project-specific tolerances, and carry the approved fit into bulk.
Read the guide →
STEP 4 OF 5
Choose the sample you need
Proto, fit, size set, PP and TOP answer different production questions. Learn how golden/master references and sealed/approved status fit into a controlled sample record.
Read the guide →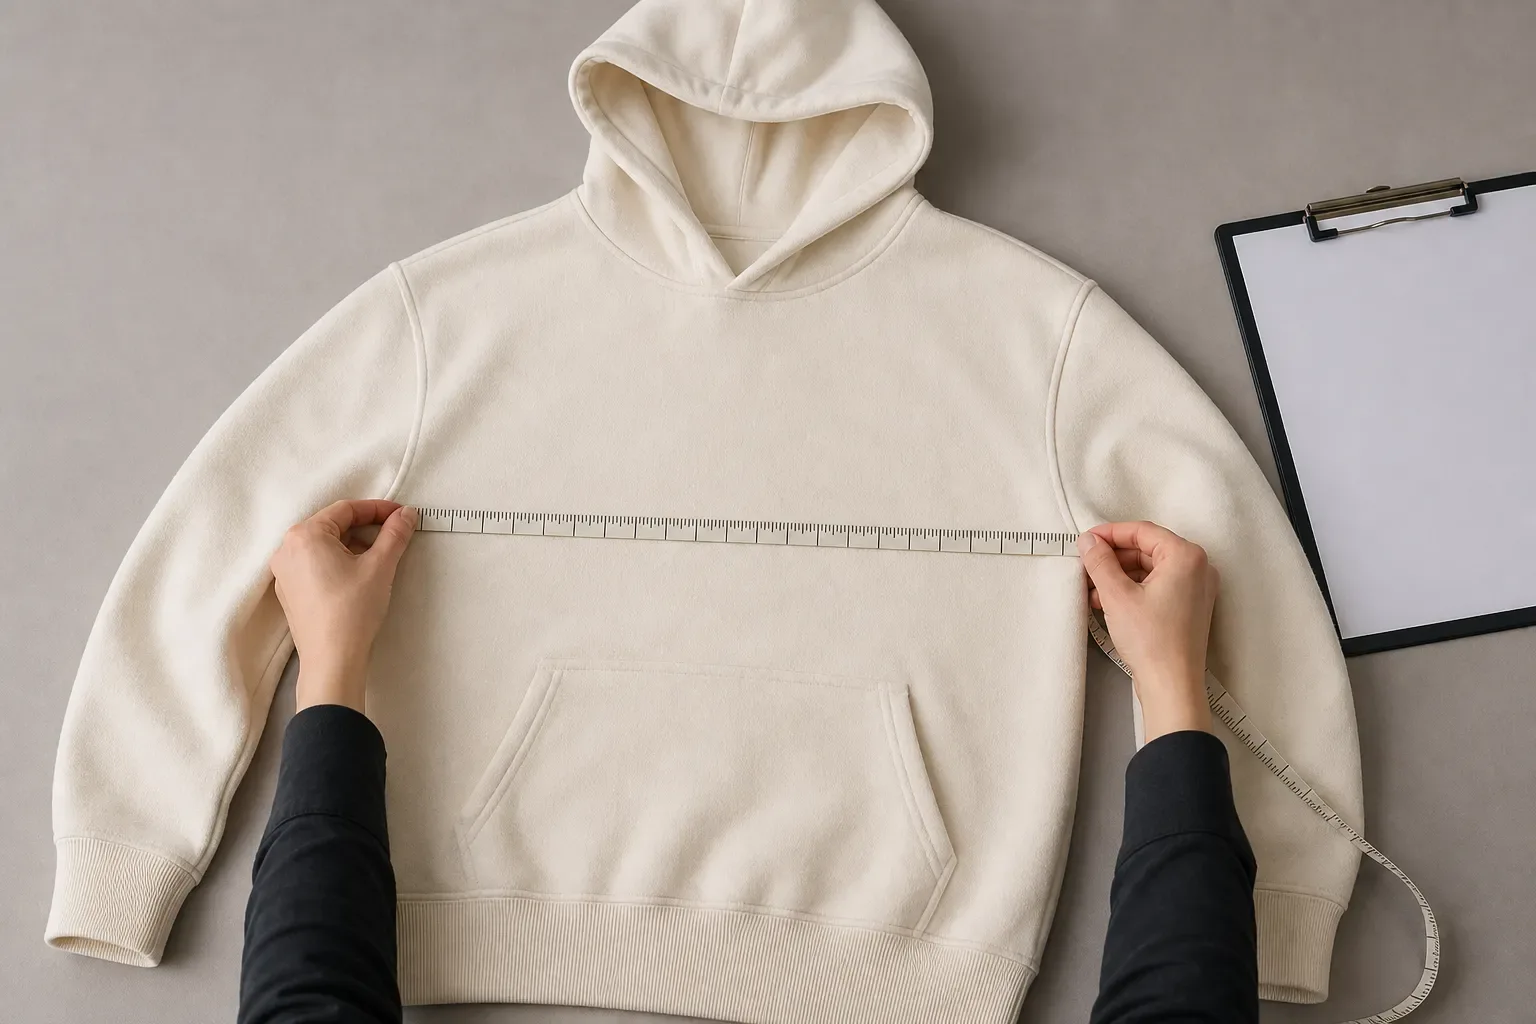
STEP 5 OF 5
Record your sample decision
Inspect a garment sample in 15 steps, then carry every measured, photo-linked comment through response, verification and closure without losing the history.
Read the guide →
What you will work through
Use these guides to prepare the information a factory needs and a clear record for reviewing your sample. Follow the steps in order, or jump to the question you have now.
Ready for the next stage?
Get your streetwear collection ready for production, quality checks and delivery.