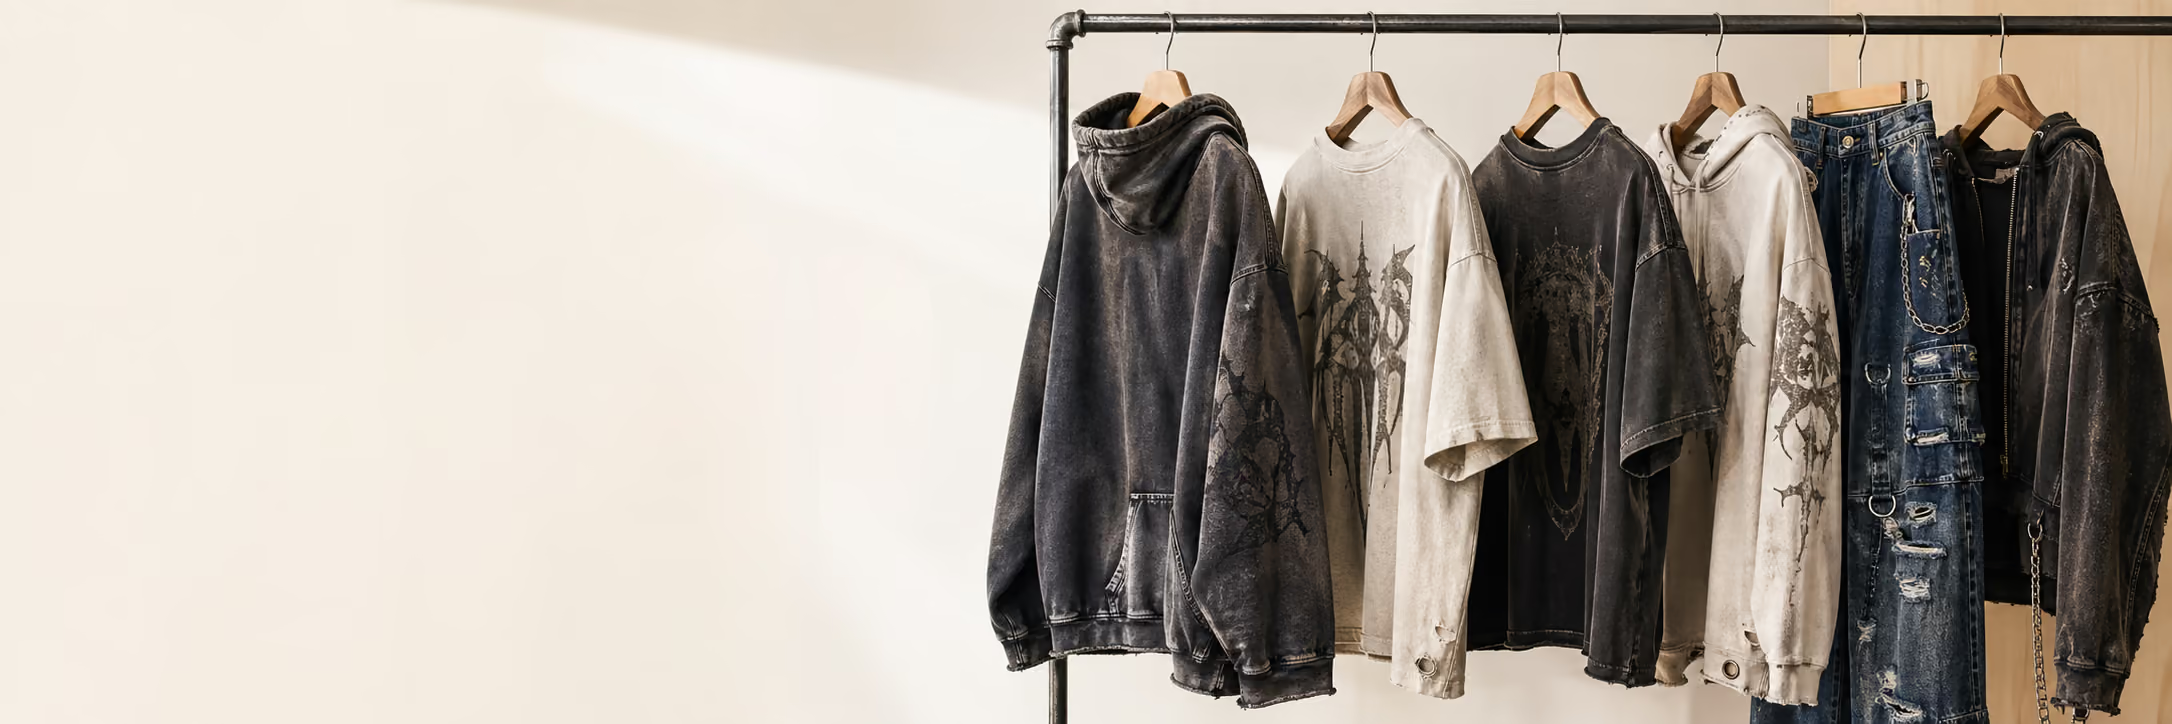
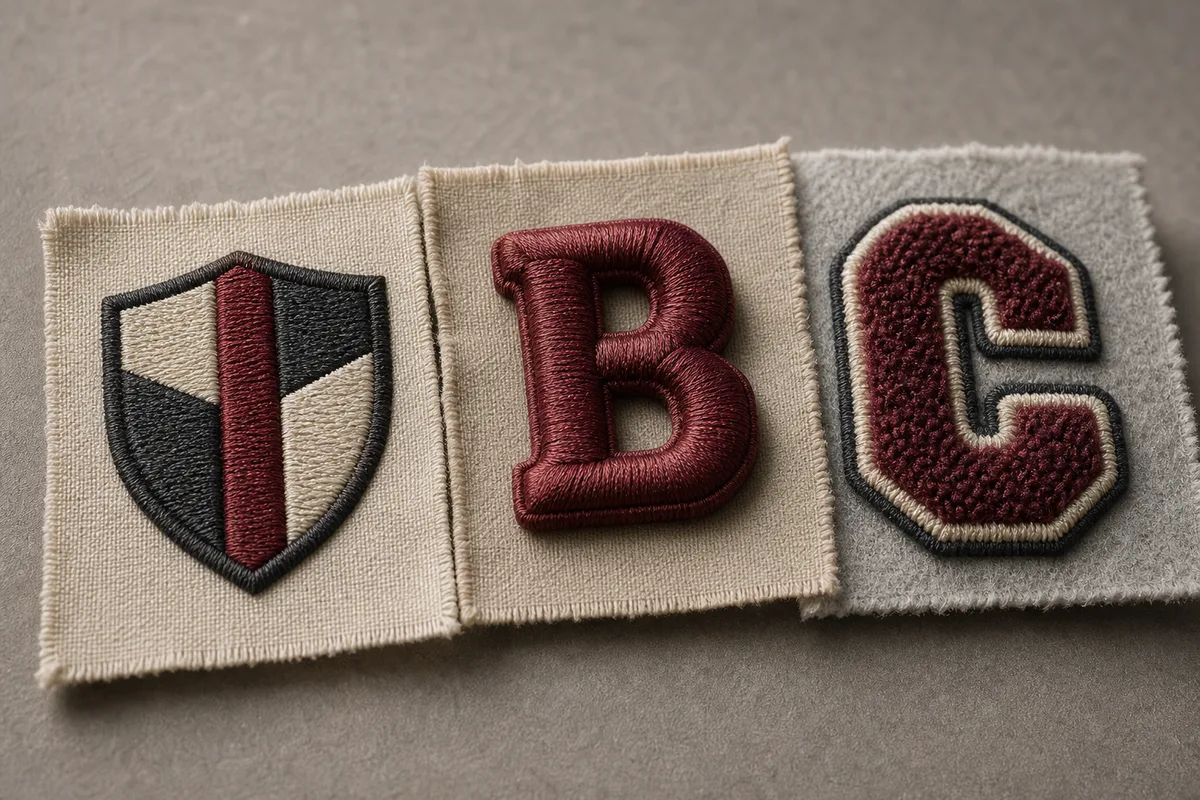
Embroidery is engineered stitch by stitch: digitizing, underlay, foam, stabilizers and thread choices decide how a logo reads and survives. The three builds compared, with the numbers that drive your quote.
Embroidery is the decoration buyers trust most and understand least. A stitched logo signals permanence in a way ink cannot — but between the artwork you send and the chest hit you receive sits a layer of real engineering: digitizing, underlay, stabilizers, foam, pile. This guide opens that layer up for the three builds that dominate streetwear — flat, 3D puff, and chenille — and explains what actually drives an embroidery quote. All three run in our Dongguan factory, most visibly on our varsity program.
Digitizing: the skilled work hiding behind every stitch
Embroidery machines do not read image files. Every design is first digitized — converted by a specialist into stitch instructions: which stitch type covers each element, in which direction, at what density, over what underlay. This is judgment work, not an automatic conversion, because fabric fights back: stitches pull the fabric inward along their direction and push it outward at their ends, so the digitizer deliberately compensates — drawing shapes slightly "wrong" so they sew correctly. The industry's own rule, straight from the leading digitizing software maker: there is no universal formula — designs are tuned by testing on the actual fabric.
Technical detail. The three working stitch types: satin (parallel zig-zag columns — the glossy borders and lettering), tatami/fill (offset rows filling large areas, density set by row spacing), and run stitches (single lines for detail and underlay). Beneath the visible layer sits underlay — foundation stitching that stabilizes the fabric and props up the top stitches. Good underlay is invisible by definition, which is why cheap embroidery (which skips it) only reveals itself after the first wash. Digitizing is a one-time setup per design, reused across the whole run — which is why re-orders quote lower than first runs.
The three builds, compared
| Flat embroidery | 3D puff | Chenille | |
|---|---|---|---|
| Texture | Smooth stitched surface | Raised, rounded relief | Deep looped pile ("towel" texture) |
| How it's made | Satin/fill stitches direct on fabric | Satin stitched over urethane foam | Moss/chain looped stitches, usually as a patch then appliquéd |
| Artwork sweet spot | Logos, text, fine-to-medium detail | Bold block letters and simple marks | Large letters, mascots, varsity graphics |
| Detail limit | Highest of the three | Low — foam eats fine detail | Lowest — big shapes only |
| Signature garment | Chest hits on tees/hoodies | Caps, hoodie hits | Varsity jackets, hoodie back pieces |
Flat is the default premium signal — the compact chest hit, sleeve mark or back-yoke text on anything from a tee to a patch-detailed heavyweight hoodie.
3D puff stitches satin columns over a strip of urethane foam: the machine first perimeter-stitches with tightly spaced "end-cap" stitching that cuts the foam, then covers it, and the excess foam is torn away (residue is heat-shrunk out — with care, since the foam and polyester fabrics respond to the same heat). The result rises off the garment like sculpture. Design rule from the machine maker's own playbook: puff wants bold, simple shapes with enough width to wrap the foam — it is a shape amplifier, exactly like its ink cousin puff print, and the two are often confused: puff print is foamed ink; puff embroidery is thread over foam.
Chenille is a different machine and a different logic: a looped moss stitch builds a deep yarn pile — the classic varsity letter texture. Production convention is to run chenille as a patch and appliqué it onto the garment, which is why it pairs so naturally with the patch and appliqué family and defines our varsity builds. Chenille trades detail for presence: big letters, mascots, chunky marks.
What you are actually paying for: stitch count
Embroidery machine time scales with stitches, so the quote scales with stitch count. Working ranges commonly quoted in the trade: a standard left-chest logo runs roughly 5,000-10,000 stitches; a large back piece runs 20,000-40,000+. Decorator pricing conventions cluster around a per-thousand-stitches rate (often cited in the $1-3 per 1,000 range at retail decoration — factory-integrated programs like ours fold this into the garment quote with the digitizing as a one-time line).
Two consequences worth designing around: dense fill areas are expensive and stiffen the fabric — a huge solid-fill back piece can wear like a board; and stitch count is a design output, not a garment property — the same logo digitized well can run thousands of stitches leaner than a careless conversion. This is where the one-time digitizing quality pays for itself on every unit.
The invisible engineering: stabilizers, toppings, thread
What separates embroidery that survives 50 washes from embroidery that puckers on delivery is mostly what you never see:
| Support | What it is | When we use it |
|---|---|---|
| Cutaway backing | Stabilizer that stays in the garment for life | Knits, fleece, anything with stretch — the streetwear default |
| Tearaway backing | Removed after stitching | Stable wovens, caps |
| Washaway topping | Film on TOP of the fabric, dissolves in wash | Fleece and pile — stops stitches sinking into the nap |
On a brushed hoodie, the topping is the difference between crisp lettering and stitches swallowed by the nap. On lightweight jersey tees, density has a ceiling — too many stitches pull the fabric into puckers no pressing will fix, which is why we sometimes counsel a patch or print for large art on light tees.
Thread is the last quiet choice: polyester thread is the durability pick (chlorine-bleach resistant, rated for commercial laundering — the right call for streetwear that lives in the wash), while rayon offers a soft classic sheen for heritage looks. And text has hard floors: with standard 40wt thread, small lettering has real minimums — finer 60wt thread can hold letters down to about 3 mm, per thread-maker guidance. Logos with tiny taglines get that conversation at design review, not after sampling.
How to spec embroidery in one message
Artwork files, placement and target size, the build (flat / puff / chenille — or send a reference photo and we identify it), garment fabric, and quantity per colorway. We come back with the digitizing plan, stitch-count estimate and quote after sufficient project details are reviewed — and a stitched sample before bulk, because embroidery is approved by hand and eye, never by screenshot. Standard program: MOQ starting at 50 pieces, with the final minimum depending on the product, fabric, wash, and customization, samples 10-15 working days at a project-specific quoted amount, bulk 20-30 working days after approval. The full menu is on our embroidery capability page.
FAQ
Why does embroidery cost more than printing? Machine time. A print is applied in one pass; a 10,000-stitch logo is 10,000 physical needle penetrations per garment. In exchange you get dimension and a lifespan that outlasts the garment — embroidery does not crack or fade like ink.
Can you embroider any logo? Any logo can be embroidered; not every logo should be at every size. Fine gradients and tiny text fight the medium — we flag those elements at design review and either resize, simplify, or move that element to print. Photographic art belongs in DTG territory.
What is the difference between puff print and puff embroidery? Puff print is ink foamed by chemistry (heat-activated blowing agent); puff embroidery is thread stitched over foam. Both rise off the garment; embroidery reads more premium and survives ironing, print delivers bigger areas at lower cost.
Does embroidery work on heavyweight fleece hoodies? Excellently — with the right invisible support: cutaway backing underneath and washaway topping above the nap. If a supplier's fleece embroidery looks sunken or blurry, they skipped the topping; it is a spec line worth asking about.
References
- Wilcom digitizing documentation — push/pull compensation, underlay, tatami density, "no universal formula" guidance
- Tajima (TAJIMAG) technical article on 3D puff embroidery — foam, end-cap cutting, density, cleanup
- Madeira thread technical guidance — polyester vs rayon properties, small-lettering minimums by thread weight (60wt ≈ 3 mm)
- Melco / Madeira stabilizer guidance — cutaway for stretch knits, tearaway for stable goods, washaway toppings on pile
- Trade decorator conventions for stitch-count ranges and per-1,000-stitch pricing (industry guides; ranges, not fixed rates)
Next steps
Continue your sourcing research
Connect this guide to the relevant production service, then compare the related decisions before sending a brief.
Embroidery
Review embroidery style, placement, scale and garment compatibility before sampling custom men's apparel.
Review this service →Related buyer guidePatches and Appliqué: Dimensional Branding, from Chenille to Embroidered Badges
Embroidered patches, direct embroidery, appliqué and chenille compared — construction, attachment, cost logic and the one-pass spec for dimensional branding.
Read guide →Related buyer guideCustom Varsity Jackets: Construction, Materials and What to Spec Before Sampling
How varsity jackets are actually built — melton bodies, PU sleeves, chenille patches, custom ribbing — and the five-line brief that gets you an accurate quote.
Read guide →Need this turned into a production quote?
Send your target style, fabric notes, decoration details and quantity so Jiashun can review the production path.