Choose embroidery or screen printing by artwork, fabric, placement and sample evidence—not a universal cost or durability rule.
Neither embroidery nor screen printing is universally better. The right starting point is the method whose physical build fits your artwork, garment, placement and approved sample.
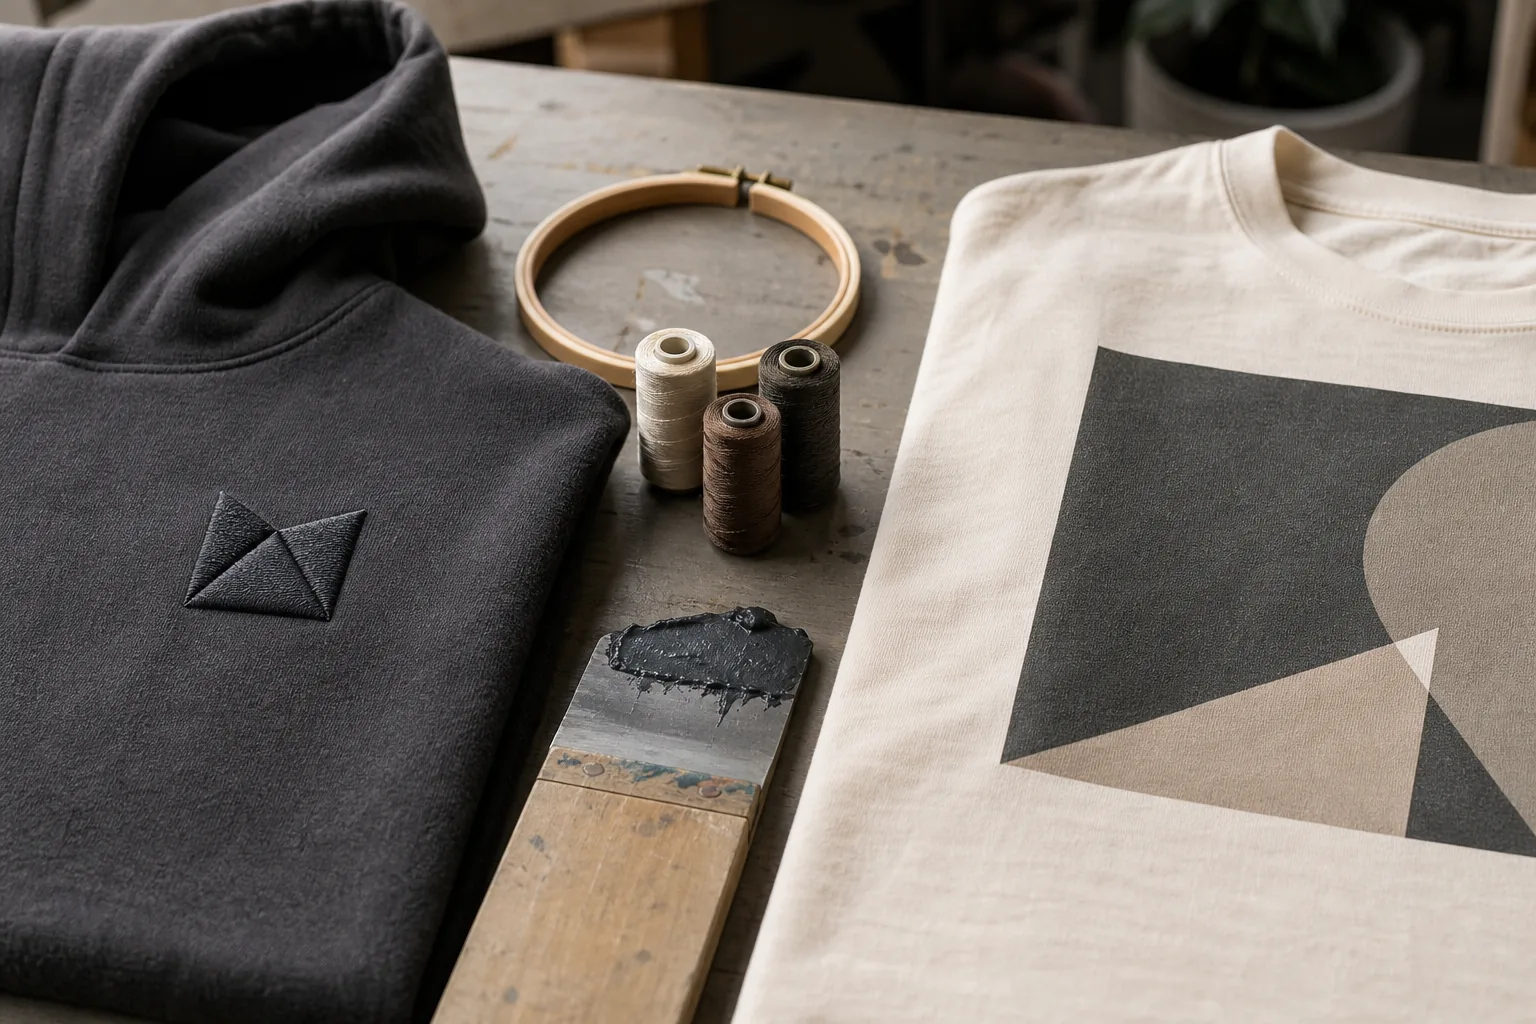
Embroidery turns artwork into stitches supported by the garment and a stabilizer. Screen printing separates artwork into printable ink layers, registers those layers and cures the ink on the fabric.
That difference changes detail, hand feel, risk and cost. It also explains why a choice that works on one hoodie may fail on a lightweight tee or a different colorway.
The Quick Answer: Choose by Artwork, Garment and Proof
Start with embroidery when texture is part of the design, the mark is compact and the panel can support the stitched build. Start with screen printing when the art needs broader, flatter coverage.
Treat those as screening questions, not fixed rules. Fabric stretch, surface texture, seams, color, wash sequence and the intended size can override the first choice.
| Decision input | Embroidery starting point | Screen-printing starting point |
|---|---|---|
| Artwork | Compact marks, defined shapes, intentional thread texture | Broad graphics, flat color and repeated printed layers |
| Surface | Raised thread with backing or stabilizer | Ink deposit whose hand depends on ink, mesh and coverage |
| Main setup | Digitizing and fabric-specific stitch settings | Color separation, screens, registration and ink selection |
| Common sample risks | Puckering, sinking, stiffness, lost detail or snagging | Misregistration, migration, weak coverage, adhesion or cure problems |
| Approval evidence | Stitched sample on the intended panel | Printed sample on the intended fabric and colorway |
The table narrows the route; it does not replace a sample. A physical approval shows how thread, ink and fabric behave together in a way a digital mockup cannot.
What Changes When Artwork Becomes Thread or Ink?
Embroidery machines do not interpret a flat logo as a printer would. The artwork is digitized into stitch types, directions, density, underlay and pull-compensation decisions.
Those settings depend on the fabric. Wilcom's production guidance shows different density, underlay and pull-compensation needs for stretch knits, fleece, silk and nylon.
Screen printing begins with printable separations. Each layer must be placed in registration, matched to a suitable ink system and cured according to that system's requirements.
Gradients, tiny negative space and fine lettering need process-specific treatment. Do not approve them from a zoomed-in screen or impose one universal minimum size.
Send these inputs before the method is locked:
- Original vector artwork when available, plus any raster references.
- Intended physical size and placement on the garment.
- A current physical color reference for critical brand colors.
- Fabric composition, weight, stretch, surface and planned finish.
- Garment and artwork colorways, with quantities by colorway.
- Any garment-dye, wash or finishing sequence that may affect decoration.
- The desired surface result: raised, flat, soft, crisp, distressed or another approved reference.
These inputs let the factory build a testable proposal. They are also more useful for quoting than a mockup that shows only how the garment should look on screen.
When Is Embroidery the Better Starting Point?
Choose embroidery first when the raised thread is intentional and the artwork can be translated into a stable stitch structure at the planned size.
Compact chest marks, sleeve details, yoke marks and similar placements are common candidates. They are examples, not a map that applies to every pattern or fabric.
The support system matters as much as the visible thread. Madeira's backing guide calls for support matched to the fabric and recommends water-soluble topping where fleece pile could swallow stitches.
Light or stretchy fabric can distort under an unsuitable stitch build. A dense area can also change drape or create an inside feel that is wrong for the placement.
Check the sample for:
- puckering or rippling around the stitched area;
- stitches sinking into fleece, pile or textured fabric;
- lost counters, merged letters or rough small details;
- excessive stiffness, weight or uncomfortable backing;
- uneven edges, gaps, thread damage or snagging risk;
- placement drift caused by hooping, seams or limited panel access.
If the artwork loses its identity when simplified for thread, consider print, a patch or appliqué. Our embroidery construction guide compares flat, 3D puff and chenille builds.
When Is Screen Printing the Better Starting Point?
Choose screen printing first when the design needs broad coverage, repeatable flat color or an ink effect that suits the fabric and intended hand.
Large front or back graphics are common candidates because ink can cover area without concentrating thread and backing in one dense field. The actual hand still depends on ink, underbase, mesh and deposit.
The fabric and colorway remain part of the printing system. A formula that works on cotton may not behave the same way on a blend, stretch fabric, coated shell or dark polyester-containing garment.
Pantone also notes that color appearance and achievability change with material and process. A Pantone reference gives the team a target; it does not make every ink-and-fabric combination look identical.
Check the sample for:
- registration errors between color layers;
- weak coverage or an unwanted heavy deposit;
- dye migration or color shift from the garment;
- poor adhesion, cracking or wash-related loss;
- detail filling in, rough edges or visible screen artifacts;
- a hand feel that conflicts with the approved design intent.
Cure requirements depend on the ink, fabric and setup. The print durability guide shows how to review cure and wash evidence without assuming one plan fits every order.
Fabric, Placement and Wash Can Override the First Choice
The same artwork can require a different build on jersey, fleece, rib, nylon or a washed garment. Approve the decoration on the intended material rather than a convenient substitute blank.
Stretchy jersey can reveal puckering around dense embroidery or stress a rigid ink deposit. Fleece pile can obscure thread detail and change the surface under a print.
Rib and active stretch zones need special care because the substrate changes shape in use. Seams, pocket edges, zippers and narrow panels can also limit hooping, screen contact or placement repeatability.
Heat-sensitive or coated fabrics require an ink and process review before printing. Dark polyester-containing colorways can introduce migration risk that a light cotton sample would not reveal.
Garment dyeing and washing add another dependency. Decoration before a finish experiences that finish; decoration after it must fit the garment's post-process dimensions and surface.
Record the intended order of operations, then sample the complete route. A decoration approved on unfinished fabric is not automatically approval for the finished garment.
When one method looks correct but the substrate creates unacceptable risk, change the build, placement or material. Method loyalty is less important than a repeatable approved result.
Can One Garment Use Both Methods?
Yes. Embroidery and screen printing can solve different jobs on the same garment, provided each placement and the combined production sequence are reviewed together.
A compact embroidered identity mark can sit beside a larger printed graphic. That is an example of role separation, not a template that every hoodie should copy.
Evaluate each placement independently. The chest panel may support thread while a large back panel favors ink, but seams, lining, pockets, washes or other trims can change either answer.
Sequence matters when decoration interacts with garment dyeing, washing, pressing or panel access. The approved sample should represent the combined build, not two unrelated decoration swatches.
If neither method fits the artwork, do not force the choice. Compare patches or appliqué in our patches and appliqué guide.
Use our print-method comparison for broader print systems. Each guide keeps a separate production decision owner.
What Actually Changes the Cost?
There is no universal quantity at which embroidery becomes more or less expensive than screen printing. A meaningful comparison must use the same garment, artwork, placement, colorways, quantity and approval scope.
Embroidery pricing can change with digitizing, physical size, stitch construction, density, number of placements, stabilizer, finishing work and machine time.
Screen-print pricing can change with separations, screens, colors, underbases, ink system, print locations, quantity by colorway, setup and curing conditions.
Reorders also need context. A saved file may reduce repeated setup work, but a change in size, placement, fabric, colorway or process can require new preparation and another approval.
Ask suppliers to quote the same specification and identify inclusions. Our factory quote comparison guide explains how material, decoration and approval differences create misleading gaps.
Avoid cost tables built from decorator retail fees or an unrelated blank garment. They do not describe a full-package cut-and-sew program and can create false expectations before the design is reviewed.
A Sample-Approval Checklist Before Bulk
Approve the physical result and the conditions that produced it, not only a rendering. Keep the approved sample, artwork revision and change log connected.
- Confirm the garment, fabric, finish and colorway represented by the sample.
- Record final artwork revision, physical size, orientation and placement references.
- Compare critical colors with the agreed physical target under suitable viewing conditions.
- Review face appearance, edges, detail, alignment and consistency at normal viewing distance.
- Check garment distortion, drape, stretch and inside feel around the decoration.
- For embroidery, review backing, topping result, loose threads, sinking and puckering.
- For print, review registration, coverage, hand, migration risk, adhesion and the agreed cure or wash evidence.
- Record every correction and identify the version approved before bulk release.
If your quality plan requires a named wash, abrasion or color method, write the method, condition, specimen stage and acceptance requirement. Do not assume one factory routine applies to every product.
Our sample-approval checklist covers the complete garment review. This page owns only the embroidery-versus-screen-printing decision within that broader approval.
Frequently Asked Questions
Is embroidery better than screen printing? No. Embroidery suits intentional texture and compact marks; screen printing suits broader flat graphics. Fabric, placement and the approved sample can change that starting point.
Which lasts longer, embroidery or screen printing? Neither method wins universally. Durability depends on stitch build, stabilizer, fabric, ink, cure, care and use. Approve evidence for the actual garment.
Is embroidery more expensive than screen printing? Not always. Embroidery cost follows stitch build and machine time; screen-print cost follows separations, screens, ink and run conditions. Compare the same specification.
Can screen printing match a brand color? A physical color reference gives the printer a defined target. The final appearance still depends on ink, underbase, garment color, substrate and process, so approve it on the intended sample.
Can embroidery and screen printing go on the same hoodie? Yes. Review each placement separately, define the production sequence and approve one sample that represents the combined garment.
For a Jiashun project review, send the garment type, fabric direction, artwork, target size and placement, colorways, quantity, wash or finish route and approval requirements.
We can then review the embroidery and printing routes against the same full-package garment plan before the quote and sample are approved.
Technical References
- Wilcom, “About Auto Fabrics”, retrieved 2026-07-26 — fabric-specific density, underlay and pull compensation.
- Madeira USA, “E-Zee Backing and Topping Guide”, retrieved 2026-07-26 — backing and topping selection for jersey, fleece and other fabrics.
- Pantone, “Do I Need Physical Color Samples?”, retrieved 2026-07-26 — physical references for real-world color approval.
- Pantone, “What Is Master Standard Digital Data?”, retrieved 2026-07-26 — substrate, printing-method and ink-set boundaries behind a master standard.
- Avient, “Printing Performance Wear Tips”, retrieved 2026-07-26 — polyester dye-migration, ink-system and cure variables.
- Ryonet, “How to Screen Print T-Shirts”, retrieved 2026-07-26 — color-layer registration, ink-specific cure guidance and physical testing.
These sources explain process variables, not a universal Jiashun price, lifespan or test promise. Confirm the current edition and project-specific requirement when you issue a production specification.
Next steps
Continue your sourcing research
Connect this guide to the relevant production service, then compare the related decisions before sending a brief.
Embroidery
Review embroidery style, placement, scale and garment compatibility before sampling custom men's apparel.
Review this service →Related buyer guideEmbroidery for Streetwear: Flat, 3D Puff and Chenille — How Each Is Built and What Drives the Cost
Embroidery is engineered stitch by stitch: digitizing, underlay, foam, stabilizers and thread choices decide how a logo reads and survives. The three builds compared, with the numbers that drive your quote.
Read guide →Related buyer guideLab Dip vs Strike-Off vs PP Sample: What Each Approval Proves
A lab dip approves dyed color, a strike-off approves a print, and a PP sample approves the assembled result. Learn the sequence and limits of each.
Read guide →Related buyer guideYour Sample Just Arrived: The Factory’s Own 15-Point Approval Checklist
Inspect a garment sample in 15 steps, then turn every issue into measured, photo-linked revision comments a factory can execute.
Read guide →Related buyer guideColorfastness and Crocking Tests for Clothing Brands
Colorfastness is not one pass-or-fail score. Learn which exposure to specify, how to read color change versus staining, and what to decide before bulk production.
Read guide →Need this turned into a production quote?
Send your target style, fabric notes, decoration details and quantity so Jiashun can review the production path.