Embroidered patches, direct embroidery, appliqué and chenille compared — construction, attachment, cost logic and the one-pass spec for dimensional branding.
Print sits in the fabric; patches and appliqué sit on it. That third dimension — the shadow a chenille letter throws, the raised edge of a stitched-down badge — is why dimensional branding reads as premium at a distance where prints flatten out. It's also a family of genuinely different constructions that get lumped under one word. Here's the menu as we run it on the floor, with the cost logic and spec decisions for each.
The four constructions
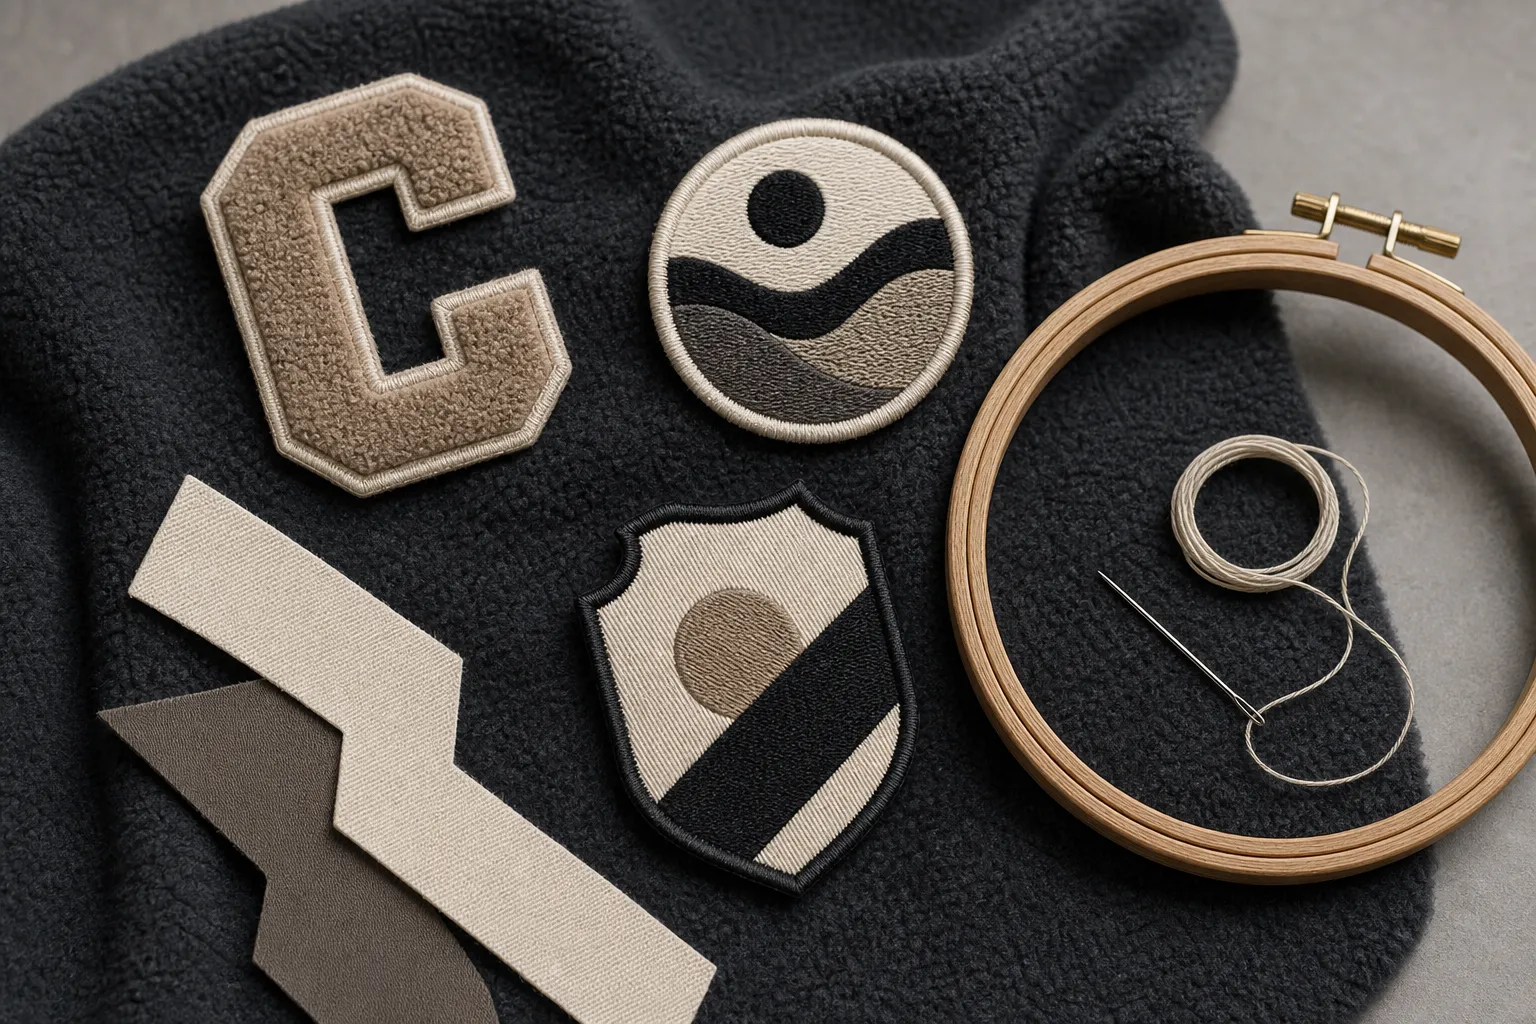
Embroidered patches. The badge is produced as a separate component — dense embroidery on a stable backing, edges finished with a merrowed border or laser cut — then attached to the garment. Because the patch is made off-garment, it delivers the highest stitch density and cleanest detail of any embroidery format, and one patch design can be reused across products and seasons. The workwear-badge look on chest, sleeve or back yoke is this construction.
Direct embroidery. Thread stitched straight into the garment panel — no component, no border. It sits flatter and more integrated than a patch, at the price of slightly less density (the garment fabric must carry the stitches). The quiet chest hit on premium basics is usually direct embroidery. For fine detail limits, artwork rules and stitch-count economics, see the decoration methods guide.
Appliqué. Cut fabric shapes stitched onto the garment — twill letters on a varsity body, contrast panels, layered shapes with embroidered outlines. Appliqué covers area affordably: a chest-wide twill wordmark costs far less than embroidering that many square centimeters solid, and mixed materials (fabric shape + stitched detail) give designers a bigger palette. The varsity jacket tradition is essentially an appliqué showcase.
Chenille. The fuzzy, looped-pile letters and emblems of letterman jackets — produced as patches with that unmistakable towel-texture surface, usually bordered in felt. Under the surface it is a looped moss stitch building a deep yarn pile, run as a patch and then appliquéd; the full stitch engineering, next to flat and 3D puff builds, is in our embroidery guide. Streetwear has pulled chenille off varsity bodies onto hoodies and crewnecks, where the texture contrast against fleece is the entire point.
Side by side, the way we compare them at design review:
| Embroidered patch | Direct embroidery | Appliqué | Chenille appliqué | |
|---|---|---|---|---|
| Build | Dense embroidery on a stable backing, made off-garment, then sewn on | Thread stitched straight into the garment panel | Cut fabric shapes stitched onto the garment, often with embroidered outlines | Looped moss-stitch yarn pile, made as a patch and appliquéd |
| Edge | Merrowed border or laser cut | No border; stitches finish in the fabric | Stitched outline around each shape | Felt border |
| Hand-feel | Raised badge object; backing adds stiffness | Flattest and most integrated | Layered fabric on fabric | Deep looped "towel" pile |
| Best for | Chest, sleeve and back-yoke badges; reuse across products | Quiet chest hits on premium basics | Chest-wide wordmarks, varsity letters, contrast panels | Varsity letters, mascots, statement pieces on fleece |
Attachment, and why it matters
Sewn attachment is production standard — permanent, wash-proof, and the visible stitch line is part of the aesthetic. Heat-seal backings exist for aftermarket use but have no place in made-to-order production. What is worth speccing: edge treatment (merrowed border vs laser-cut), corner behavior on large back pieces, and backing stiffness — a big stiff patch on soft fleece changes how the garment drapes, which is exactly the kind of thing you catch on a physical sample, not a mockup.
Cost logic, honestly
Patches price by size, stitch density and quantity — and because they're components, they can carry their own workshop minimums. Direct embroidery prices by stitch count. Appliqué prices by cutting complexity plus outline stitching. Combining constructions on one garment (chenille chest + embroidered sleeve + appliqué back) is routine and each element is itemized in the quote. Garment MOQ starts at 50 pieces, while the final minimum depends on the product, fabric, patch program, and customization. Samples take 10-15 working days, with pricing confirmed after project review, and carry the real patches rather than renderings.
Speccing dimensional branding in one pass
- Artwork per element, with real dimensions in cm
- Construction per element: patch / direct / appliqué / chenille
- Placement map on a flat sketch — front, back, sleeves
- Edge and backing preferences where you have them; otherwise we propose at design review
- The fabric it lives on — density and pile of the base garment constrain what each construction can do
Reference styles from our floor
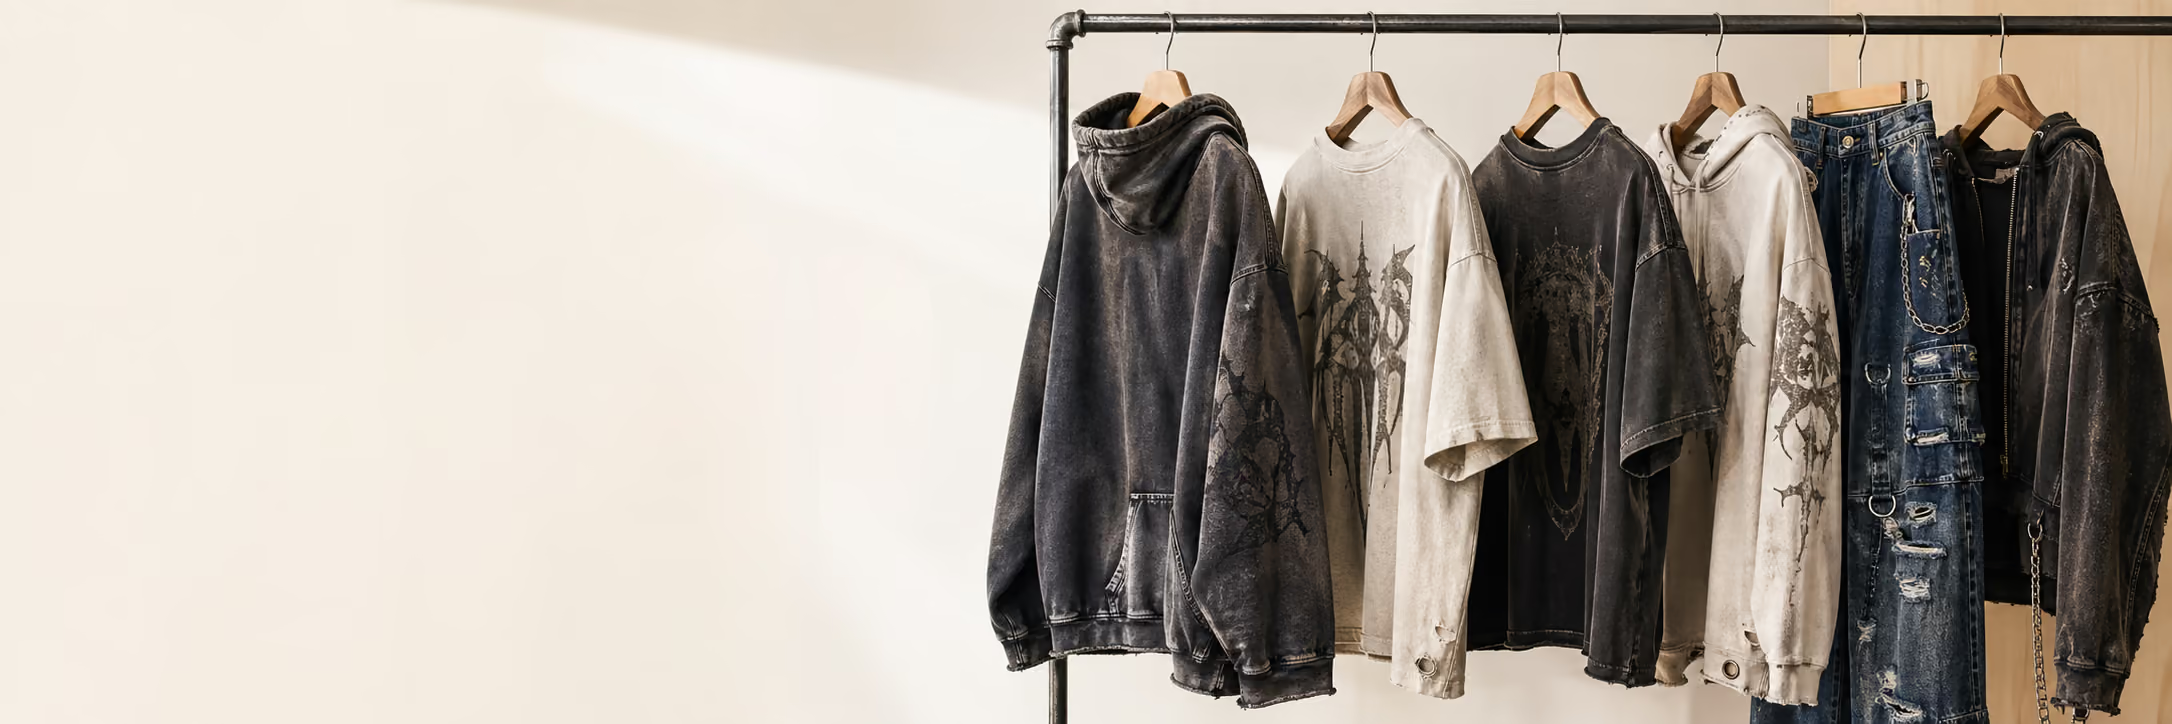
- Acid Wash French Terry Cropped Hoodie Distressed — embroidery, appliqué and patch on one washed build
- Wide Leg Flared Stacked Embroidered Patch Ripped Jeans — patches carrying a denim design
- Distressed Acid Wash Jeans Shorts with Patch Embroidery — patch work layered over wash and distressing
All made to order from an MOQ starting at 50 pieces, with the final minimum depending on the product, fabric, wash, and customization — your artwork, your constructions, your placements.
FAQ
Patch or direct embroidery — how do I choose? Patch when you want the badge object (defined edge, maximum density, reusable across products); direct when you want branding integrated into the garment. Price difference is usually modest at streetwear sizes; the look difference is the real decision.
Do patches survive heavy washing? Sewn patches outlast the prints around them. If the garment itself gets a heavy wash treatment after attachment, we sequence and test that on the sample — washed-down patches are themselves a look.
Can you produce our patches from a logo file? Yes — vector artwork in, patch component out, approved physically on the sample. Fine gradients need adaptation to thread; we flag what translates and what needs redrawing at design review.
Is chenille only for varsity jackets? Not anymore — chenille on fleece is one of the defining premium-streetwear textures right now, precisely because the pile-on-fleece contrast can't be faked with a print.
Next steps
Continue your sourcing research
Connect this guide to the relevant production service, then compare the related decisions before sending a brief.
Embroidery
Review embroidery style, placement, scale and garment compatibility before sampling custom men's apparel.
Review this service →Related buyer guideCustom Varsity Jackets: Construction, Materials and What to Spec Before Sampling
How varsity jackets are actually built — melton bodies, PU sleeves, chenille patches, custom ribbing — and the five-line brief that gets you an accurate quote.
Read guide →Related buyer guideEmbroidery vs Screen Printing: A Factory Decision Guide
Choose embroidery or screen printing by artwork, fabric, placement and sample evidence—not a universal cost or durability rule.
Read guide →Need this turned into a production quote?
Send your target style, fabric notes, decoration details and quantity so Jiashun can review the production path.