Embroidery Puckering: Causes and Approval Checks
Diagnose embroidery puckering by visible signature, material, placement, digitizing revision, support, hooping and processing evidence before approving a corrected trial.
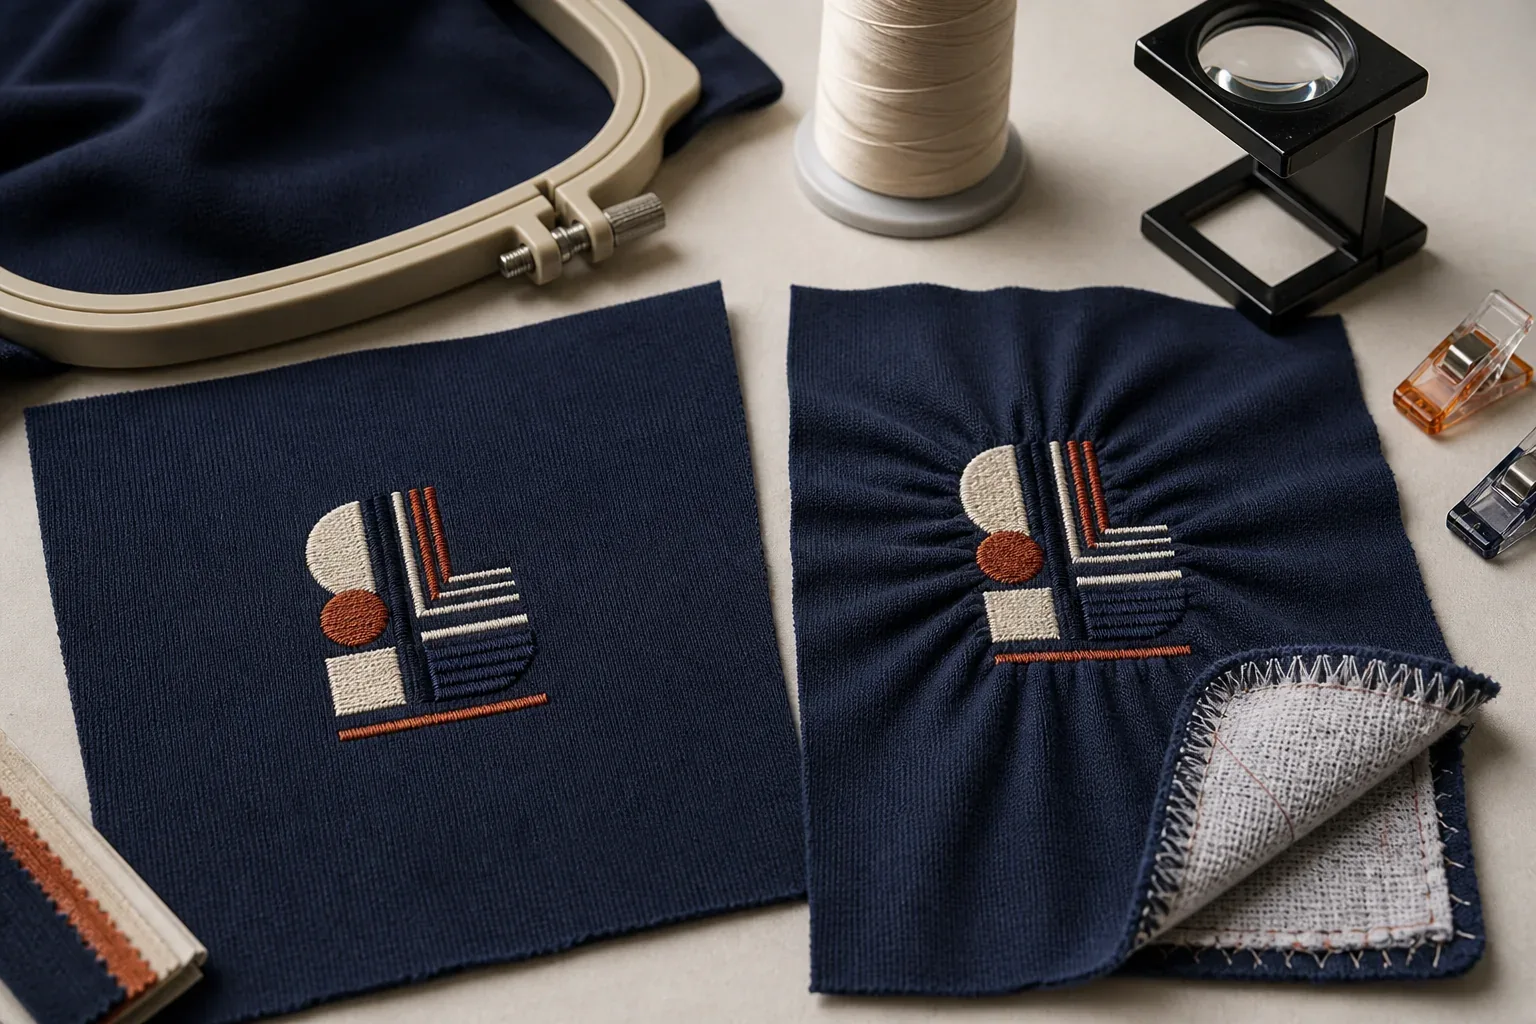
Embroidery puckering is uncontrolled fabric distortion around or within a stitched design after embroidery has already been selected. It can appear as radial ripples, gathered edges, a pulled-in outline, ridges through a fill or distortion that becomes visible only after the panel is unhooped, rested, finished or washed.
Do not diagnose it from one final photograph. Material behavior, artwork and digitizing, stitch-field geometry, underlay and support, hooping, thread/needle/tension interaction, placement and later processing can contribute together. Preserve the original condition, compare a relevant control and close the issue with a corrected stitched trial on the actual panel.
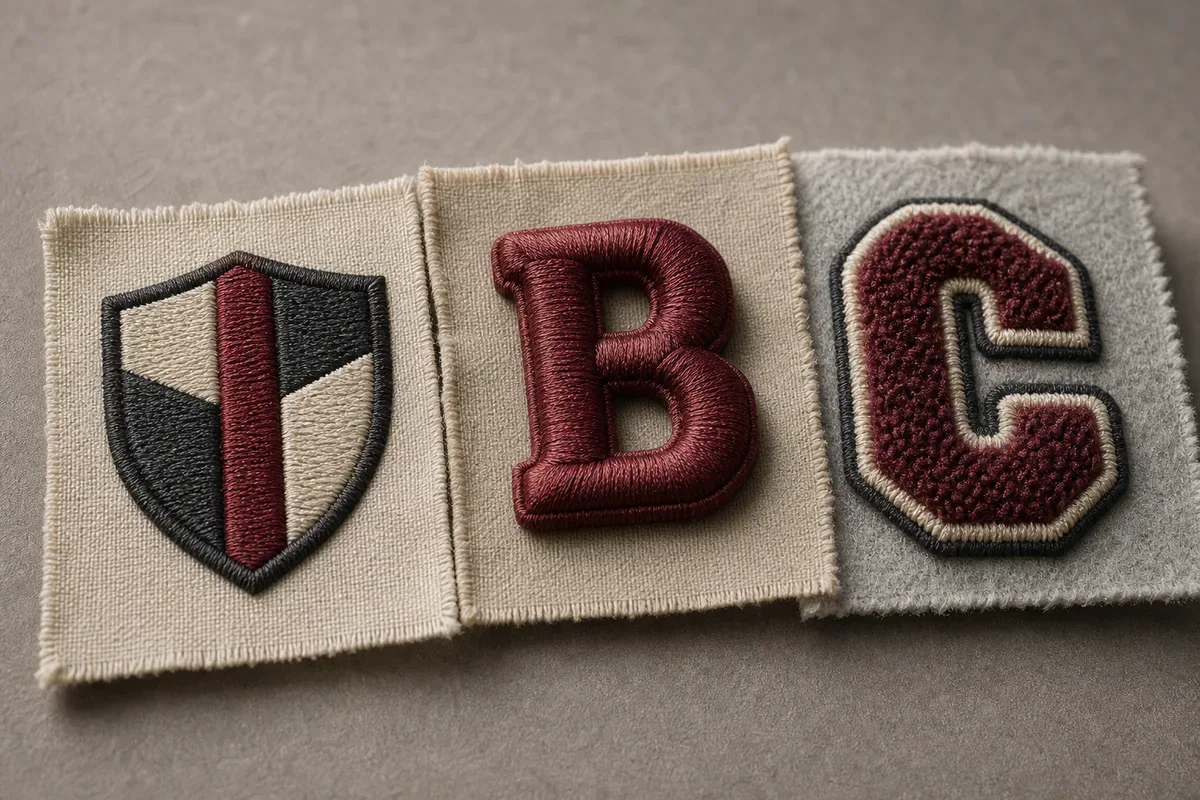
This page owns embroidery-specific troubleshooting. The seam-puckering guide retains rippling along construction seams. The embroidery-versus-screen-printing guide retains method choice, while the flat, 3D-puff and chenille guide retains decoration-build selection.
First Confirm That the Distortion Belongs to the Embroidery Field
Puckering is a symptom description, not proof of one cause. Start by locating the distortion relative to the stitched area.
| Visible condition | What distinguishes it | Where to route it first |
|---|---|---|
| Embroidery-field puckering | Ripples or gathering begin at the outline, fill, underlay area or placement edge | Embroidery trial and evidence review |
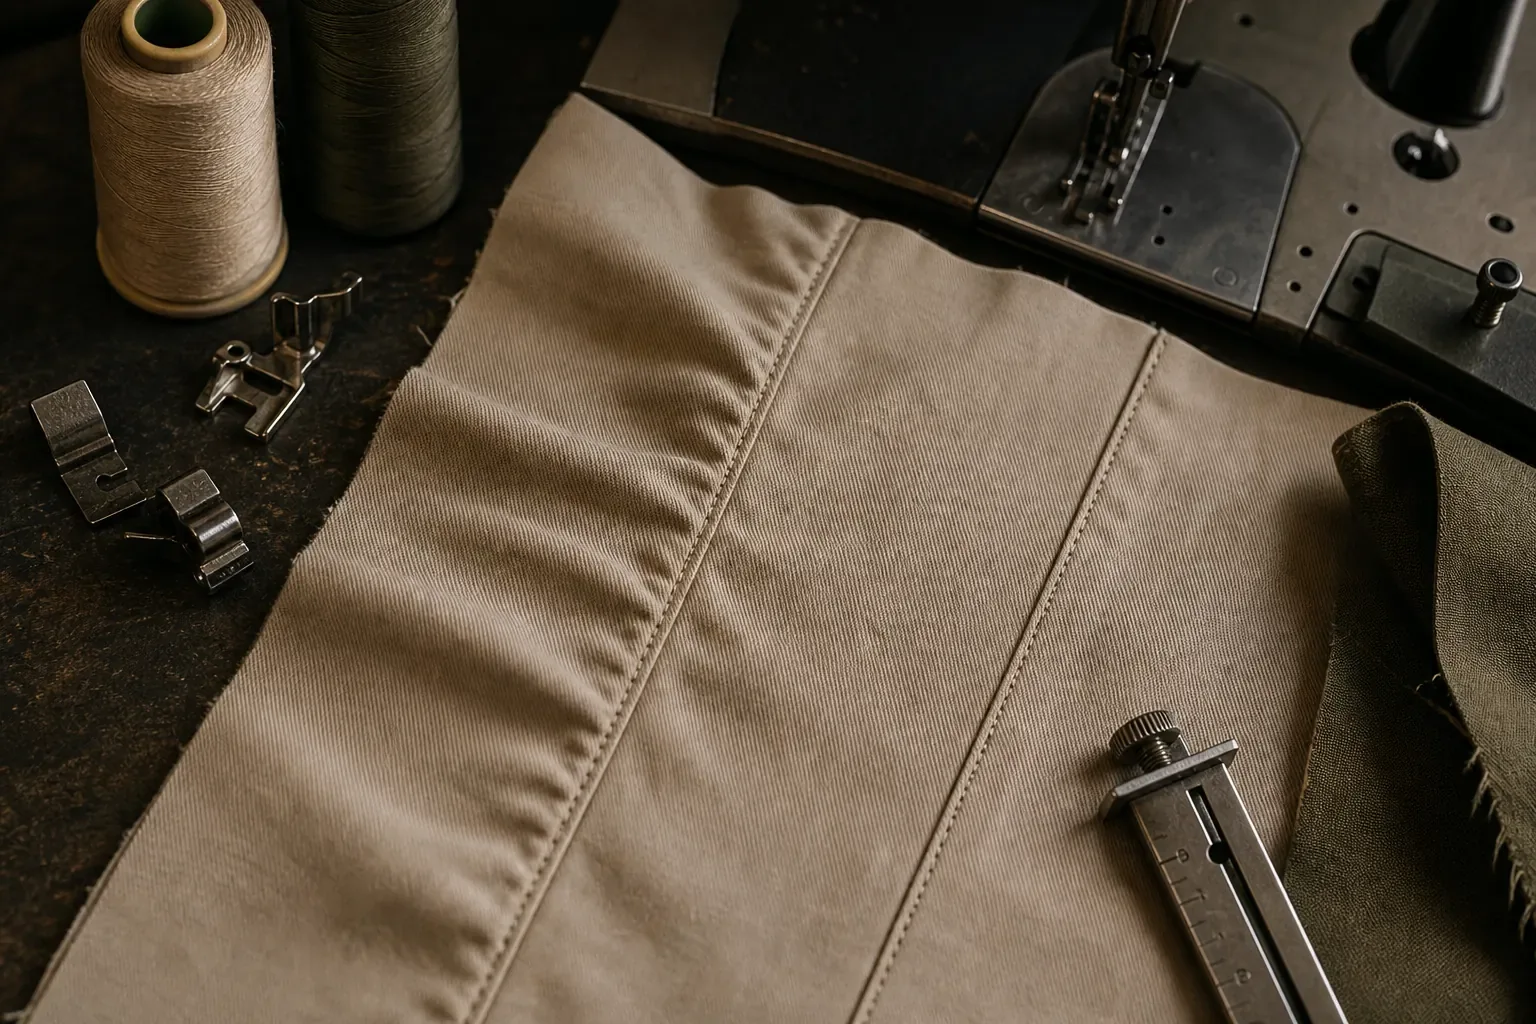
| Sewn-seam puckering | Waves follow a construction or topstitch seam outside the decoration field | Seam-puckering diagnosis |
| Hoop mark or temporary compression | Ring, shine or nap change follows the frame rather than the stitch field | Hooping/material recovery review |
| Garment shaping or intended drape | Fold follows pattern geometry and appears without embroidery | Pattern, fit or pressing review |
| Needle-related material damage | Cut yarns, holes, runs or laddering align with penetrations | Needle-damage diagnosis |
Let the panel rest unhooped before judging. Photograph the whole garment, the decoration and the surrounding fabric in the same relaxed state. If a ripple continues into a seam, mark both systems; one garment can have two different problems.
Do not steam or press the first evidence away. Pressing may change surface appearance without showing whether stitch-induced stress, support or material response has been corrected.
Read the Pucker Pattern Before Changing Settings
The location and timing of the distortion can narrow the next comparison without proving a single root cause.
| Signature | Questions it raises | Evidence to preserve |
|---|---|---|
| Fabric pulls inward around the whole design | Is the stitched field concentrating the base fabric? Is the support compatible with material and design? | Face/back, design dimensions, support identity and unembroidered control |
| Ripples follow a dense fill or one edge | Do stitch direction, spacing, sequence, underlay or pull compensation concentrate movement there? | Exact digitizing file/revision and machine worksheet |
| Distortion is stronger in one direction | Does the material stretch or yield differently by course/wale, warp/weft or bias? | Direction marks and like-for-like rotated trial where justified |
| Panel looks flat in the hoop but puckers after release | Was the fabric stretched or distorted during hooping? | Images while hooped and after a defined rest period |
| Pucker appears after wash or garment finish | Did base fabric, thread, backing or the surrounding panel change differently? | Matched before/after images, measurements and process identity |
| Only one placement or size fails | Does curvature, seam proximity, layer stack or scaled artwork change the system? | Placement map, actual panel construction and design size |
Wilcom's official pull-compensation guidance explains that needle penetrations and stitches tend to pull fabric inward, which can produce puckering, gaps and distorted outlines. Its underlay guidance describes underlay as a foundation that can help stabilize fabric and reduce puckering and pulling. Those are interaction principles, not universal settings to paste into every tech pack.
Build the Evidence Record Before Attempting a Fix
Use a rejected unit, retained trial or purpose-made sample for destructive checks. Keep the approved reference intact.
- Identify the garment and stage. Record style, size, colorway, material article or lot, sample revision and whether the panel is cut, assembled, finished or washed.
- Identify the decoration. Record artwork, digitizing file and revision, design dimensions, stitch-field orientation, color sequence and placement reference.
- Photograph the face and back. Include the whole garment, the full decorated panel and close views under consistent light.
- Record the physical state. State whether the sample is hooped, newly unhooped, rested, pressed, finished or washed.
- Keep a control. Compare an unembroidered panel from the same known material state and, where available, the approved stitched reference.
- Map the distortion. Mark its start, direction and maximum area without pulling the fabric flatter.
- Preserve production inputs. Retain the backing/support identity, hoop/frame, thread, needle and machine or operation record needed for a controlled comparison.
A final front-face photo without the reverse, control or revision cannot tell a reviewer whether the base fabric was stretched, the support changed, the digitizing file changed or the panel responded during later processing.
Which Cause Families Should Be Compared?
Material and placement interaction
Light, stretchy, loosely constructed, napped, coated or heavily finished materials can present different support and surface needs. Curved panels, seams, pocket edges and multi-ply zones can also change how the same design behaves.
Record the actual material and placement instead of writing “hoodie embroidery” as the substrate. A chest design on one layer of jersey is a different system from a sleeve placement near a seam or a design across a lined jacket panel.
Artwork, digitizing and stitch-field geometry
Scaling artwork can change stitch spacing, underlay, column width, path length and sequence. A file that worked at one size is not automatically approved at another. Dense adjacent fields, abrupt direction changes, long stitches and repeated penetrations can concentrate movement or create other quality risks.
Ask the digitizer to return the exact file revision and the controlled change. Do not tell production merely to “lower density” or “add compensation.” A change that flattens the fabric but opens gaps, distorts outlines or weakens coverage has exchanged one problem for another.
Stabilizer, backing, topping and underlay
Support must be reviewed as a system with the base fabric, design and intended reverse-side finish. Madeira's official E-Zee backing guide says fabric construction informs backing type and design type informs backing weight. That is why “use two layers” or “always use cut-away” is not a defensible universal instruction.
Record support product, construction/weight designation, layer count, orientation, attachment and removal state. Topping and underlay have different functions; do not use the words interchangeably.
Hooping and panel distortion
Hooping should control the material without pre-stretching it into a false flat state. Wilcom's hoop-alignment guidance warns that uneven alignment and fabric bias can permit stretch and lead to distorted stitching and puckering. Madeira's backing guide likewise warns that overly tight hooping can pucker after release, while loose hooping can lose registration.
Record the hoop or frame, design position, material direction and whether the fabric was pulled after hooping. “Tighten the hoop” is not a root-cause record; both too much and too little control can create problems.
Thread, needle, tension and stitch formation
Thread path, top and bobbin balance, needle condition, thread/needle/material compatibility and machine maintenance can affect how force enters the panel. Check stitch formation on the reverse and look for looping, breaks, damaged yarns or uneven pull.
Do not prescribe one tension number or needle size across machines and fabrics. Ask the embroidery technician to identify the system used, return a balanced corrected result and show that the change did not create needle damage or poor registration.
Finishing, pressing and care exposure
A decoration can appear acceptable before garment washing and distort afterward if the base material, support, thread or surrounding construction changes differently. Conversely, a panel can leave the hoop with visible stress that pressing temporarily masks.
Use the project's intended finish and care route on the corrected trial. Keep matched pre-process and post-process images and measurements. An untreated strikeout cannot approve a garment that will be washed, dyed or heavily finished after embroidery.
Change One Controlled Variable at a Time
When several inputs change together, a flatter second sample does not reveal which change mattered or whether the result is repeatable.
| Trial | Controlled comparison | Closing evidence |
|---|---|---|
| Material direction | Same design, support and operation on marked directions | Direction-specific face/back result after rest and intended process |
| Digitizing revision | Same panel and operation, one documented file change | Revised worksheet plus outline, coverage and pucker comparison |
| Support system | Same design/material, one identified support change | Reverse-side record, hand and post-process appearance |
| Hooping method | Same material/design with documented alignment/control change | In-hoop and rested unhooped images, registration check |
| Thread/needle/tension system | Same known panel and digitizing file, one technician-controlled change | Balanced stitch, no material damage and corrected face appearance |
If a technician needs to change more than one linked variable for safety or machine compatibility, list every change. The record should still say what was held constant and which result closed the issue.
How Should an Embroidery Approval Sample Be Reviewed?
Review the decoration at three scales:
- Whole garment: placement, symmetry, drape and whether the decorated zone pulls the silhouette.
- Panel: ripples, outline shape, alignment to seams and behavior at curves or layer transitions.
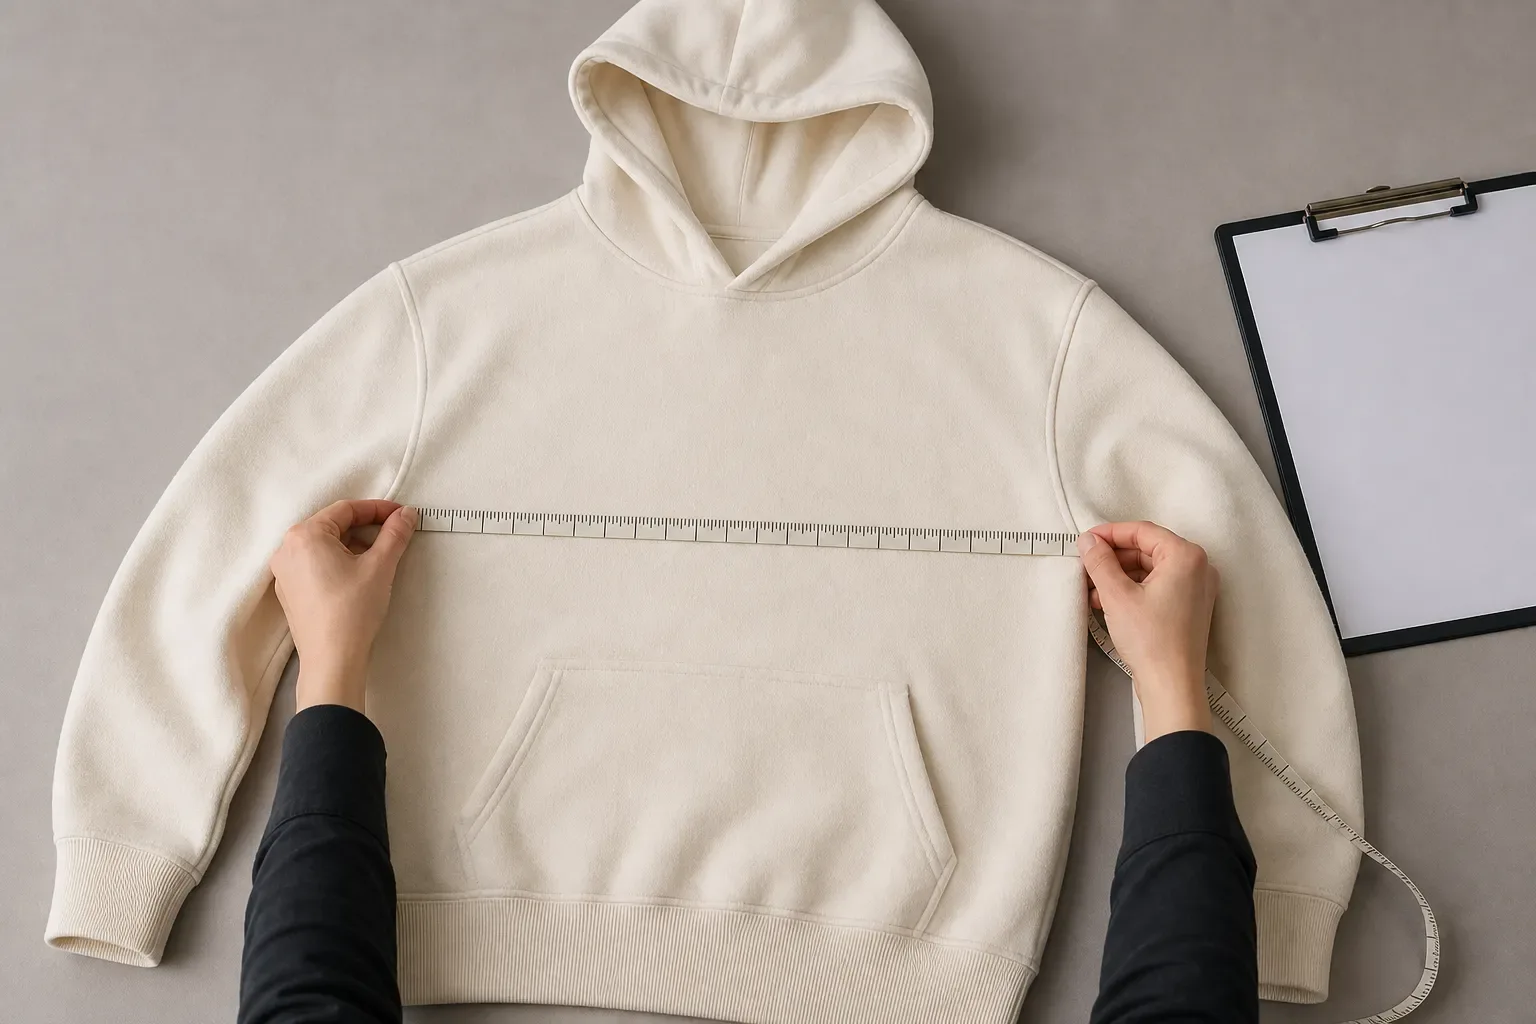
- Stitch field: coverage, gaps, registration, thread condition, reverse support and material damage.
Then review it in each required state: rested after unhooping, after the intended finish, and after the agreed care exposure when that is part of approval.
Catalogue references help locate different risks. A sun-faded hoodie with an embroidered graphic combines a knit body, decoration and surface finish. An acid-washed embroidered denim pant places stitching on a woven, wash-driven garment. A chenille-decorated varsity jacket adds different layers and placement geometry. These product pages show design context only; they do not prove the hidden support, digitizing, setting or performance for another order.
A Copyable Embroidery Puckering Approval Record
GARMENT AND PANEL
Style / sample revision:
Size / colorway:
Material article / lot / finish state:
Panel and placement:

DESIGN CONTROL
Artwork file / revision:
Digitizing file / revision:
Finished design dimensions and orientation:
Thread colors / sequence:

PRODUCTION INPUTS
Support / backing / topping identity and layers:
Hoop or frame and alignment method:
Thread / needle / machine or operation record:
Relevant technician-controlled settings record:

EVIDENCE
Whole garment, face, back and unembroidered control:
State at photography: hooped / rested / pressed / finished / washed:
Pucker location, direction and severity description:
Controlled change and unchanged inputs:
Corrected trial ID:
Post-finish / post-care result:

DISPOSITION
Approved scope:
Open exceptions:
Authorized decision and date:
Reopen triggers:
The sample approval checklist retains approve, revise, reject and hold disposition for the complete sample. This record supplies the embroidery-specific evidence that the sample owner needs.
When Should Approval Be Reopened?
Reopen the stitched trial when any of these change outside its stated scope:
- Base material, supplier article, lot, stretch direction or finish state.
- Artwork, digitizing revision, design size or stitch-field orientation.
- Placement, garment panel, seam proximity or layer stack.
- Backing, topping, underlay strategy or removal route.
- Thread system, needle relationship, hoop/frame or operation route.
- Garment wash, dye, pressing, finishing or care procedure.
- Colorway when material or process response is not already covered by approval.
Do not carry approval from a flat strikeout to a different garment panel merely because the artwork is unchanged.
Claims and Shortcuts to Avoid
- Do not call all surrounding ripples “bad tension.”
- Do not prescribe one stitch density, pull-compensation value, backing weight, hoop tension or needle size for every fabric.
- Do not assume more backing or more underlay is always better; added support can change hand and reverse-side comfort.
- Do not stretch fabric in the hoop until it looks flat and treat the released result as a surprise.
- Do not iron the only defect sample before preserving face/back and rested-state evidence.
- Do not approve from a digital mock-up or an unprocessed strikeout when the garment will be finished afterward.
- Do not claim that a product photograph proves how its embroidery was engineered.
Jiashun offers flat embroidery, 3D puff, chenille, appliqué and patch options for custom men's garments. The exact design, material, support, placement and process are reviewed for the project. No universal machine setting or wash-performance number is implied.
Frequently Asked Questions About Embroidery Puckering
What causes puckering in machine embroidery?
Common cause families include the base material and placement, digitizing and stitch-field geometry, underlay/support, hooping, thread/needle/tension interaction and later finishing or care. More than one can contribute, so diagnose from controlled evidence rather than a single setting.
Can embroidery puckering be ironed out?
Pressing may change the visible surface temporarily, but it does not prove the cause is corrected. Preserve the unpressed evidence, produce a controlled corrected trial and review it after the same finish or care route required for the garment.
Does more backing always prevent puckering?
No. Support type and weight must fit the fabric, design, placement and desired reverse-side hand. Adding layers can create stiffness or another interaction. Record the exact support system and compare a corrected stitched sample.
Why does embroidery pucker only after washing?
The base fabric, thread, support or surrounding construction may respond differently during washing and drying, or the treatment may reveal stress already present. Compare marked before/after evidence and the unembroidered control before assigning the cause.
How should a brand reject puckered embroidery?
Name the style, sample and digitizing revisions, mark the placement and visible signature, attach whole-garment and face/back photographs in a stated material state, and request a corrected trial on the actual panel after the intended process. Keep final disposition in the controlled sample record.
References
- Wilcom, “Pull compensation” — inward pull, puckering, gaps and outline distortion; retrieved 2026-08-08.
- Wilcom, “Stabilizing with automatic underlay” — underlay as a foundation that can reduce puckering and pulling; retrieved 2026-08-08.
- Wilcom, “Hoops & templates” — alignment, fabric bias and distortion context; retrieved 2026-08-08.
- Madeira USA, E-Zee Backing Selection Guide — material/design support selection and too-tight/too-loose hooping cautions; retrieved 2026-08-08.
- Madeira USA, “Fabric Puckering & Looping Stitches” — official troubleshooting sequence for hooping, stabilizer and needle checks; retrieved 2026-08-08.