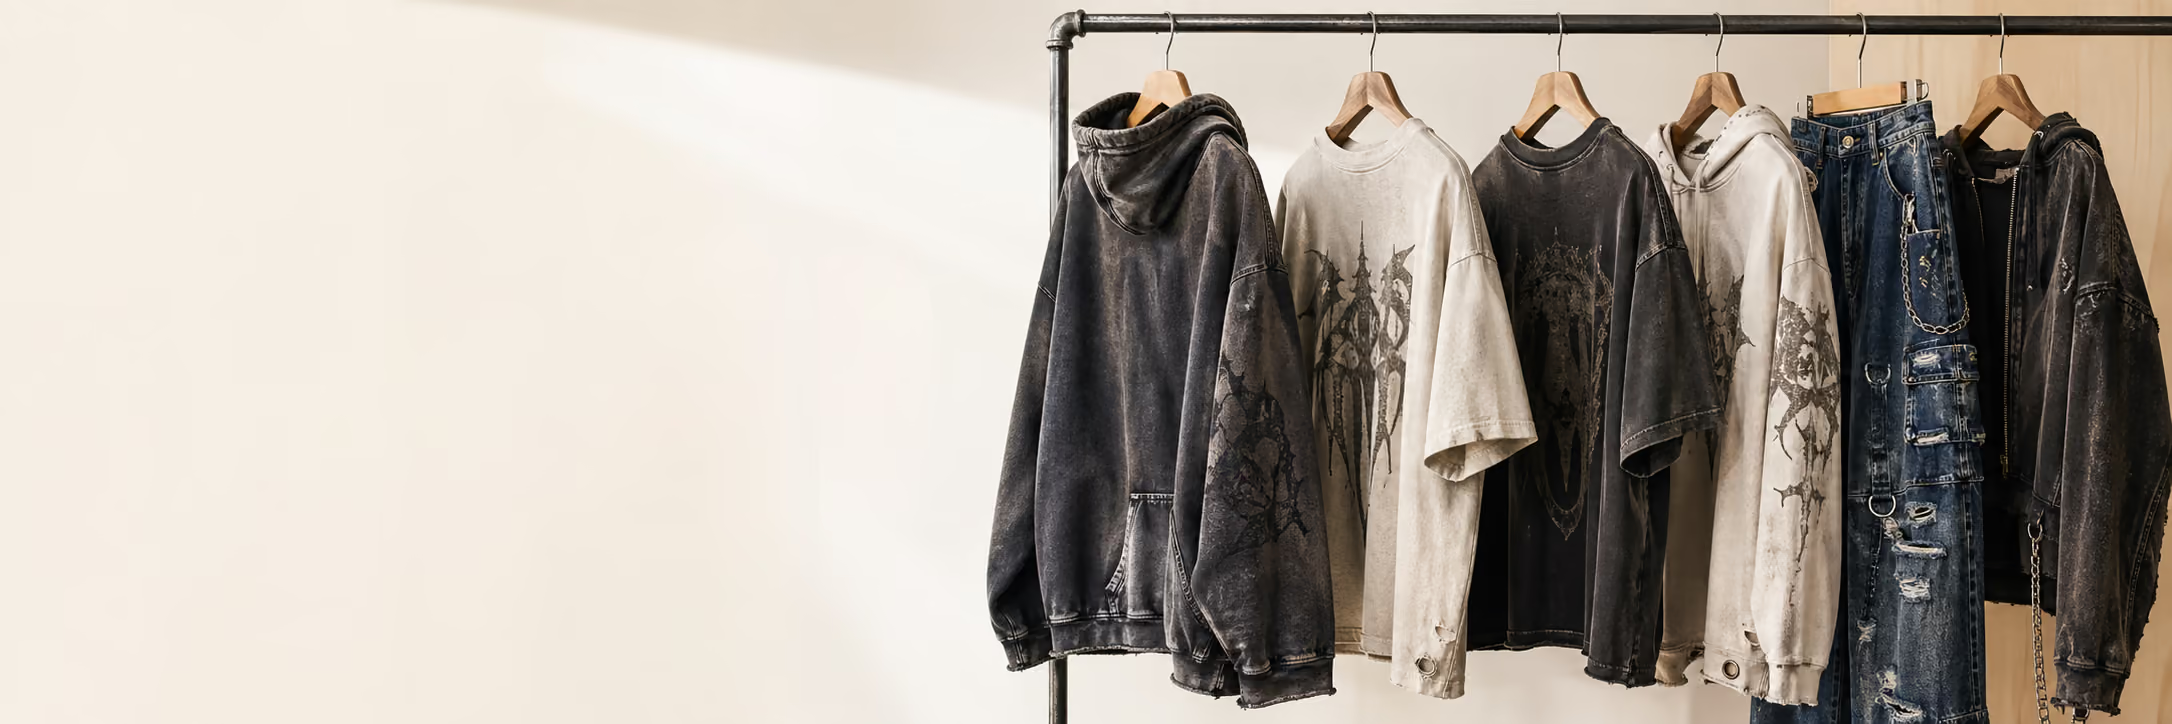
Rips, raw hems, sanding and visible repairs — how factories distress jeans and streetwear step by step, what drives the cost, and how to spec damage that repeats across a run.
How are jeans distressed? A factory typically maps every rip, abrades whiskers and wear zones, cuts or grinds the openings, washes the garment, reinforces selected points, and checks each piece. The design, wash plan, and approved sample determine the exact order because washing changes how fresh cuts open and fray.
"Distressed" is one of the most labor-intensive words in streetwear. A wash treats the whole garment at once; operators create damage point by point, often by hand. This guide explains the techniques, cost drivers, and specification choices that help piece #47 match your approved sample.
Key takeaways
- Factories repeat placement from a measured damage map; natural texture still varies between hands and wash loads.
- A typical jeans route combines abrasion, cuts, washing, selective reinforcement and a piece-by-piece appearance check.
- Buyers should approve the physical sample and define which details production measures versus judges visually.
The technique menu
Rips and cuts. Deliberate openings — clean-cut, laddered (with the white weft threads left bridging the gap, the classic jeans look), or blown out. On denim, laddering exploits the fabric's two-color structure: cut the indigo warp, keep the white weft. On fleece and jersey there is no white core, so rips read as open slashes — a different, rawer look.
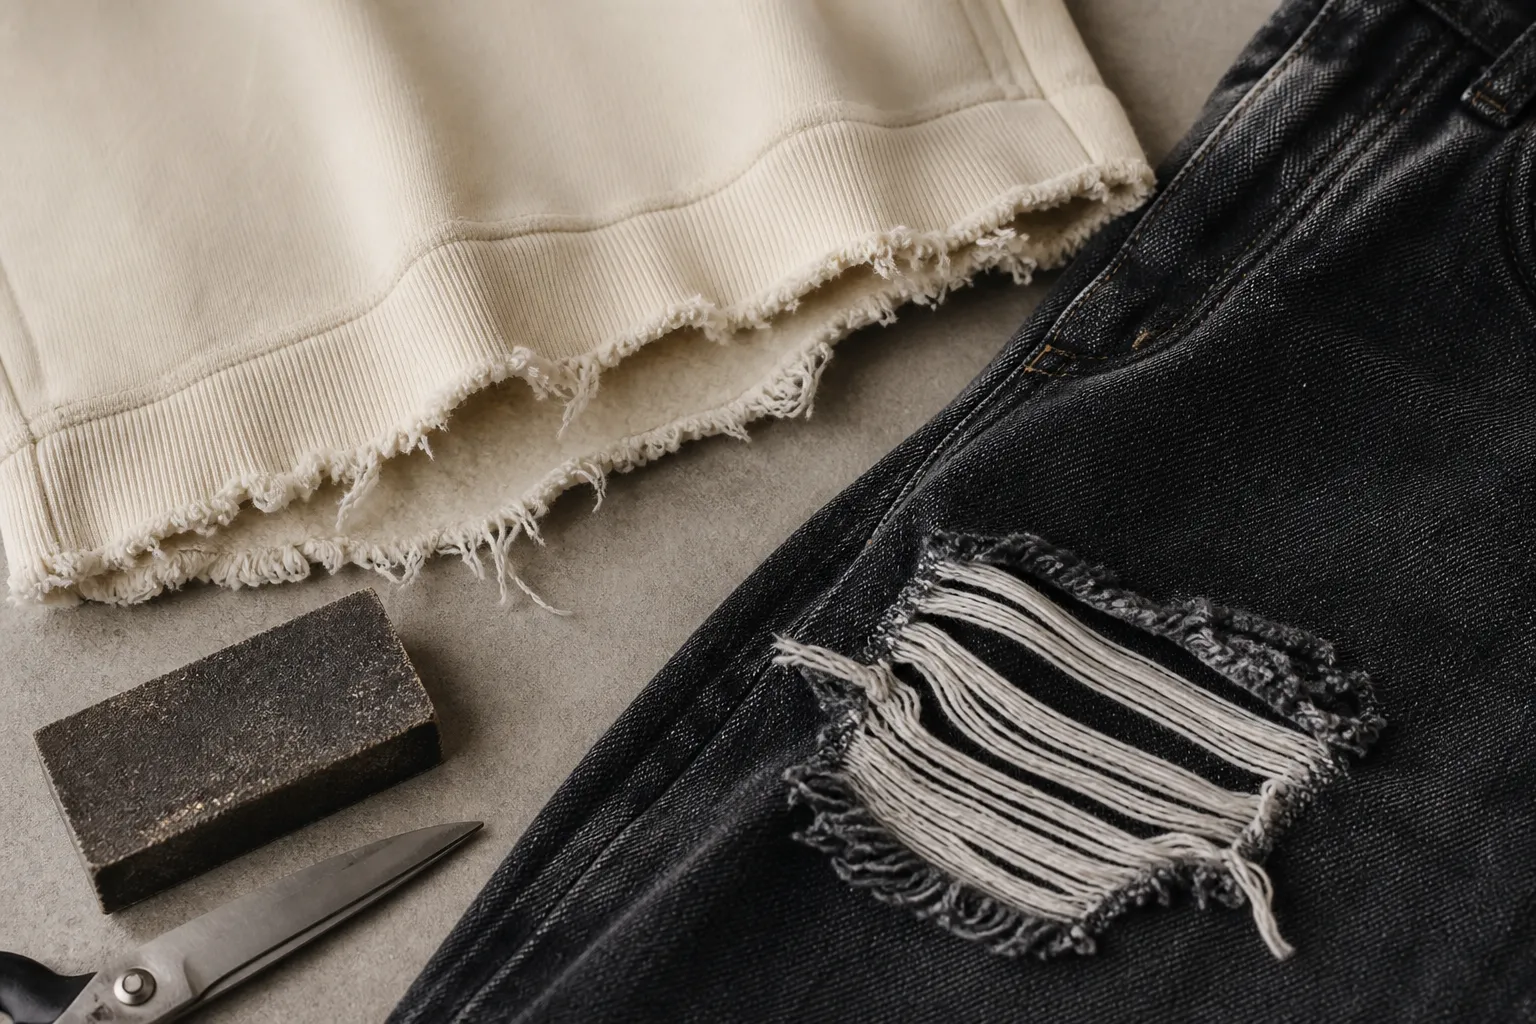
Frayed and raw edges. For a raw hem, operators cut the fabric and leave it unfinished so it develops character over wear. For a frayed hem, they abrade the edge to create loose threads on day one. Necklines, cuffs, pocket edges and hood seams can take the same treatments.
Abrasion and sanding. Operators use sanding tools before or after washing to create localized surface wear on thighs, elbows and collar tips. This translates years of visual wear into a controlled production step, and placement is everything.
Repairs as decoration. Visible mending, patched-over damage and contrast bar tacks over rips make damage plus repair read as garment history.
The wash multiplier. Factories commonly combine distressing with a wash — stone, enzyme or acid wash — because washing softens fresh cuts, blooms frayed edges, and makes manufactured damage look inherited rather than inflicted. The sequence (distress-then-wash or wash-then-distress) changes the result, so the design and sample determine it.
How are jeans distressed in a factory?
A common route through a distressed jeans order runs in six steps: lock a damage map, abrade whiskers and wear zones, cut and fray the openings, wash, reinforce selected points, then check each piece. The design, wash plan and approved sample determine the exact order — above all, where the wash sits relative to the damage — because the industry does not follow one fixed sequence.
- Lock the damage map. A production-ready damage map records each intentional damage point and can number and measure placements from fixed landmarks: waistband, side seam, knee line. This map, not the operator's eye, is what production repeats.
- Whiskers and wear zones. Operators abrade hip creases, thigh fades and the honeycombs behind the knees. Common tools include hand-sanding on leg forms and lasers that etch repeatable wear patterns; Levi Strauss & Co.'s Project F.L.X. case study shows how laser finishing can automate parts of this work. Whatever the tool, placement follows the map.
- Cut, grind, fray. Depending on the design, blades or laser treatment can open rips, while grinders and hand tools chew hems, pocket mouths and waistband edges. For a hand-cut laddered hole, operators cut the indigo warp and keep the white weft so the opening ladders instead of gapes.
- Wash. A stone or enzyme wash blooms every fresh cut and settles the color, which is why factory damage looks inherited and scissor damage at home looks inflicted. Choosing a denim wash is a separate design decision.
- Backing and bar tacks. When the design calls for reinforcement, backing and/or bar tacks can help control how far the damage grows in the wash and in wear.
- Final check, piece by piece. Inspectors give every finished garment a basic appearance and workmanship check before packing.
For a broader industry reference, CottonWorks maps whiskering, grinding, hand sanding, washing and inspection in its garment-finishing overview. That wider sequence is another reason to approve the route on the sample instead of treating these six steps as a universal recipe.
Put the repeatable and variable details in writing. Ask the factory to measure placement — for example, checking a knee rip from the same landmarks on piece #3 and piece #300 — and judge texture within the range shown by your approved sample. Different hands and wash loads can produce different surface textures. Agree which points require measurements and which rely on visual judgment, and the sample becomes a working acceptance standard instead of a photo reference.
What distressing costs, honestly
For hand-applied distressing, two major drivers are placement count and consistency requirements. Each manually applied point adds an operation, so a hand-distressed design with two knee rips generally requires less labor than one with fourteen scattered abrasions. The tool changes the labor model. Because buyers expect piece-to-piece consistency in placement while wanting organic variation in texture, operators follow a damage map — a placement diagram locked at sampling — point by point.
Factories price this skilled, repeatable handwork into the quote line by line. On jeans specifically, the wash-and-distress stage can be a major cost variable; the jeans production cost guide shows where those dollars sit in the full garment.
A typical damage map covers placements like these:
| Placement | Abrasion type | Cost-risk note |
|---|---|---|
| Knees | Open rips: clean-cut, laddered or blown out | Manually applied rips add operations; more points generally add labor |
| Thighs, elbows, collar tips | Localized sanding before or after washing | Placement is everything; the wash softens and settles the wear |
| Hems | Raw (cut and left) or frayed (actively abraded) | An unfinished raw hem keeps evolving with wear |
| Necklines, cuffs, pocket edges, hood seams | The same fray treatments as hems | Reviewers judge edge behavior after the wash, on the physical sample |
| Over existing rips | Visible mending, patches, contrast bar tacks | Bar tacks and backing can help control how the damage grows |
Our typical planning ranges: MOQ starts at 50 pieces, while the final minimum depends on the product, fabric, wash, and customization. Samples typically take 10-15 working days, we confirm pricing after project review, and bulk typically takes 20-30 working days after sample approval. Exact timing depends on the product, fabric, wash, customization, quantity and project review.
How to spec damage that repeats
- Separate the wash from the damage map. One line of the tech pack states what the whole garment goes through — stone, enzyme or acid, and to what shade. A separate diagram states what happens at each point. Mixing the two is the fastest way to get a beautiful wash with damage in the wrong places.
- Mark placements on a flat sketch or photo — front and back, every point, measured from landmarks. "Distressed all over" is not a spec; it's a surprise.
- Reference the depth per point: surface abrasion, open rip, or blown-out hole. Photos of real garments communicate this fastest.
- State the consistency expectation: identical placement across the run (standard) with natural texture variation (inherent).
- Approve on the physical sample — by hand. Check the hand of the fabric after the wash, how the edges behave, how each rip opens on the body, whether backing shows from the outside, and whether tacks hold when you pull. Photos cannot fully show these details, which is exactly what the sample checklist stage exists for.
Reference styles from our floor
- Distressed, Frayed Vintage-Washed Oversized Jeans — distressed stitch and frayed detail on a vintage-washed, faded base
- Light-Wash Wide-Leg Jeans with Embroidery and Distressed Hem — a light wash with side embroidery and a distressed hem
- Heavyweight Baggy Denim with Distressing and Embroidered Patches — heavyweight vintage-washed denim combining distressing with embroidered patches
- Acid Wash Oversized Distressed Ripped Print Hoodie — distressed detailing beyond denim: acid-wash french terry with a ripped-style print
We make all these styles to order from an MOQ starting at 50 pieces, with the final minimum depending on the product, fabric, wash, and customization — your placements, your depth, your fabric. If you're scoping a full distressed denim program rather than a single style, start from our custom denim pants manufacturing page.
FAQ
Will distressed areas keep growing with wear? Production can stabilize controlled damage with bar tacks, interior backing or wash-setting to help keep rips from running. An unfinished raw hem keeps evolving, so choose that behavior deliberately.
Can every fabric be distressed? Every fabric can be damaged; not every fabric damages attractively. Denim and heavy cotton fleece reward it; loose lightweight knits mostly just fall apart. We flag mismatches at design review.
Is hand-distressing why two pieces look slightly different? When a design relies on hand-distressing, placement can stay fixed while surface texture varies. Laser-led details can improve repeatability, but the fabric and wash still affect the result.
Do factories distress jeans by hand or with lasers? The industry uses both: lasers commonly create whiskers, fade patterns and some openings, while hand tools — blades, grinders and sanding blocks — commonly handle rips and fray. What matters for a buyer is the map, not the tool: placement should repeat either way, and design review plus the sample confirm the right route for your design.
Do you distress before or after printing? Depends on whether the artwork should sit on top of the damage or be damaged with it. Both are routine; we sequence it per design at review.
Next steps
Continue your sourcing research
Connect this guide to the relevant production service, then compare the related decisions before sending a brief.
Washing & Garment Dye
Plan wash effect, handfeel, colour direction and sample approval for vintage men's streetwear production.
Review this service →Related buyer guideAcid Wash Beyond Denim: How the Effect Works on Hoodies and Tees
No acid involved: how the marbled effect is actually produced on fleece and jersey, why black bases win, and the four decisions that spec an acid wash correctly.
Read guide →Related buyer guidePatches and Appliqué: Dimensional Branding, from Chenille to Embroidered Badges
Embroidered patches, direct embroidery, appliqué and chenille compared — construction, attachment, cost logic and the one-pass spec for dimensional branding.
Read guide →Related buyer guideWhy New Clothes Are Made to Look Old
Distressed clothing is manufactured time: what distressed actually means, how deliberate damage went from punk protest to production craft, and why brands pay a factory to age garments before anyone has worn them.
Read guide →Related buyer guideDenim Washes Explained: Stone, Enzyme, Acid and Sun-Fade — and How to Approve Them
What stone, enzyme, acid and sun-fade washes actually do to denim, why washed pieces vary by nature, and how to spec a wash so the sample lands close.
Read guide →Need this turned into a production quote?
Send your target style, fabric notes, decoration details and quantity so Jiashun can review the production path.