Seam Puckering Causes: A Brand QC Guide
Seam puckering is a symptom, not a single machine fault. Use timing, seam location, ply behavior and wash evidence to distinguish structural, tension, feed and dimensional-change causes before bulk production.
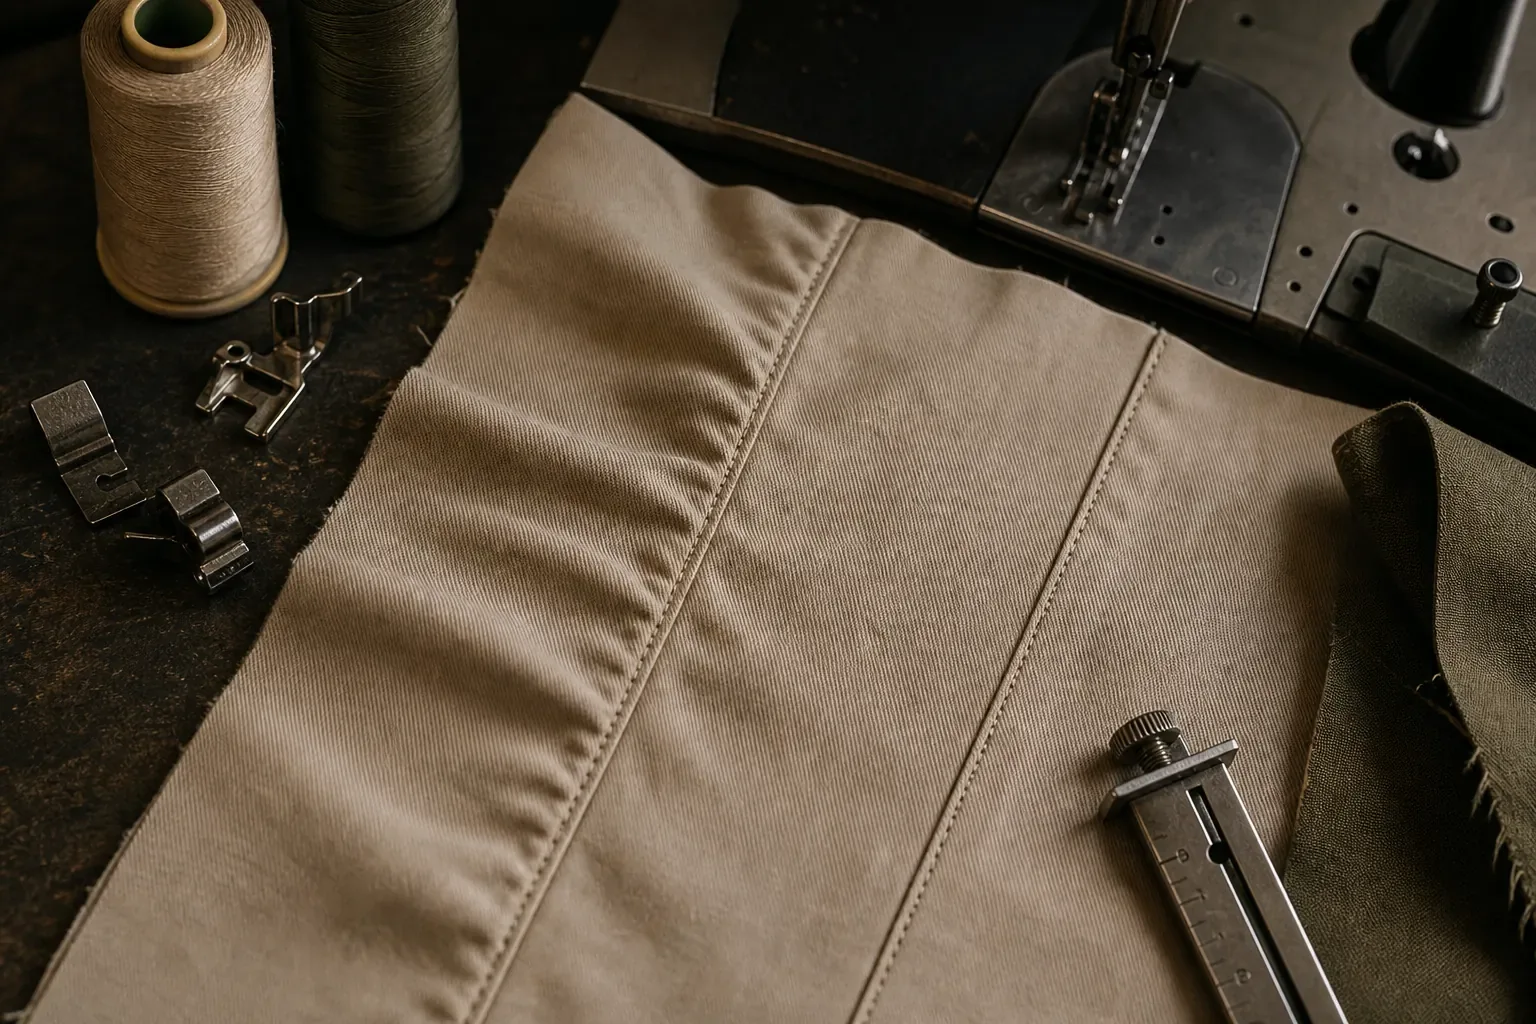
Seam puckering is an unwanted ripple, gather or wave along a sewn line. It is a symptom, not one universal machine fault. A seam can pucker because the fabric yarns have been displaced, the sewing thread relaxes after being inserted under tension, two plies feed at different rates, or sewn components change dimensions differently during finishing or washing.
Those mechanisms can overlap. A useful brand comment therefore does more than say “fix puckering.” It records where and when the distortion appears, which layers are involved, and what evidence must show that the correction survives the intended production and care route.
What Does Seam Puckering Look Like—and When Does It Appear?
Puckering follows or sits close to a stitch line. It may look like fine corrugation beside topstitching, a gathered upper ply, a wavy zipper edge or a rippled seam that was flat before laundering. Inspect the garment both laid flat and in its intended three-dimensional shape: a shaped seam should follow the pattern, but it should not show uncontrolled gathering that was absent from the approved sample.
The first diagnostic question is when did it become visible?
| Appearance stage | What it can suggest | What it does not prove |
|---|---|---|
| Immediately after sewing | Fabric displacement, thread tension, unequal feeding or handling may be involved | That one machine setting is the only cause |
| After the seam rests | Stretched thread or fabric may be recovering | That the fabric itself has shrunk |
| After pressing or another finish | Heat, moisture, pressure or component interaction has exposed a difference | That pressing alone created the original problem |
| After the agreed wash-and-dry route | Differential dimensional change may be involved | Which component changed, or by how much |
Take photographs at the first stage where the problem appears. A final washed photo without a pre-wash reference cannot show whether the change began during sewing, finishing or care.
Which Four Mechanisms Cause a Puckered Seam?
Coats' technical bulletin on seam puckering separates four useful mechanisms: tension pucker, inherent or structural pucker, fabric-and-thread instability, and feed pucker. American & Efird's technical bulletin uses closely related categories. These are diagnostic families, not a recipe of universal settings.
1. Structural or yarn-displacement puckering
A sewing needle and thread must occupy space in the fabric. In a dense woven construction, inserting thread along a line can displace nearby warp or weft yarns and build stress beside the seam. Direction matters because the available space and yarn mobility can differ along warp, weft and bias.
This is why a light, tightly constructed shirt fabric can be challenging even though it is not thick. A cropped boxy flannel button-up also shows how a woven garment combines long seams, plackets, collar work and topstitching. Each operation needs approval on the selected cloth; the product example does not establish one setting for every flannel.
2. Thread-tension or relaxation puckering
Thread can elongate while travelling through a machine and being set into a stitch. If it is inserted under excessive tension, it may try to recover after sewing and gather the seam. The distortion can be immediate or become clearer after the fabric relaxes.
“Reduce tension” is still not a complete buyer instruction. The technician must retain a balanced, correctly formed stitch and adequate seam performance. Thread construction, size, lubrication, guides, stitch-forming system and the material all interact. The brand should approve the result, not prescribe an unsupported dial position.
3. Feed puckering
Feed pucker occurs when one ply travels farther than another before the stitches lock them together. The upper and lower layers can experience different friction, pressure, stretch or operator handling. The result may be a visibly gathered ply even when both cut pieces began at the correct length.
Stretch and recovery make this especially easy to misread. A French terry essentials hoodie contains body seams, rib relationships and curved openings that place different materials and directions in one garment. Its construction is a useful reason to test the actual seam stack; it is not evidence that all french terry needs one differential-feed value.
4. Differential dimensional-change puckering
A seam joins a system, not always two identical fabric plies. Shell fabric, lining, interlining, stay tape, zipper tape and sewing thread can respond differently to finishing, moisture, heat or laundering. If one component changes length differently, the stitch line can restrain the others and create rippling.
The component relationship is especially visible in a canvas work jacket with zipper pockets and a corduroy collar. Multiple materials and closures meet along sewn edges. Approval has to cover that assembled relationship, not just an isolated shell swatch. Zipper selection itself remains with the clothing zipper specification guide.
What Can Timing, Location and Ply Shape Tell You?
Use clues to narrow the investigation before changing several variables at once.
| Observation | Plausible direction to investigate | Evidence to request |
|---|---|---|
| Fine ripples beside a straight seam on a dense woven | Structural displacement and thread insertion | Same seam direction on an actual-fabric test panel; close images before and after sewing |
| Pucker eases after threads are carefully cut in a sacrificed test seam | Thread tension can be contributing | Removed thread condition, stitch balance and a corrected comparison seam |
| One ply is longer after a short isolated seam section is removed | Unequal ply feeding can be contributing | Top/bottom ply identification, operation and corrected equal-feed sample |
| Seam was flat before treatment but ripples after wash or finish | Component dimensional mismatch can be contributing | Before/after measurements for each relevant material or assembly |
| Distortion occurs only at a curve, crossing or bulky transition | Local handling, stack height and feed control need review | Location map and trial across the same transition |
| The shape appears away from the stitch line | The issue may not be seam puckering | Fabric, pressing, fusing, handling or pattern investigation |
None of these clues is conclusive by itself. Coats notes that more than one cause can contribute to the same seam. Preserve the sample identity, fabric lot, operation and stage so a corrected trial can be compared with the same conditions.
How Can a Sample Confirm the Cause Without Guessing?
Begin with non-destructive evidence:
- Photograph the whole garment and a close view under consistent light.
- Mark the seam name, direction, start and end, and the section with maximum distortion.
- Identify the face/back and upper/lower plies, plus any tape, interlining, zipper or reinforcement inside the seam.
- Record whether the condition is present after sewing, after rest, after pressing and after the agreed care route.
- Compare the same location with the approved sample and another unit from the same stage.
Only then use a destructive diagnostic on a rejected sample or purpose-made test seam. Coats describes cutting threads to see whether tension is released, removing a short seam section to assess structural displacement, and comparing ply lengths to investigate unequal feed. A&E also describes marking a seam span before finishing to detect dimensional change. These tests destroy the original evidence and should not be performed casually on an approval sample or saleable garment.
One result should lead to a controlled comparison. If a technician changes the needle-and-thread relationship, feed control or another variable, the new seam should use the same material, direction, layer stack and finishing route. A visually flatter seam that introduces skipped stitches, yarn damage or weak performance is not a successful correction. The stitch and seam quality guide owns stitch identification and performance vocabulary.
What Should Be Approved Before Bulk Sewing?
A flat seam at first fitting is only the first gate. Build approval around the actual product route.
Material and component gate
- Confirm shell, lining, interlining, tapes, trims and thread by controlled identity or approved equivalent.
- Record face/back and grain or course/wale direction where they affect the operation.
- Confirm the intended finishing, garment wash and care route before the trial.
Seam trial gate
- Sew the actual construction, including curves, crossings, folders, topstitch rows and bulky transitions.
- Review both sides while flat and on the body or form where shape matters.
- Check that the correction does not create a different defect.
Post-treatment gate
- Rest the sample for the agreed evaluation period.
- Apply the agreed finish or wash-and-dry route.
- Compare the same marked locations and component relationships before and after treatment.
Production comparison gate
- Keep one approved visual reference, sample ID and revision.
- Define where inline checks occur for the affected operation.
- Put lot selection, defect classification and acceptance rules in the inspection plan; do not invent a sample size inside a seam-puckering article. The garment inspection and AQL guide owns that decision.
Most puckering is prevented at production rather than corrected after it — a cut and sew manufacturing partner controls stitch density, thread, feed and panel handling on the same floor that cut the pieces.
What Should a Corrective-Action Reply Contain?
Ask for a short evidence record rather than “operator retrained” or “machine adjusted.” A useful reply includes:
| Field | What to record |
|---|---|
| Garment and material identity | Style, sample revision, color/material lot and relevant component codes |
| Exact location | Named seam, direction, affected span and face or ply |
| Detection stage | Sewing, rest, pressing, finishing, wash or final inspection |
| Working diagnosis | Structural displacement, tension/relaxation, unequal feed, dimensional mismatch or still under investigation |
| Controlled change | Which material, needle/thread relationship, feed/handling method or process variable changed |
| Verification | Before/after images and result after the same intended treatment |
| Disposition | Retest, approve, hold or reject under the project's agreed authority |
The written disposition and physical sample must agree. The sample approval checklist explains how to control comment sheets and revisions; this page supplies the defect-specific evidence to place on them.
Which Claims and Shortcuts Should Brands Avoid?
- Do not specify one needle number, thread size, stitch density, tension value, presser-foot pressure or differential-feed value for every fabric.
- Do not diagnose every wavy edge as seam puckering. Pattern length, fusing, zipper installation, fabric skew and garment twist have separate mechanisms.
- Do not assume pressing permanently corrects the cause because the seam looks flatter for one inspection.
- Do not copy a supplier's product-specific machine table into a general tech pack.
- Do not assign a universal pass grade without naming the method, specimen, treatment, evaluation conditions and agreed acceptance criterion.
- Do not transfer embroidery puckering into this owner. Stabilizer, digitizing, stitch field and decoration placement require an embroidery-specific trial.
ISO 7770:2009 specifies a method for assessing seam smoothness after one or more cleansing treatments and was confirmed current in 2025. AATCC TM88B covers seam smoothness after home laundering. Naming a method does not establish that a garment was tested or passed. The parties still need to agree the applicable care procedure, rating reference, acceptance level, laboratory and report.
Frequently Asked Questions About Seam Puckering
What is the main cause of seam puckering?
There is no single main cause for every garment. Structural yarn displacement, stretched sewing thread, unequal ply feeding and differential dimensional change are four established mechanisms, and more than one can appear together.
Why does a seam pucker after washing?
Washing can expose different dimensional responses among shell fabric, thread, interlining, tape or another sewn component. It can also reveal a condition that was temporarily held flat by fabric finish. Compare marked before-and-after evidence before assigning the cause.
Can ironing fix a puckered seam?
Pressing may change the appearance, but a temporary flat result does not prove that structural, feed, thread or component mismatch has been corrected. Validate the seam after the same finishing and care route required for the product.
Is high thread tension always responsible?
No. Tension pucker is one category. A dense fabric can experience structural displacement, plies can feed unequally, and components can change dimensions differently after treatment.
How should a brand write a seam-puckering comment?
Name the exact seam and span, attach whole-garment and close photographs, state when the condition appeared, identify the affected face or ply, and request a corrected comparison after the same intended treatment. Keep the acceptance decision on the controlled comment sheet.
Is seam puckering the same as a skipped or broken stitch?
No. Puckering describes fabric distortion around a seam. Skipped, broken and imbalanced stitches concern stitch formation or integrity and remain separate checks even when both problems occur in one location.
Seam puckering becomes manageable when it is treated as evidence to classify rather than an adjective to erase. Record the stage, map the seam, test on the real component stack and approve the corrected result through the actual finish and care route.
References
- Coats Group, “Eliminating Seam Puckering” — tension, structural, dimensional-instability and feed mechanisms, plus diagnostic tests.
- American & Efird, Minimizing Seam Puckering — yarn displacement, thread relaxation, unequal ply feeding and shrinkage investigation; product-specific recommendations are not universal settings.
- ISO, ISO 7770:2009, Textiles — Test method for assessing the smoothness appearance of seams in fabrics after cleansing.
- AATCC, TM88B, Seam Smoothness in Fabrics after Home Laundering.
- ISO, ISO 15487:2018, Textiles — Method for assessing appearance of apparel and other textile end products after domestic washing and drying.
Related guides
 Stitch Types and Seam Quality: A Garment Approval Guide
 Garment Sample Approval Checklist: One Comment Sheet, One Revision Trail
 AQL 2.5 Explained: What Garment Buyers Should Specify
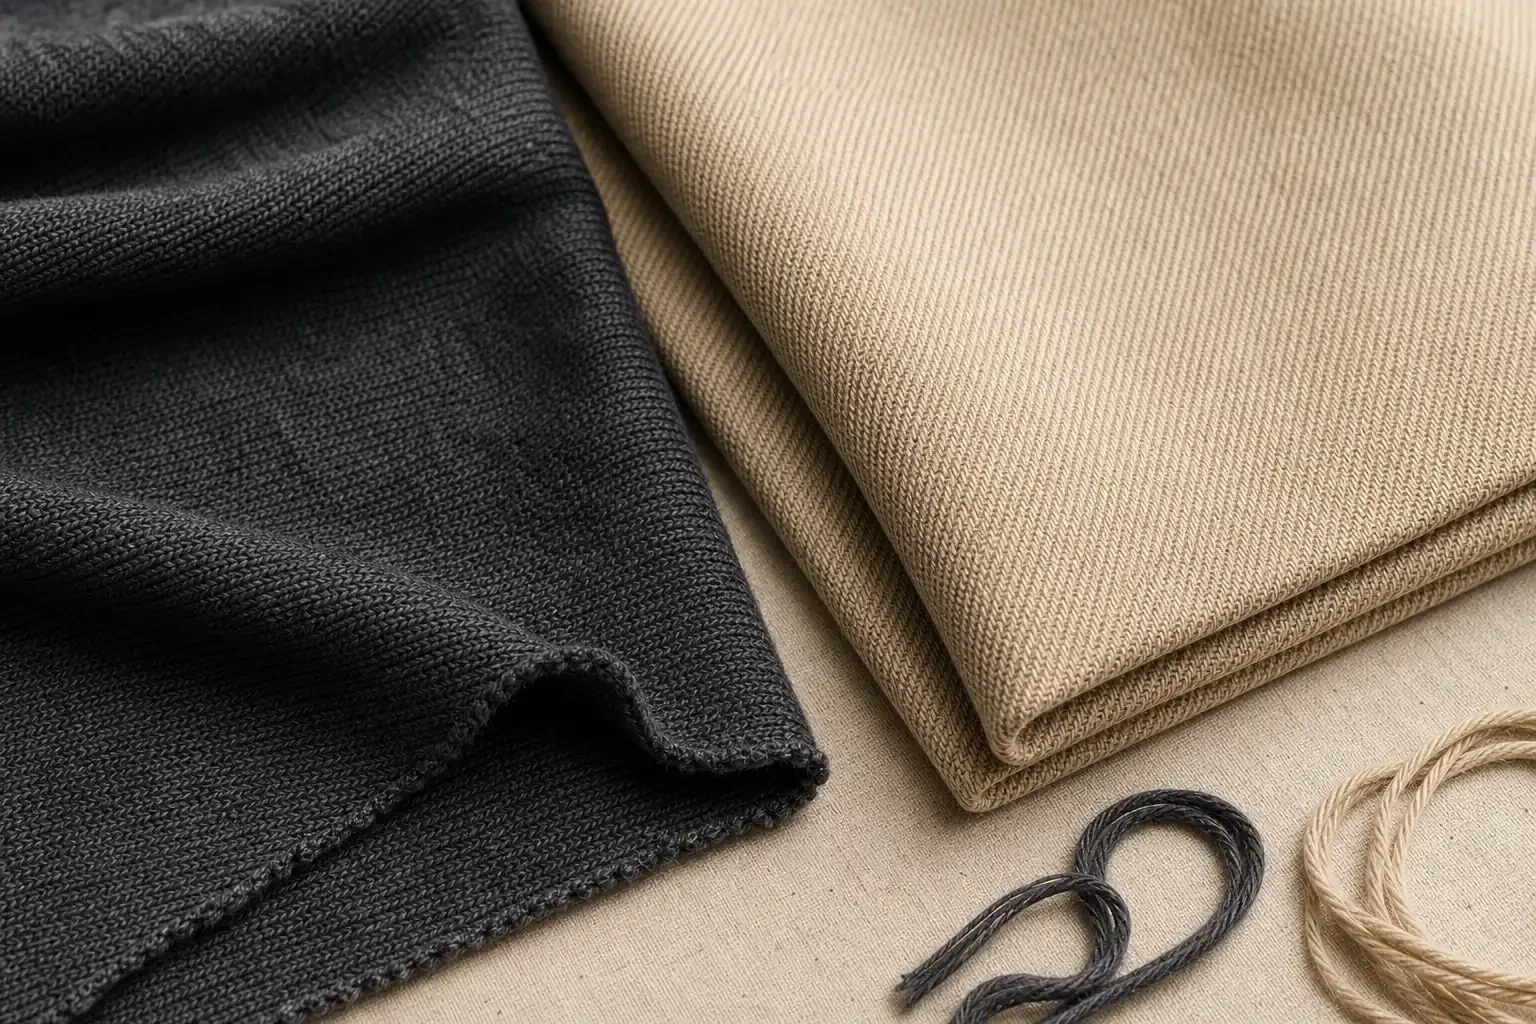 Knit vs Woven Fabric: Fit, Construction and Sampling
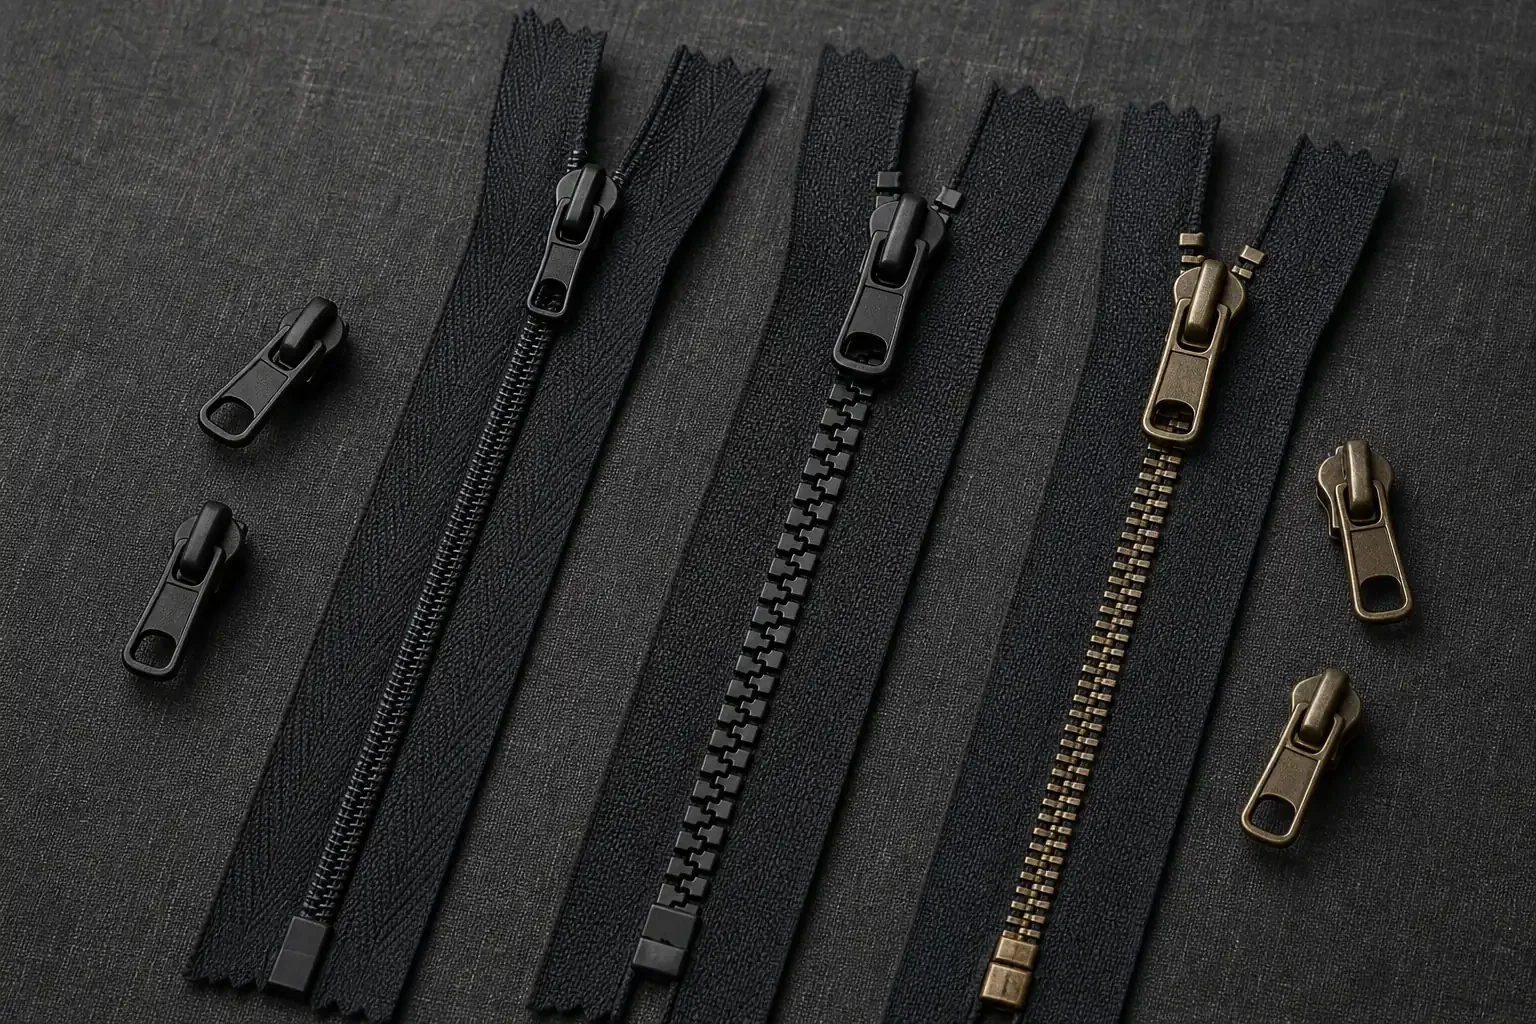 Types of Zippers for Clothing: What Brands Need to Spec
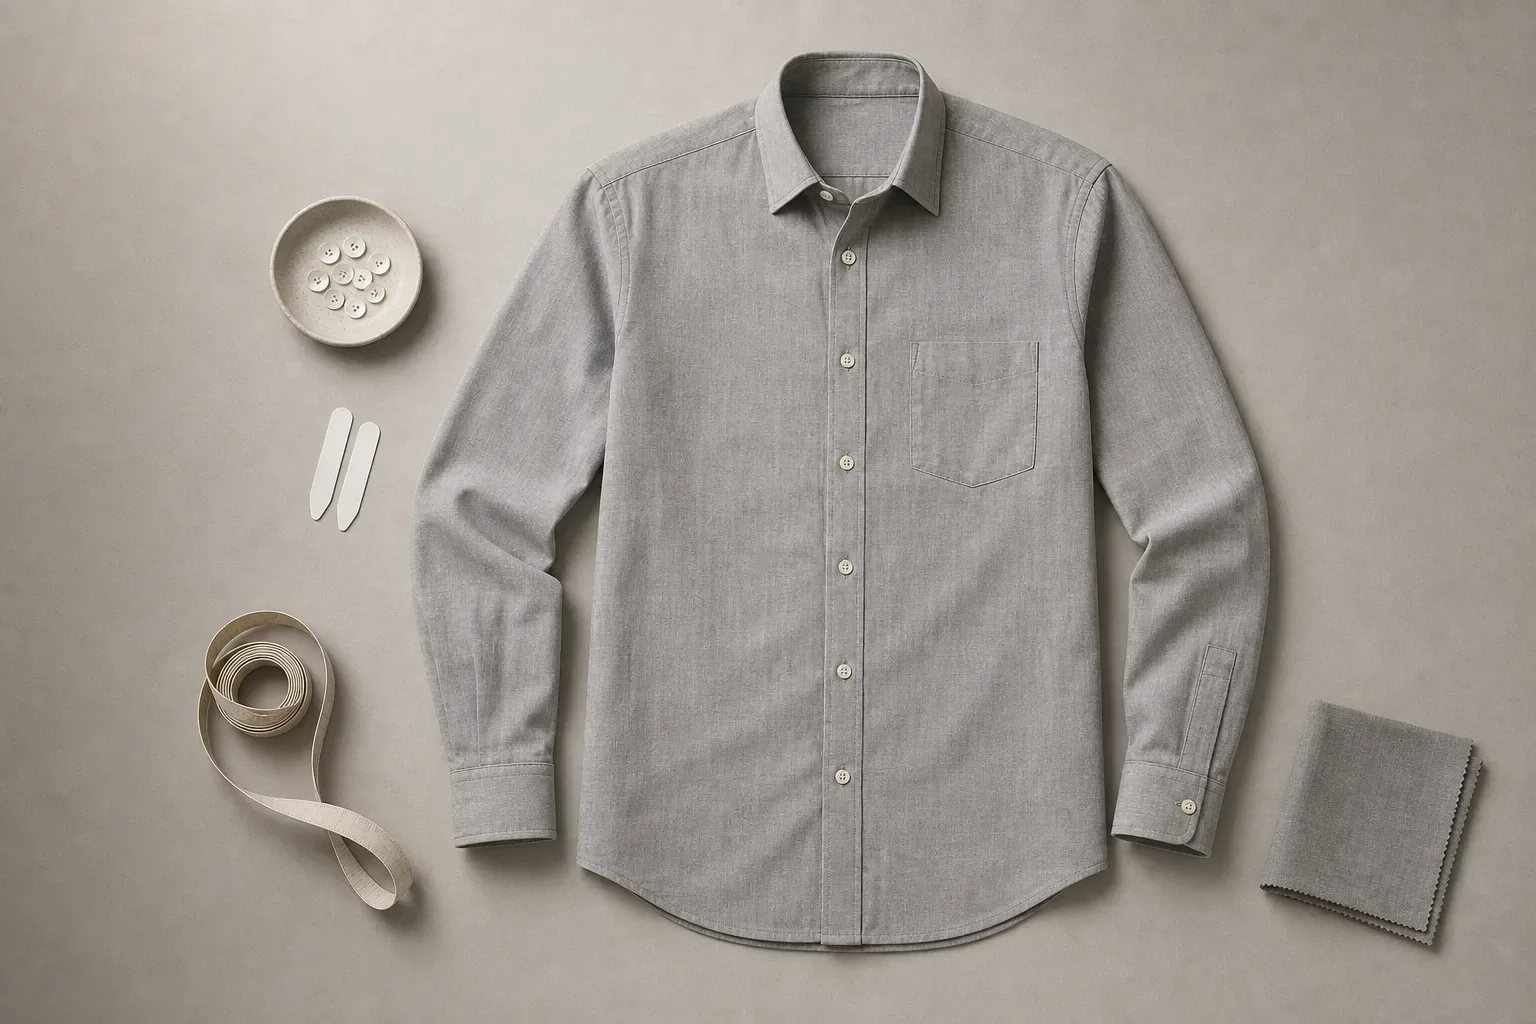 Parts of a Dress Shirt — the Vocabulary a Factory Sews From
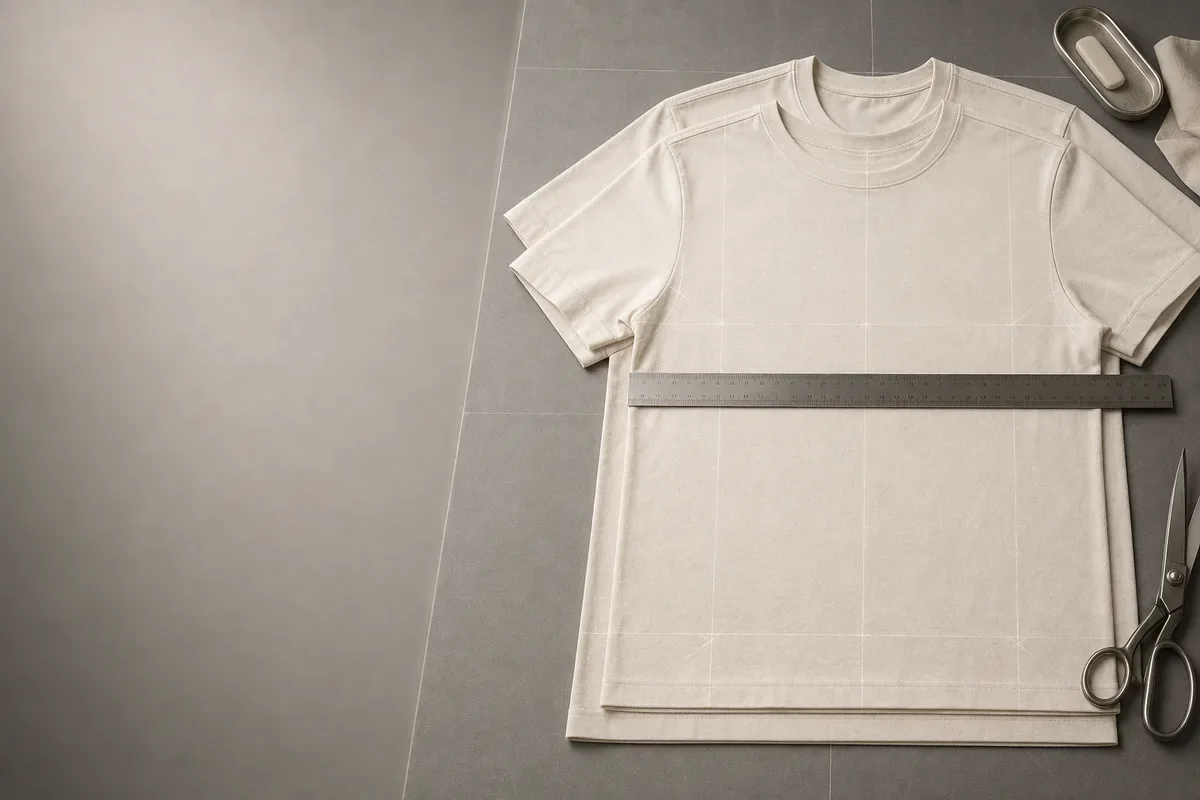 How Much Does Cotton Shrink? The Science, the Standards, and the Tolerance to Put in Your Tech Pack