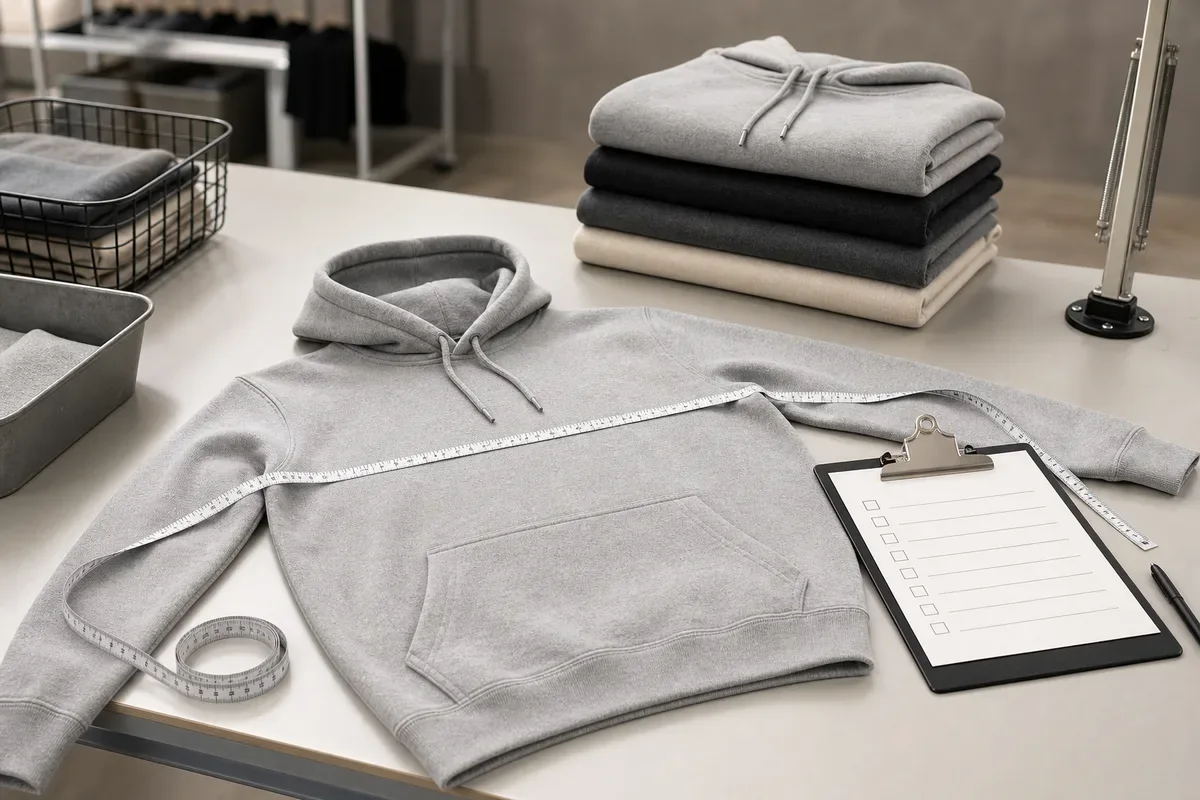
Garment Pressing Defects: Shine, Imprints and Shape Loss
Learn how to record shine, seam or component impressions, suspected heat discoloration, shape loss and double creases after garment pressing without guessing the cause from a photograph.
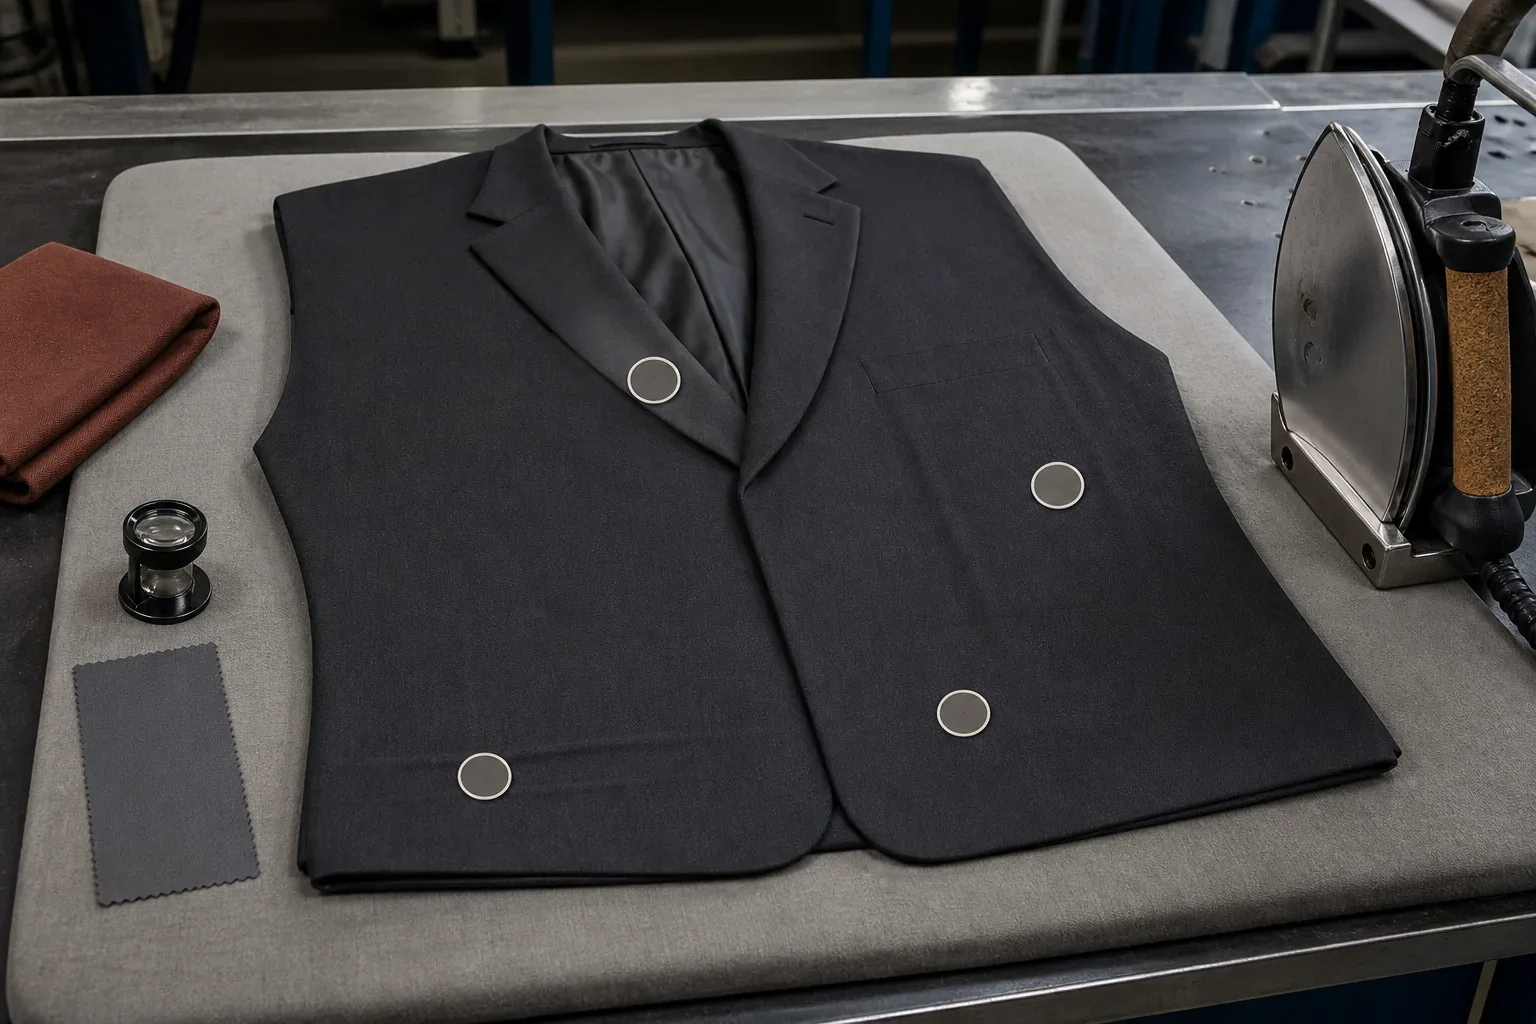
A garment pressing defect is an appearance or shape mismatch found after a pressing or finishing step and confirmed against an approved reference. It may present as unwanted shine, a seam or component outline showing through the face, suspected heat discoloration, flattened surface character, a distorted edge, or a crease in the wrong position.
The observation is not automatically the cause. A reflective patch in a photograph does not prove excessive heat. A visible seam allowance does not prove excessive pressure. A wavy seam does not prove that pressing created the waviness. Before changing a machine setting or attempting rework, preserve the garment, record its production identity and compare it with the approved sample under a repeatable viewing condition.
This guide owns the finished-garment pressing evidence and approval decision. It does not publish a universal temperature, dwell time, pressure, steam or vacuum recipe. Those variables depend on the actual material, color, construction, components, equipment, care requirements and approved project method.
Name the Visible Difference Before Naming a Cause
Useful inspection language describes what a reviewer can see and where it appears. It does not turn a symptom into a root-cause verdict.
| Observation after pressing | Evidence to capture | Approval question |
|---|---|---|
| Unwanted shine or a glazed-looking reflective area | Overall and close photographs under the agreed lighting, garment orientation, affected zone and an approved comparison | Is the difference outside the approved appearance for this material, color and zone? |
| Seam, hem or allowance impression | Face and reverse views, exact line geometry, seam location and comparison garment | Does the outline correspond to a hidden construction edge, and is that visibility acceptable? |
| Button, zipper, pocket or other component impression | Full garment view, close-up, component position on the reverse and the outline on the face | Is the mark congruent with the component, and what approved construction or pressing reference controls it? |
| Suspected scorch or heat-related color change | Neutral-color photographs, face/reverse comparison, affected material and color, and a retained control | Is this a persistent color or surface change, and which approved test or sample criterion applies? |
| Flattened nap, pile or surface texture | Directional-light views, hand direction if relevant, unaffected adjacent area and approved control | Has the intended surface character changed beyond the agreed appearance? |
| Shape loss or edge distortion | Garment laid flat and presented as worn or hung, left/right comparison, silhouette and relevant measurement points | Does the collar, lapel, placket, hem or other shaped zone still match the approved sample and specification? |
| Double, displaced or unintended crease | Full crease path, intended crease reference, start/end points and both garment sides | Is the crease position and continuity the one that was approved? |
| Spot, ring or local marking visible after steam or pressing | Face/reverse views, location map, material and production identity, and comparison before any further treatment | Is the mark bounded to pressing, or does it need a separate material, wash or contamination investigation? |
These are observation classes, not universal defect tolerances. Terms such as “shine,” “glazing,” “scorch” and “impression” can be used differently by different teams, so the approval record should include photographs and a plain-language description.
Preserve the Garment Before Trying to Correct It
Re-pressing, steaming, brushing or washing the first affected garment may alter the evidence. Put the identified piece on hold and record its state before any correction trial.
The record should connect the observation to:
- style, order, color, size, garment and lot or bundle identity;
- the affected material, component and exact garment zone;
- sample stage and production stage;
- whether the garment had already been washed, garment-dyed or otherwise finished;
- the approved sample or other named controlling reference;
- front, reverse and context photographs under the agreed viewing setup;
- the pressing route, equipment or attachment record, if one exists for that production scope; and
- the quantity checked, affected and segregated under the buyer's inspection plan.
Allow the garment to reach the evaluation state defined for the project before making the final comparison. The record should name that state rather than assume that every material needs the same rest period or conditioning method.
If the only evidence is one cropped photograph, the defensible conclusion is limited: it may show a visible difference, but it cannot establish when the change appeared, which process created it or whether the difference persists under controlled comparison.
Read the Geometry of Shine and Surface Change
Shine is best recorded as a relationship between the surface, the viewing angle and the approved control. Inspect the same area from more than one agreed angle and include an unaffected adjacent zone. A reflection that changes strongly with orientation may lead the investigation toward surface appearance; a difference that remains visible across the comparison may lead toward a color or material-change branch. Neither behavior proves the cause by itself.
Also map the boundary. A broad panel field, a narrow line over a seam allowance and a small outline matching a button are different evidence patterns. The location may help a technical team choose the next comparison, but it does not authorize a heat or pressure diagnosis from geometry alone.
The current ISO 105-X11:2026 standard describes a method for evaluating textile color resistance to hot pressing, including dry, damp and wet pressing selected according to end use. It does not provide one universal finished-garment appearance tolerance, and it does not replace the buyer's approved visual reference. If colorfastness to hot pressing is a project requirement, name the method, specimen state, laboratory result and contractual acceptance criterion rather than writing “press test passed.”
Map Seam and Component Impressions From Both Sides
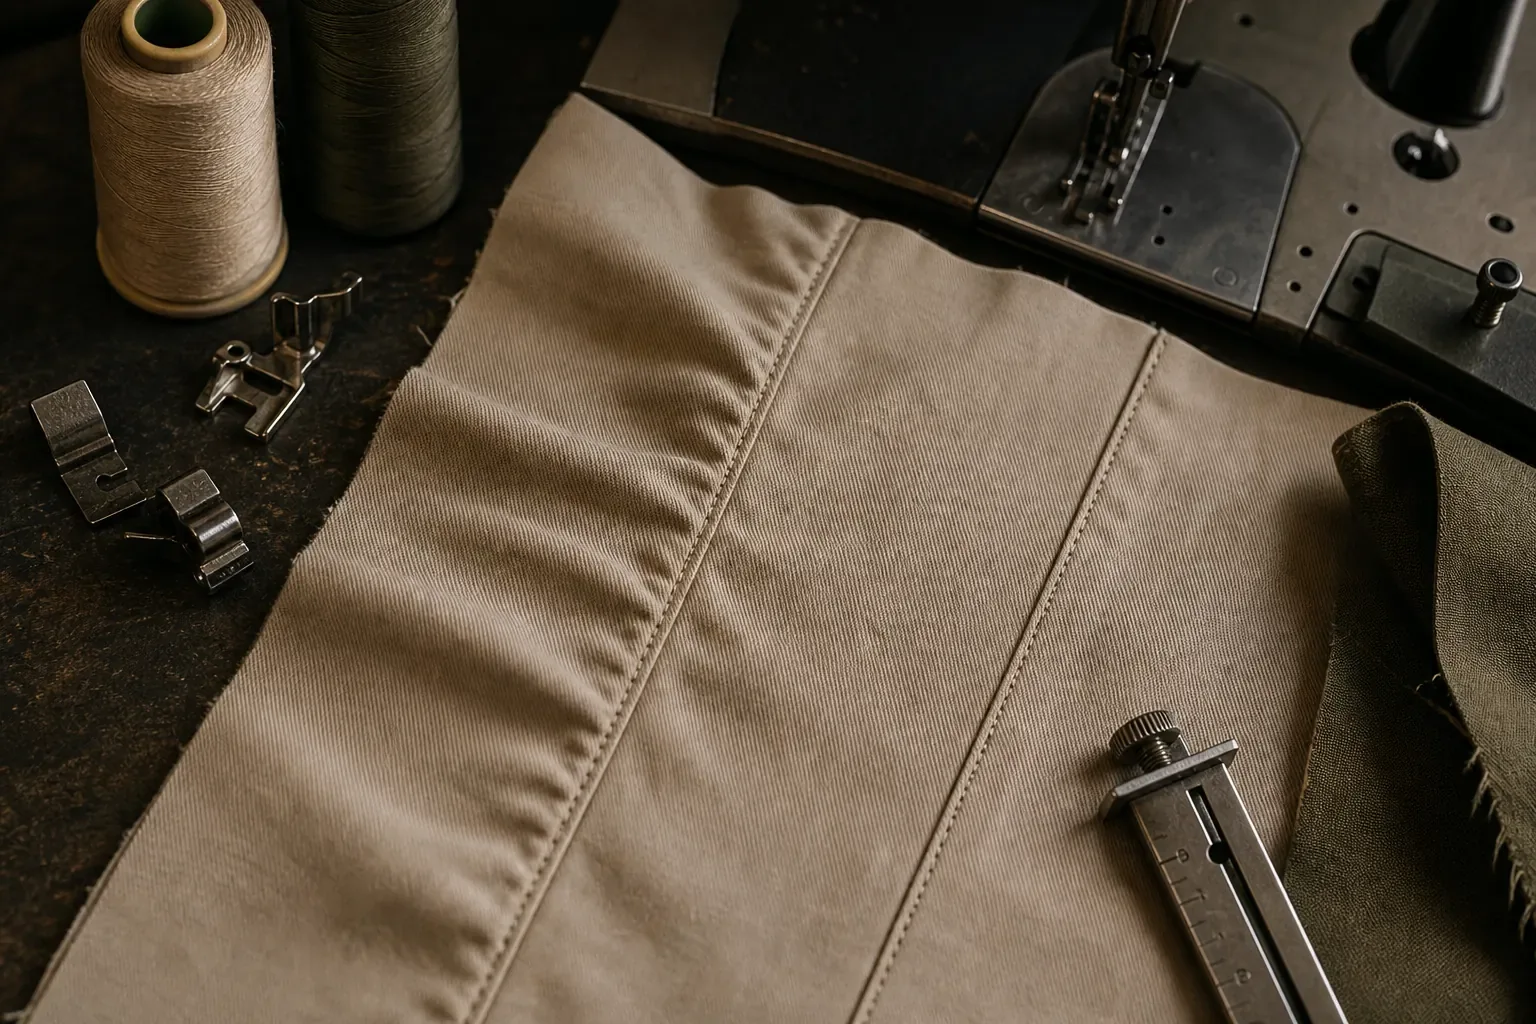
An impression should be mapped against what sits below the visible face. Turn the garment over without disturbing the area and check whether the line or shape matches a seam allowance, hem edge, pocket corner, label, zipper, button, snap or layer transition.
Product pages can make this geometry easier to discuss. A heavyweight plaid button-up presents plackets, buttons, collar points, cuffs and seams. A canvas work jacket with zipper pockets adds hardware, pocket edges and dissimilar layer stacks. Stone-washed baggy denim pants add waistband, pocket and heavy seam intersections. These pages are visual style references only. Their photographs do not prove the hidden construction, pressing route, material behavior or acceptance result for another order.
For the affected garment, capture the face mark and the corresponding reverse-side construction in the same orientation. Record whether the outline is continuous, intermittent or concentrated at an intersection. Compare the same zone on an approved sample and a retained production control. A technical review can then distinguish a repeatable construction relationship from an isolated mark without assuming which pressing variable should change.
Check Shape Against the Approved Garment, Not Memory
Pressing can change how a collar rolls, how a lapel breaks, how a placket lies, how a hem hangs or where a trouser crease appears. “Looks twisted” is not a sufficient approval record. Identify the reference line or shaped zone and reproduce the agreed presentation method.
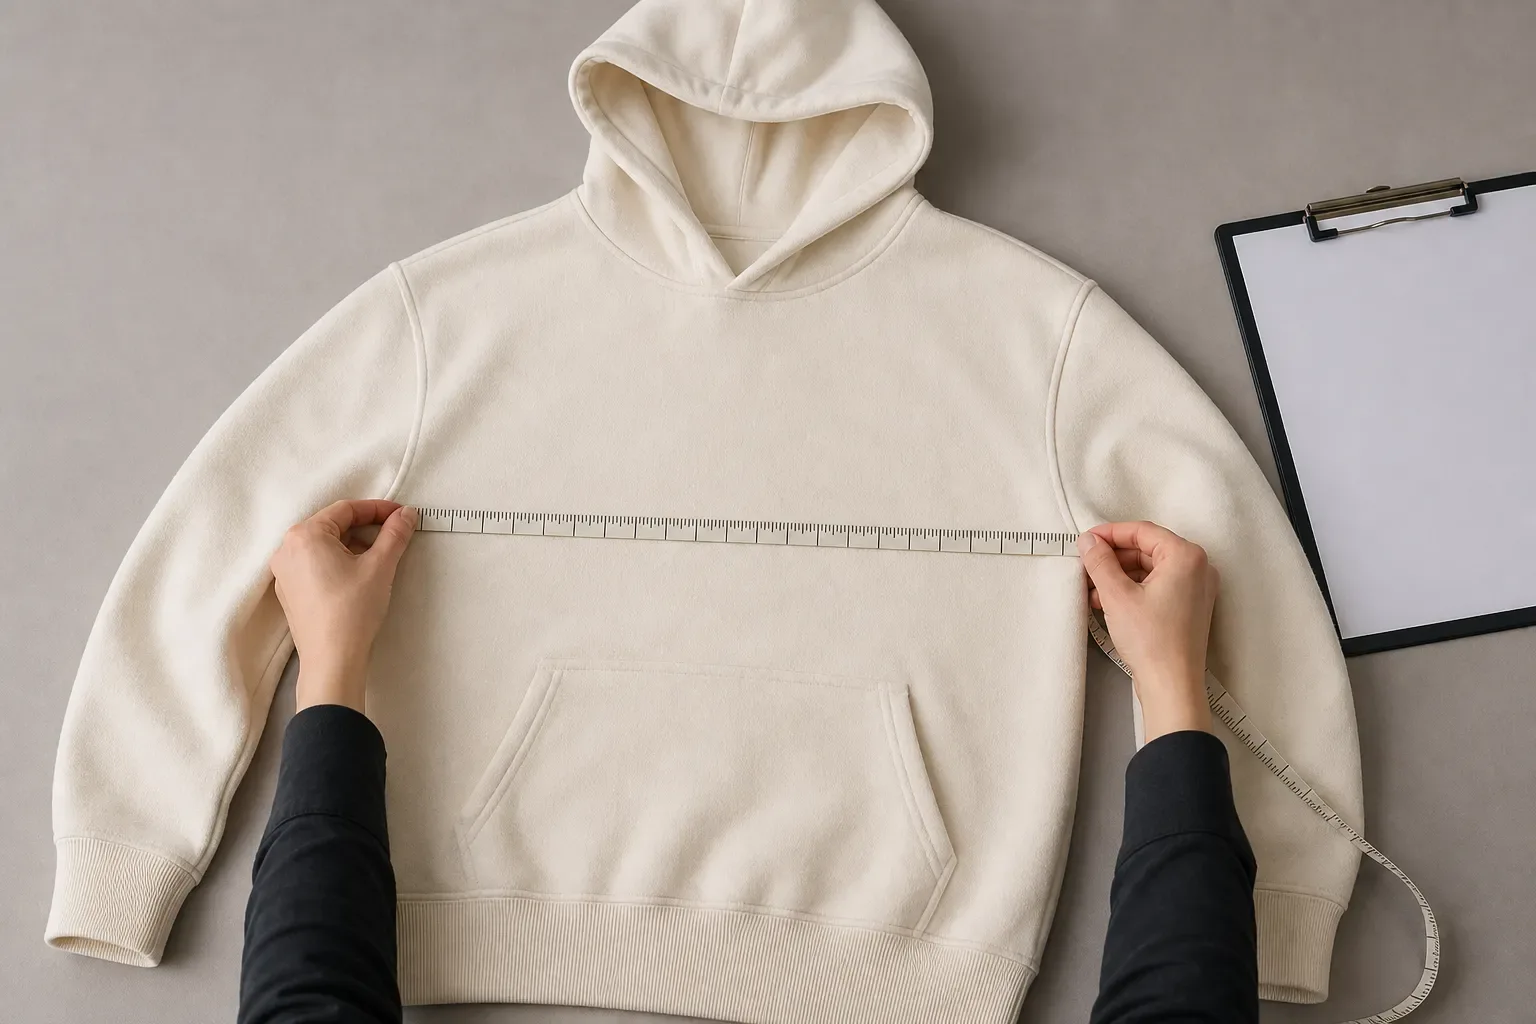
For shape loss, record the complete silhouette as well as the local area. Compare left and right where the design is symmetrical, and record relevant points of measure if the approved specification uses them. Keep construction alignment visible: an edge that looks distorted may need separate checks for seam assembly, material relaxation or wash history.
For a double or displaced crease, trace the intended and unintended lines from start to finish. State whether the project requires a crease, where it should begin and end, and which approved sample or drawing controls it. Do not conceal the original condition with another pressing pass before the hold decision is recorded.
Keep Pressing, Sewing, Washing and Interfacing Owners Separate
Several defects can occupy the same garment zone. Routing them to the right canonical owner prevents one symptom from producing several contradictory explanations.
| If the dominant evidence is… | Route the detailed diagnosis to… | Why it is not automatically a pressing defect |
|---|---|---|
| Ripples tracking a stitch line, feed imbalance evidence or a seam/material relationship | Seam puckering causes and approval checks | Pressing may reveal or temporarily mask waviness, but the photograph does not prove that pressing created or corrected the seam condition. |
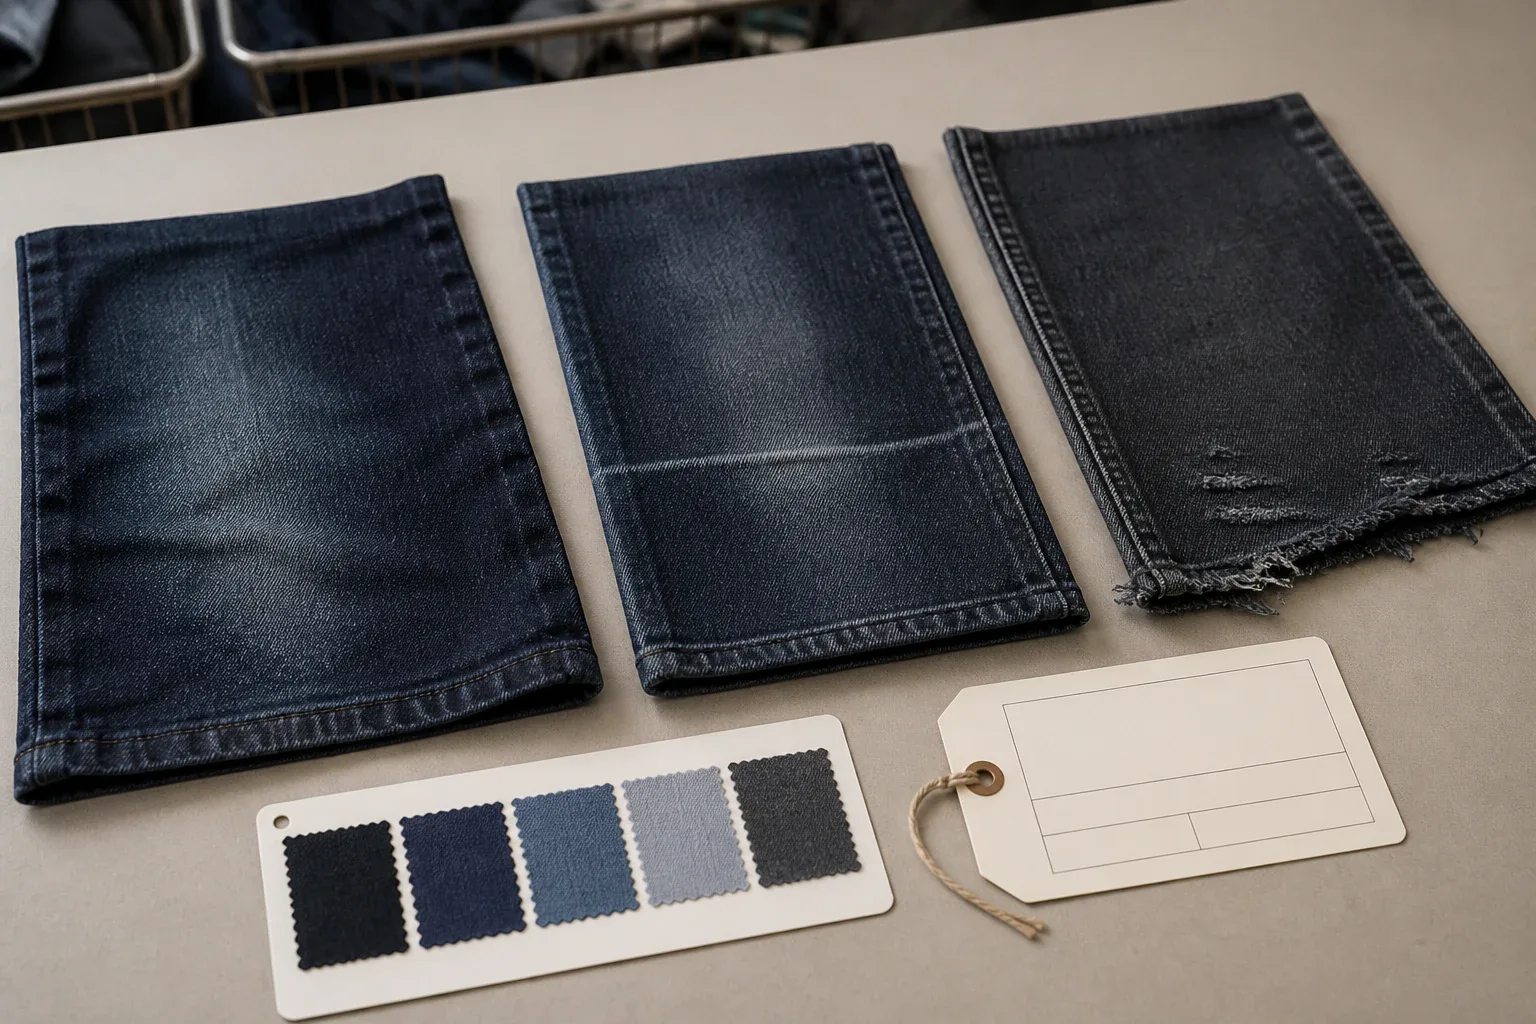
| Backstaining, uneven wash shade, abrasion, component damage or dimensional change linked to a garment wash state | Garment wash defects | The wash owner compares matched before-and-after state, wash lot and finish evidence. |
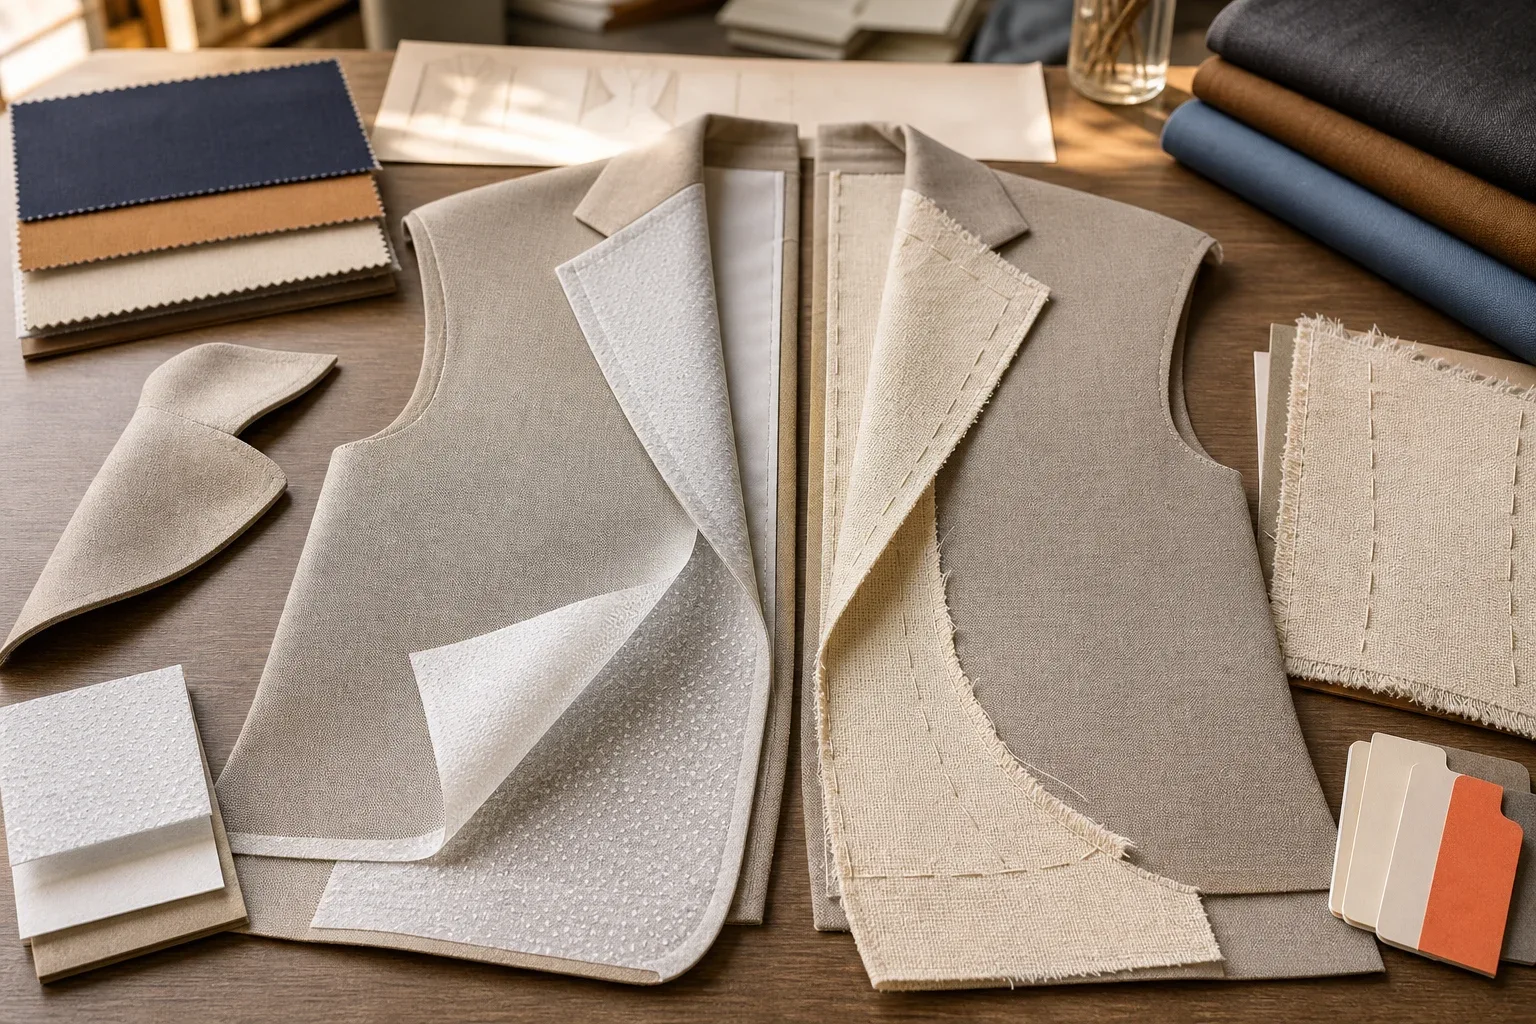
| Bubbling, delamination, strike-through or an adhesion concern in a supported zone | Fusible versus sew-in interfacing | A pressing record can locate when it was noticed, but interlining identity, compatibility and bonding evidence control the diagnosis. |
| Print, transfer, film or decorated-surface adhesion and appearance | The relevant decoration-process owner | Decoration approval needs its own material, process and performance evidence; a general garment press review should not invent a decoration recipe. |
| A new visible surface, impression, shape or crease mismatch after finished-garment pressing | This guide | The immediate task is to preserve the condition, compare it with the approved reference and define the held scope. |
The same garment can require more than one investigation. Record the handoff instead of forcing every observation under a single cause label.
Use a Controlled Comparison for Any Correction Trial
A correction trial should answer a defined question while preserving the original affected garment or its complete evidence. The technical team may select an approved variable to compare, but the buyer-facing record should not substitute an internet temperature or timing table for material-specific validation.
For a meaningful comparison:
- identify the retained affected garment, approved control and trial garment;
- keep the material, color, construction, component stack and prior finish state traceable;
- record the actual approved trial route and what was intentionally changed;
- evaluate the same zone under the same viewing and presentation method;
- check both the target observation and any new appearance, color, shape or component effect; and
- obtain the named approval before applying a correction to a wider scope.
If several variables change at once, the result may show that a trial garment looks different, but it will not isolate which change mattered. If the trial removes a visible symptom while changing hand feel, color, surface character or shape elsewhere, it is not automatically acceptable.
Connect Factory Pressing Evidence to Care Instructions Carefully
Factory pressing and consumer care labeling are related evidence questions, not interchangeable settings. In the United States, the FTC's Care Labeling Rule guidance says manufacturers and importers covered by the rule need a reasonable basis for care instructions and warnings. The guidance also explains that a “Do not iron” warning is needed when ironing would harm the garment and that the complete garment, including its components, must be considered.
ISO 3758:2023 establishes a system of care symbols for textile articles and frames the indicated treatments as the most severe treatments that do not cause irreversible damage under the standard's scope. Ironing is one of the domestic-care treatments covered.
Those sources support evidence-based care communication. They do not turn a factory's pressing setting into a universal consumer instruction, and a care symbol alone does not prescribe the production pressing route. Keep the production trial record, material and component evidence, applicable market requirement and final care-label approval connected but distinct.
Build a Buyer Approval Record That Can Be Audited
Before releasing the held scope, the buyer and factory should be able to read one record and understand what was observed, what controlled the decision and what remains uncertain.
Use this compact structure:
- Observation: plain-language defect signature and exact zone.
- Identity: style, order, color, size, garment, material/component and lot or bundle.
- State: sample or production stage, prior wash/finish state and evaluation condition.
- Reference: approved sample, specification, care requirement or named test criterion and revision.
- Evidence: context, close, reverse and comparison photographs plus any controlled measurement.
- Scope: quantity checked, quantity affected, segregation location and potentially related scope.
- Investigation owner: pressing, sewing, wash, interfacing, decoration or another named owner.
- Trial: approved comparison plan, actual recorded change and observations after evaluation.
- Decision: hold, accept, reject, rework under an approved instruction or request more evidence.
- Authority: approver, date, revision and the exact scope covered by the decision.
An approved sample checklist helps keep the controlling reference explicit. For bulk inspection, the garment inspection and AQL guide explains why an agreed sampling plan and acceptance criteria must be defined separately from the defect diagnosis.
What Jiashun Can Review With Your Team
Jiashun can help a brand define pressing checkpoints for its actual sample and production scope, compare identified garments with approved references, record visible evidence and return bounded approval questions. The route must be confirmed for the project's materials, colors, components, construction, finish state and care requirements.
Send the tech pack, bill of materials, approved sample status, care-label requirement, affected garment identity and clear face/reverse photographs with your quality-control inquiry. A product-specific review can establish what needs validation; this guide is not an in-house operating procedure and does not promise that one recipe will suit every garment.
Frequently Asked Questions
What are the most common garment pressing defects?
Common observation groups include unwanted shine, seam or component impressions, suspected heat discoloration, flattened surface character, shape loss and a double or misplaced crease. The useful defect name describes what is visible and where it appears. The root cause still requires matched production, material and comparison evidence.
Can a photograph prove that pressing caused shine, scorch or an imprint?
No. A photograph can document a visible signature and location, but it normally cannot prove when the change occurred or which heat, pressure, steam, vacuum, construction or material factor produced it. Preserve the garment, add reverse and comparison views, and connect it to its production history before assigning cause.
Can pressing fix seam puckering?
Pressing may change how seam waviness looks at one moment, but that is not proof of a durable correction. If the dominant evidence tracks the stitch line, use the seam-puckering investigation to review material, thread, stitch, feed and finish relationships. Keep the original and post-trial states documented.
Is an interfacing bubble a pressing defect?
It may first be noticed after pressing, but bubbling or delamination belongs to the interfacing and bonding investigation. Record when and where it appeared, then review interlining identity, layer compatibility, bonding evidence and the approved sample through the interfacing owner rather than diagnosing it from the face photograph.
What should a buyer approve before bulk garment pressing?
Approve the controlling garment sample and intended appearance by zone, the relevant material and component scope, the project-specific validated route, evaluation condition, care-label requirements, defect references, inspection plan, evidence format and decision authority. Any production change should be recorded and re-approved for a defined scope.
Primary References
- International Organization for Standardization. ISO 105-X11:2026, Textiles — Tests for colour fastness — Part X11: Colour fastness to hot pressing. Published June 2026. Accessed August 14, 2026.
- U.S. Federal Trade Commission. Clothes Captioning: Complying with the Care Labeling Rule. Accessed August 14, 2026.
- International Organization for Standardization. ISO 3758:2023, Textiles — Care labelling code using symbols. Published December 2023. Accessed August 14, 2026.