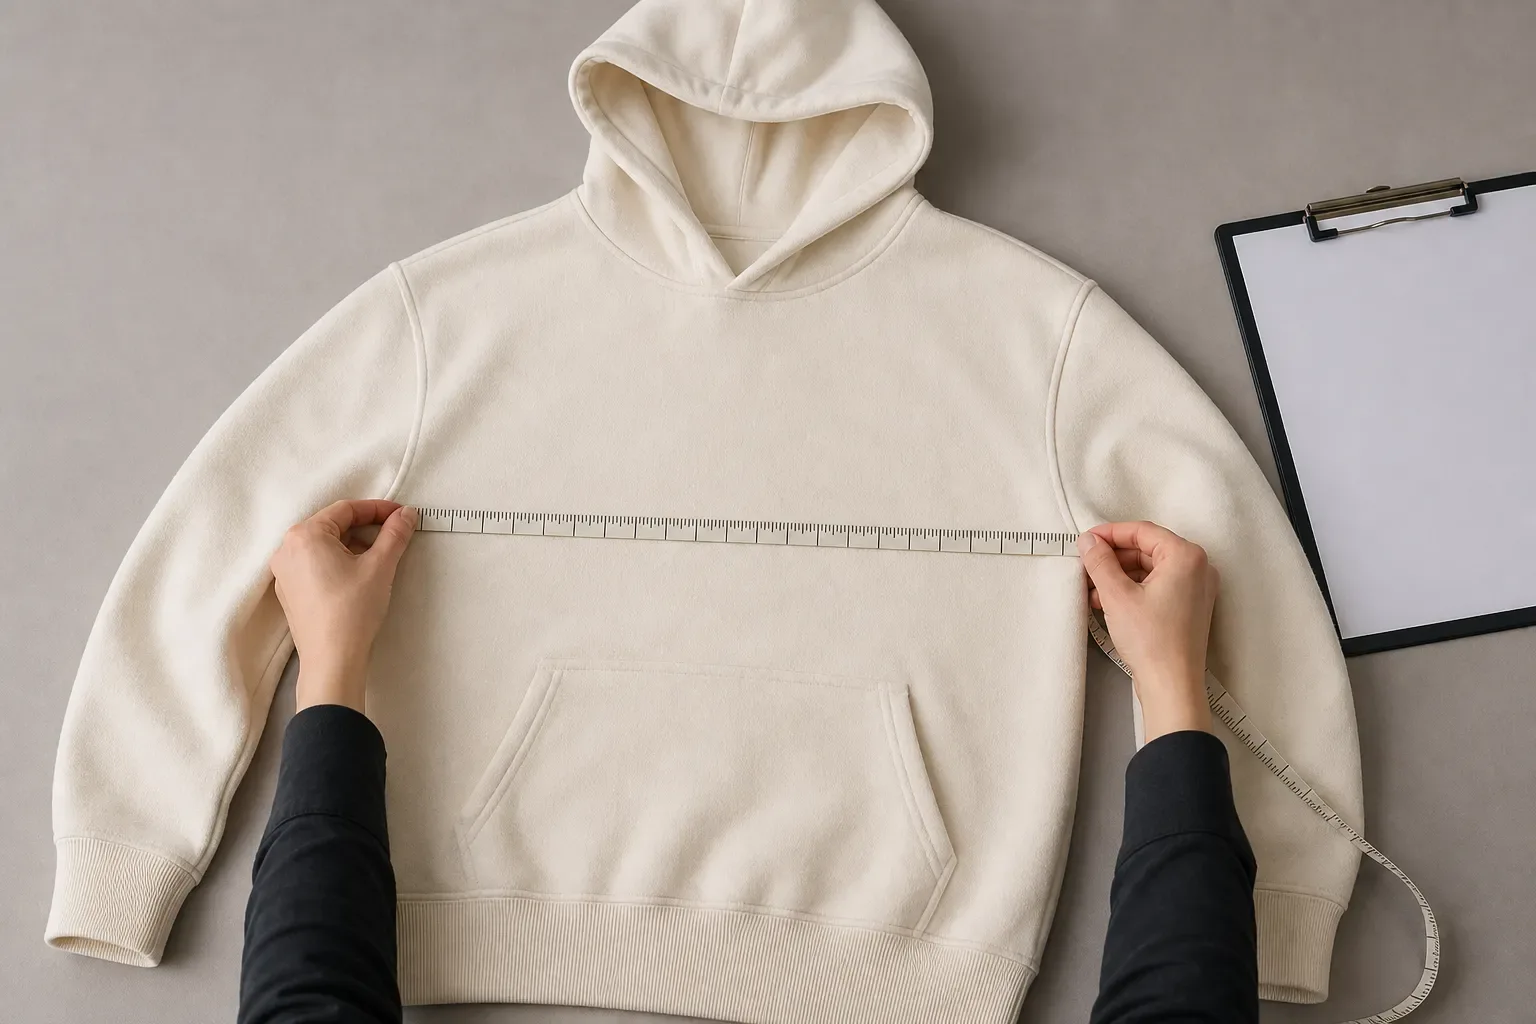
Snap and Rivet Pull-Out Failures: What Buyers Should Check
A snap or rivet that pulls out is not one defect. Learn how to separate hardware failure, fabric tear, hole enlargement, backing problems and post-wash risk.
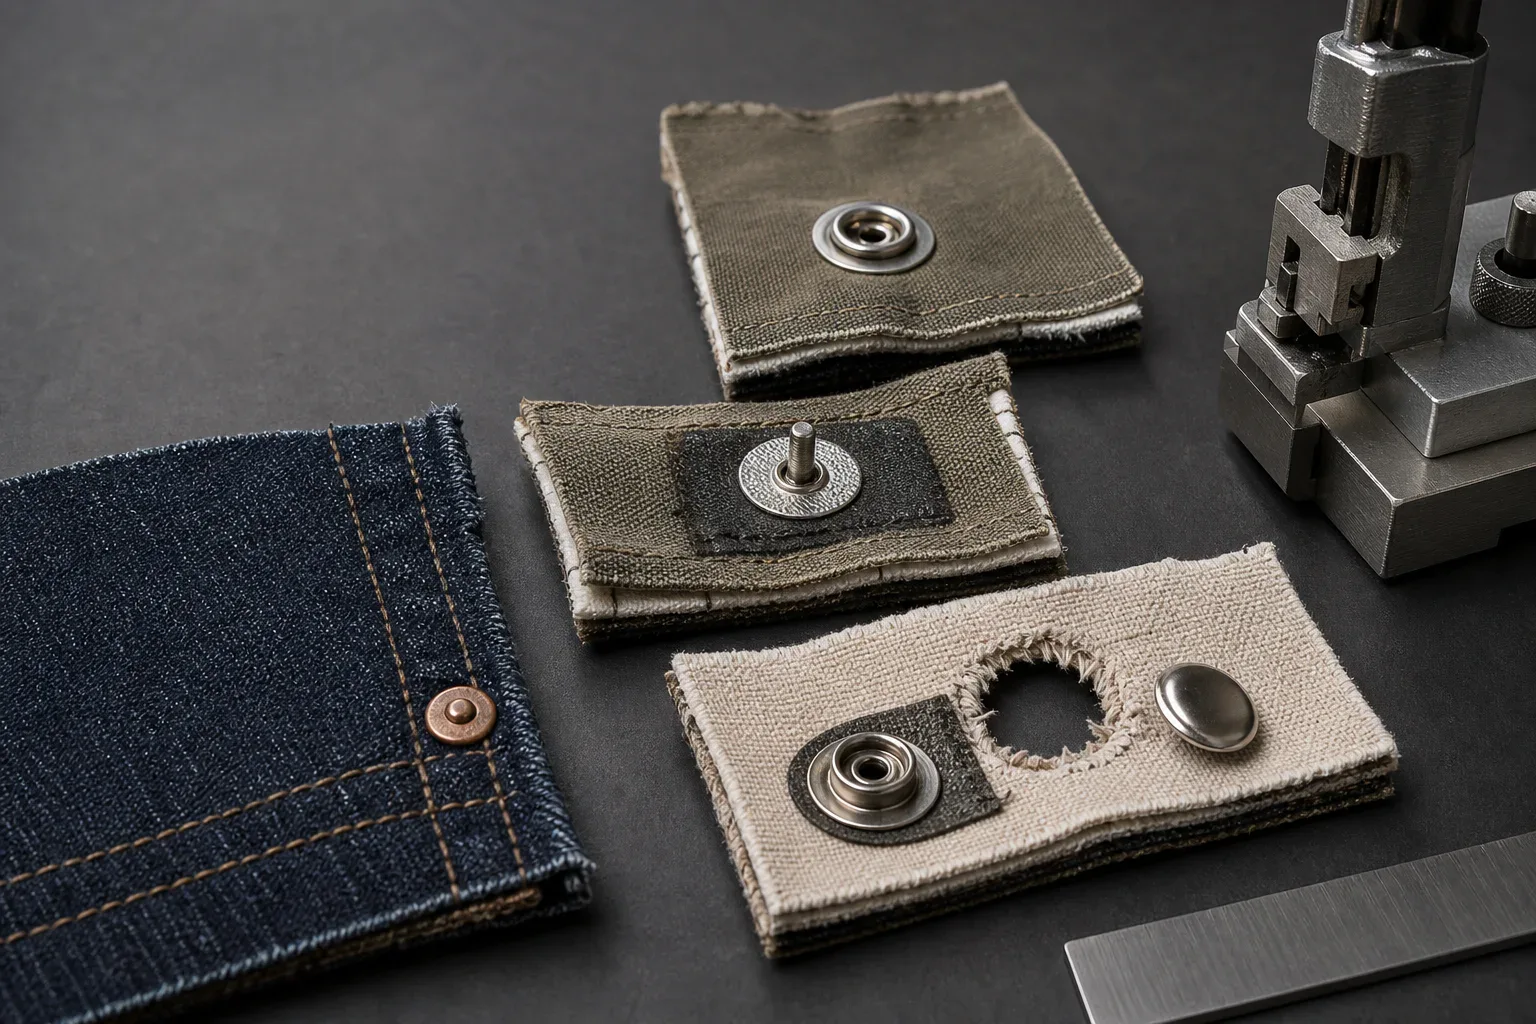
A snap opening normally and a snap pulling out of a placket are different events. So are a jeans button separating from its tack, a rivet pulling through an enlarged hole, and fabric tearing beside hardware that remains intact. Calling all of them a “failed pull test” hides the evidence needed to correct the garment.
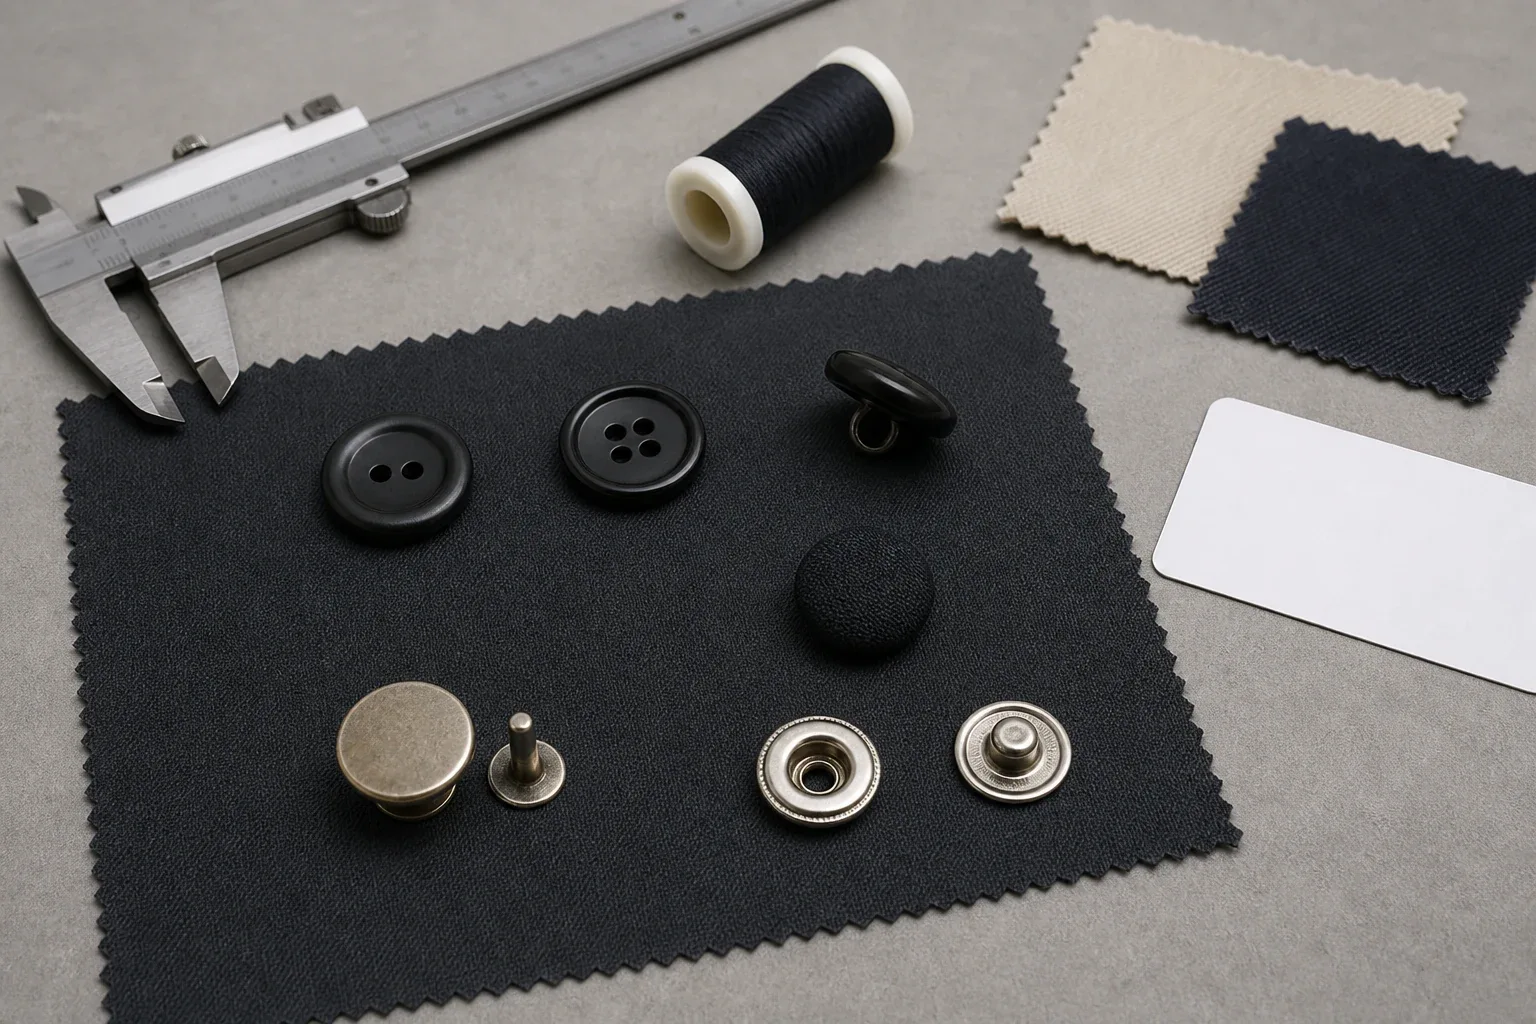
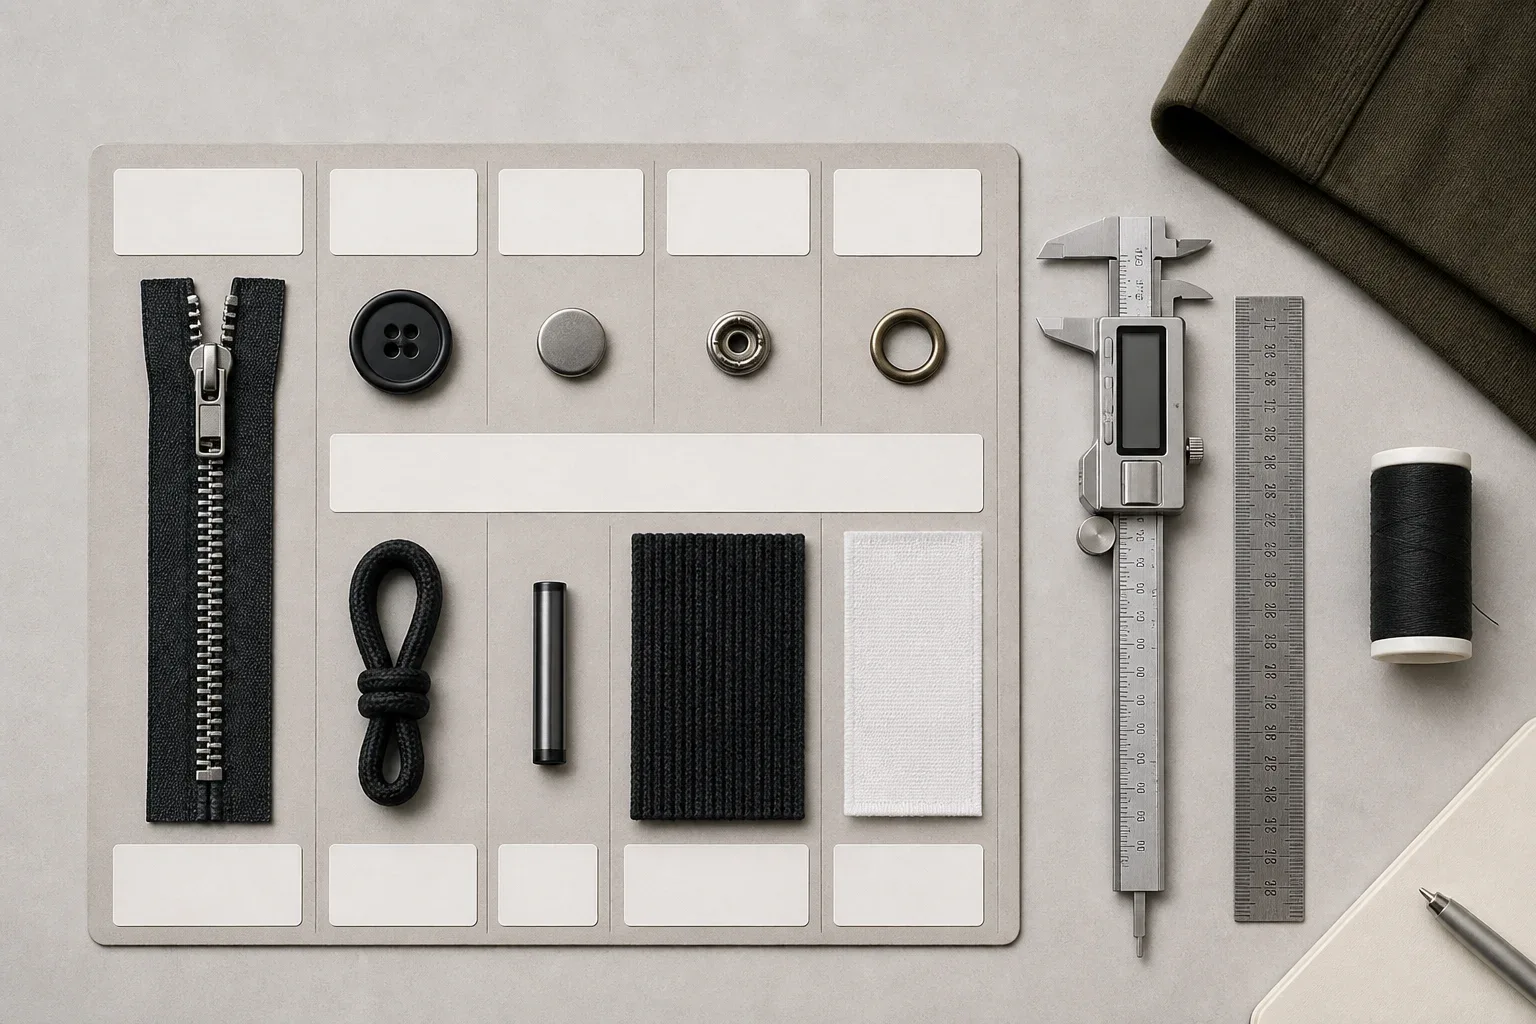
This guide owns installed-hardware failure diagnosis for apparel snaps, tack-attached buttons and decorative or functional garment rivets. It does not cover industrial blind-rivet design or set one pull-force value for every product. The button type guide owns component vocabulary and specification, the trim card guide owns retained physical trim references, and the bartack guide owns thread-based stress-point reinforcement. Use those owners without turning this page into another trim taxonomy.
Separate opening force, attachment holding and fabric damage
Three questions are often collapsed into one:
- Does the snap engage and disengage as intended? This is an operating-force question about the mating snap.
- Does each installed component stay attached to the fabric assembly? This is an attachment-holding question.
- Does the surrounding garment remain serviceable while the closure is used? This is a fabric, placement and construction question.
ASTM International keeps the first two questions separate. ASTM D4846-96(2021) covers resistance to unsnapping by pulls perpendicular and parallel to the plane of a snap, while ASTM D7142-05(2021) covers holding strength of prong-ring attached snap fasteners. A result under one method does not answer the other question, and neither result automatically approves a rivet or every garment construction.
That distinction changes the corrective action. If the mating snap needs excessive force to open, changing reinforcement alone may not solve the use problem. If the opening force is acceptable but the prong ring pulls through the shell, changing the socket geometry alone may miss the attachment problem. If both components stay installed but the fabric tears beside them, the investigation belongs at the fabric-and-placement interface.
Name the visible failure before proposing a cause
Do not put “snap failed” in the defect log and jump directly to replacement hardware. Record the observable signature first.
| What remains after failure | Failure signature to record | Evidence branch to open |
|---|---|---|
| Mating snap opens; both halves remain installed | Operating or unsnapping behavior | Component pairing, orientation, specimen state and the specified operating-force method |
| Cap, socket, stud or ring separates; fabric looks intact | Component or setting separation | Compatible-part codes, setting die, post or prong engagement and setting appearance |
| Hardware remains assembled but passes through a larger opening | Hole enlargement or pull-through | Hole formation, fabric damage, layer stack, washer or backing and installed flange coverage |
| Hardware stays in place while fabric splits beside it | Adjacent fabric tear | Tear direction, edge distance, seam or pocket geometry, reinforcement and use direction |
| Cap, tack, post or rivet cracks, bends or separates | Hardware fracture or deformation | Component identity, material/finish, part pairing, setting damage and failed pieces |
| Attachment is secure before finishing but loose afterward | Process-state change | Pre/post-process specimens, wash or dye route, abrasion, shrinkage and layer compression |
The table routes an investigation; it does not prove root cause. A deformed post can be the cause of a separation or the result of the final pull. Preserve the failed assembly before straightening it, replacing it, pressing the area or cutting the layers apart.
Build an evidence packet before touching the garment
Start with one record for the failed unit and one comparison record for the current approved sample. Give every image a specimen ID rather than sending anonymous close-ups in chat.
Capture the garment state, style and order reference; component supplier and article codes; cap, socket, stud, tack, post, washer or ring codes; color and finish; use location; fabric article and finish state; number and order of layers; backing or reinforcement; setting equipment or die reference; approved sample revision; wash, garment-dye or finishing route; and when the failure was found.
Photograph four views where possible:
- the whole garment with the hardware location marked;
- the face and reverse before disassembly;
- a side view that shows seating, tilt and compression; and
- the exposed hole, tear and failed parts after controlled disassembly, if disassembly is authorized.
Include a scale in detail images and retain the actual pieces. Photographing only a loose cap removes the position, layer and direction evidence that distinguishes pull-through from component separation.
Product pages can help remote teams point to garment zones without pretending to be test evidence. A varsity jacket reference makes a front closure visible, a wide-leg denim reference shows pocket zones, and a zip hoodie reference shows a layered opening. These are bounded references only; they do not establish hidden hardware, attachment build, approval state or test result.
Read the hole, the layers and the back of the setting
The front cap can look clean while the reverse carries the diagnosis. Compare the failed unit, an unused unit from the same component lot, the approved sample and—when available—an unaffected production unit.
Hole enlargement and fabric pull-through
Record whether the opening is round, oval, slit, frayed, melted, cut or torn. Compare its current dimensions with the intended piercing or punch condition only when a controlled drawing or approved sample provides that basis. An enlarged opening with an intact assembled fastener points toward the fabric interface; it does not prove weak fabric by itself.
Check whether yarns were displaced or cut, whether a coating or laminate cracked, whether wash abrasion exposed the opening, and whether the installed flange, ring or washer actually bears on the intended area. Do not infer the original hole size from the failed hole after it has stretched.
Layer stack and local support
List layers in physical order: shell, facing, interlining, pocketing, patch, lining and any washer or backing. “Two layers” is not enough when production caught a seam allowance in some units but not others. Note whether the attachment sits on a flat panel, over a seam step or near a folded edge.
A system selected for one thickness range may seat differently when the actual stack changes. Too little stack can leave a part poorly supported; excessive or uneven bulk can prevent the intended engagement or tilt the setting. These are investigation branches, not universal diagnoses. Compare the exact component maker's instructions and the approved construction.
Post, tack or prong engagement
Confirm that all mating parts belong to the approved system. Similar-looking caps, sockets, studs, tacks and posts are not automatically compatible. Record the designated post or tack length and compare it with the actual compressed stack; do not solve a problem by selecting a longer part from appearance alone.
Inspect prong fold, roll or spread; tack centering; post deformation; ring seating; cap tilt; and marks left by the setting tools. A mismatched or worn die can mark the finish, deform a component or leave incomplete engagement. A clean cosmetic face does not prove the hidden attachment is correct.
Edge distance, pull direction and garment geometry
Measure the location against the controlled pattern or construction reference: distance to the raw or finished edge, seam, pocket opening, waistband join, placket fold or other discontinuity. A closure near an edge can be loaded in peel or at an angle even when a laboratory fixture applies a more controlled direction.
Record how the failure occurred without treating one wear report as a laboratory result. Repeated opening, a pocket being pulled sideways, a waistband under body movement and a decorative rivet caught on another object are different use paths. The buyer's test plan should say which controlled question it is intended to represent.
Wash and finishing can change the attachment system
Garment dyeing, wet processing, abrasion, drying, pressing and other finishing can change fabric thickness, hand, shrinkage, surface damage and the way layers sit under hardware. Metal finish can also be affected. A pre-wash setting sample and a post-wash approval sample are therefore different evidence states.
For covered U.S. apparel, the FTC's Care Labeling Rule guidance says the reasonable basis for care instructions must account for the whole garment, including non-detachable trim. That source does not prescribe one snap or rivet test. It supports checking the assembled product under the care route that the responsible party intends to label, with destination-market review kept separate.
When a failure appears only after finishing, compare paired specimens identified before and after the approved route. Record the actual process revision and load, not just “washed.” Separate process staining or plating damage from attachment looseness, and do not replace the failed hardware before the cause review closes.
Choose a method that matches the failure question
A requirement such as “all snaps pass pull test” is incomplete. The order record needs the component system, garment zone, specimen construction, specimen state, test method or controlled buyer procedure, direction, sample basis, acceptance criterion, result, failure mode and disposition.
ASTM D7842/D7842M-12(2021) covers holding strength of tack and prong fastener attached buttons using a tensile testing machine and describes use with the button attached to apparel fabric as it will be used. Its official scope is useful for tack/prong button routing; it is not a universal rivet method. D7142 is the closer published route for the attachment holding of prong-ring snaps, while D4846 addresses unsnapping behavior. Record the exact edition required by the buyer or program rather than citing only the base standard number.
No value in these public scope pages creates one pass force for all garments. Acceptance can depend on the named buyer program, product category, component, use, market and risk assessment. If the order uses a buyer procedure or another method, attach that controlled document and state its revision. Do not convert a supplier's typical value or another brand's limit into Jiashun's public promise.
The failure mode belongs beside the numeric result. “Reached criterion” is less informative than “reached criterion; no visible hole enlargement; component remained seated.” Likewise, “below criterion; fabric tore beside intact ring” leads to a different review from “below criterion; post separated from cap.”
Run a controlled comparison, not a one-off tug
Use an investigation sequence that changes one controlled factor at a time:
- Freeze identity. Confirm BOM revision, component set, fabric article, color/finish route and affected production scope.
- Classify the signature. Record operating release, component separation, pull-through, adjacent tear, hardware fracture or post-process loosening.
- Compare states. Put the failed unit beside the approved sample, retained trim reference, unused parts and an unaffected unit with IDs visible.
- Map the build. Record hole condition, layer order, reinforcement, edge distance, component orientation, post/prong length and setting evidence.
- Reproduce only under a named method. Use the buyer-required standard or procedure and the specified specimen state; do not turn a hand pull into a measured result.
- Change one input. A trial may change reinforcement, compatible post length, part set, location, hole formation or setting control, but its record must show what stayed constant.
- Repeat the relevant finish state. When wash or finishing is implicated, compare the trial after the same controlled route.
- Issue a disposition. Define affected lots, containment, rework or remake authority, new evidence required and who can release the change.
This sequence prevents a visually better cap setting from being mistaken for a solved fabric tear. It also keeps a successful development trial from silently authorizing bulk.
Keep approval owners separate
The BOM owns component identity and applicability. The trim card can retain the approved physical appearance. The tech pack and construction detail own location, layer and reinforcement intent. The approved garment sample shows the assembled result. A test report answers the named performance question on identified specimens. Inspection records show what selected production units presented at a defined stage.
None of those records replaces all the others. If a factory changes the die, part set, post or tack length, fabric, reinforcement, hole-making route, component location or finishing process, reopen the affected approval and test decision. Do not attach a new part to an old trim card and represent the original signature as approval.
For children's products, obtain destination-market review rather than copying an adult-apparel method. The U.S. CPSC's Small Parts regulatory summary states that children's clothing and accessories such as buttons are excluded from the cited 16 CFR Part 1501 small-parts regulation. That narrow fact does not prove detached hardware is safe or that buyer requirements are satisfied.
Buyer release checklist
- Every installed system maps to approved component and mating-part codes in the current BOM.
- Location, orientation, actual layer order, backing and reinforcement are visible in controlled construction evidence.
- The setting die or equipment reference and approved setting appearance are recorded.
- Pre-finish and post-finish specimen states are distinguished where the route can affect the assembly.
- Opening behavior, attachment holding and surrounding-fabric damage are treated as separate questions.
- The required method or buyer procedure, edition, direction, specimen state and acceptance criterion are named.
- Results include failure mode and specimen identity, not only a force or pass/fail label.
- The failed garment and separated parts are retained through root-cause review.
- Any part, fabric, reinforcement, die, hole, location or process change triggers the named reapproval path.
- Containment identifies affected style, color, size, lot and production state without assuming the whole order is identical.
- Destination-market and buyer-program requirements are reviewed by the responsible party.
Copyable snap or rivet failure record
Style / order / lot:
Failed specimen ID and discovery stage:
Approved sample / BOM / trim-card revisions:
Garment zone and orientation:
Component family and every mating-part code:
Supplier lot and finish:
Fabric article and finish state:
Layer order, backing and reinforcement:
Location and edge / seam distances:
Hole or piercing condition:
Post, tack, prong or ring engagement evidence:
Setting equipment / die reference:
Pre-wash or post-wash / finishing state:
Observed failure signature and direction:
Named method or buyer procedure / edition:
Acceptance criterion and result:
Failed parts and image references:
Affected scope and containment:
Controlled trial and one changed factor:
Retest evidence and disposition owner:
FAQ
Is a snap pull-out always caused by a bad snap? No. The component may be wrong or damaged, but pull-through can also involve the hole, actual layer stack, backing, reinforcement, location, setting or finish state. Classify the physical signature and preserve the assembly before assigning cause.
Is snap opening force the same as attachment holding strength? No. ASTM D4846-96(2021) addresses resistance to unsnapping, while ASTM D7142-05(2021) addresses holding strength of prong-ring attached snap fasteners. Record which property and method the requirement actually names.
Can one pull-force value be used for every garment? No universal value is established by the cited public scope pages. Use the project or buyer requirement applicable to the identified product, component, market, specimen construction and test state; record the method edition and acceptance owner.
Can a garment trim card prove snap or rivet retention? No. A trim card can retain an identified physical component and approved appearance. Attachment evidence needs the installed fabric assembly, named test or check, specimen state, result, failure mode and disposition.
Should installed hardware be checked before or after washing? Use the states required by the product's approved finish and care plan. When processing can change the fabric, layers or hardware, identified pre-process and post-process specimens answer different questions and should not be treated as interchangeable.
What should a buyer send when asking Jiashun to investigate a failure? Send the failed garment and parts, approved sample reference, BOM and component codes, fabric and layer build, reinforcement, location, setting record, wash or finish route, discovery stage, photos with scale and the buyer's named method or requirement. Jiashun can then review a project-specific evidence path without promising a universal force or correction.
References
- ASTM International, ASTM D4846-96(2021), Standard Test Method for Resistance to Unsnapping of Snap Fasteners, active edition listed by ASTM; operating-force scope, not installed-component holding; accessed 2026-08-23.
- ASTM International, ASTM D7142-05(2021), Standard Test Method for Holding Strength of Prong-Ring Attached Snap Fasteners, attachment-holding scope for the named snap construction; accessed 2026-08-23.
- ASTM International, ASTM D7842/D7842M-12(2021), Standard Test Method for Holding Strength of Tack and Prong Fastener Attached Buttons, tack/prong button-and-apparel-fabric scope, not a universal rivet method; accessed 2026-08-23.
- U.S. Federal Trade Commission, Clothes Captioning: Complying with the Care Labeling Rule, U.S.-specific guidance on a reasonable basis for garment care and non-detachable components; accessed 2026-08-23.
- U.S. Consumer Product Safety Commission, Regulatory Summary: Small Parts, official summary for 16 CFR Parts 1500 and 1501; cited only for the stated clothing/accessory exclusion boundary; accessed 2026-08-23.