Garment Cutting Defects: A Cut-Panel Evidence Guide
Learn how to record ragged or fused edges, ply-to-ply outline drift, missing notches and bundle discrepancies after cutting, then hold, segregate, recut or release a defined scope before sewing.
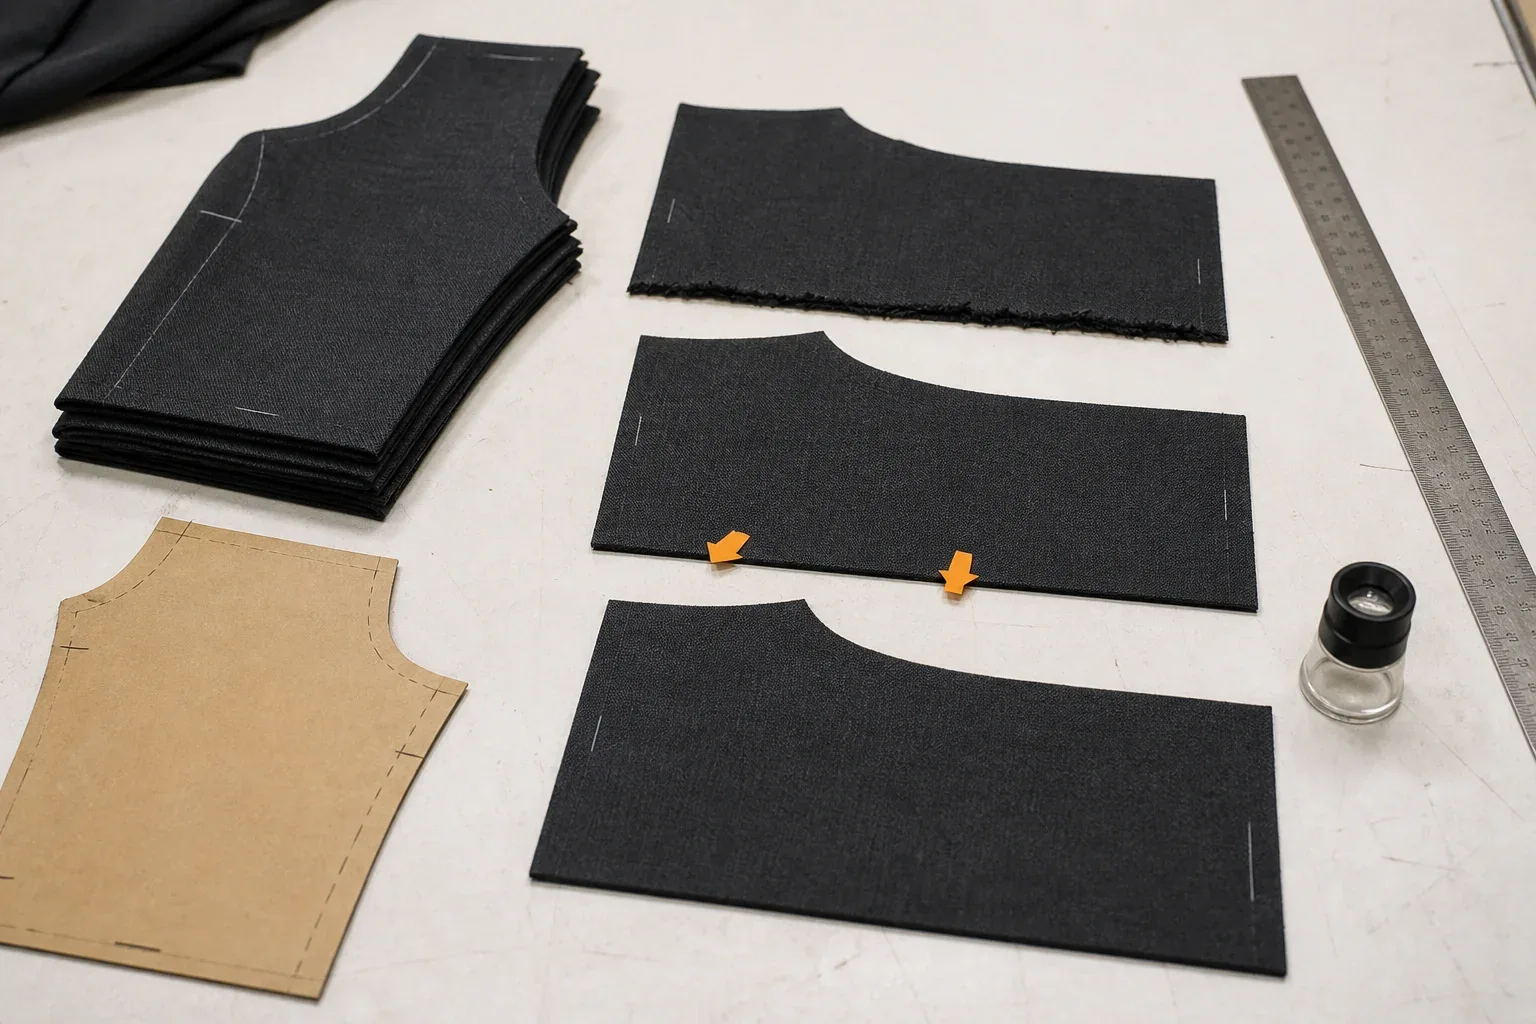
A garment cutting defect is a recorded mismatch on a cut component after cutting and before sewing. It may appear as an irregular edge, an outline that does not match the approved pattern, a missing or misplaced notch or drill mark, or a component and bundle identity that cannot be reconciled.
The observation is not automatically the root cause. A ragged edge does not by itself prove that a blade was dull. A hard or fused-looking edge does not prove which cutting route or setting created it. A short panel does not reveal whether the lay, marker, pattern, hold-down or cutting path was responsible. The first job is to preserve the affected cut parts and their production identity; diagnosis follows from controlled evidence.
This guide owns the cut-complete, pre-sewing decision: inspect a defined cut scope, record what differs, hold or segregate it, and decide whether identified components may be released, rechecked or recut. The fabric-spreading owner controls completed-lay acceptance before cutting. The industrial cutting-machine guide owns cutter types, mechanics and actual machine settings. Neither page should be used as a shortcut around cut-panel evidence.
What Counts as a Garment Cutting Defect?
A cut panel becomes reviewable only when it can be compared with a controlling reference. That reference may include the approved pattern revision, marker or cut-plan ID, material and shade group, component name, size, pair orientation, required internal marks and a project-specific acceptance criterion.
The defect record should name the visible difference rather than a suspected machine fault:
| Observation after cutting | Evidence to capture | Immediate decision question |
|---|---|---|
| Edge is ragged, frayed, partly uncut or locally torn | Component, edge location, face/back views, scale photograph and affected ply position | Can the affected components be isolated without mixing acceptable parts? |
| Edge feels or appears hardened, glazed or fused | Neutral close-up, material identity, cut route record and a comparison piece from the same scope | Does the condition affect assembly, appearance or the cited project criterion? |
| Top, middle or bottom pieces do not share the approved outline | Pattern overlay or approved checking method, ply positions, locations and measured deviations under the project method | Is the mismatch bounded to known plies/components, or must the larger cut scope remain held? |
| Corner is overcut, incomplete or connected by an uncut bridge | Corner identity, front/back photographs, pattern reference and affected quantity | Is an identified-component recut authorized, or is more of the cut scope uncertain? |
| Notch, drill or internal mark is missing, duplicated or displaced | Mark type and location on the approved pattern, affected pieces and paired-component comparison | Can sewing receive an unambiguous assembly reference, or must the piece be replaced? |
| Left/right, face/back, size or component identity is mixed | Labels, tickets, pattern-piece names, quantities and physical segregation evidence | Can identity be reconstructed and reconciled before bundle release? |
| Cut quantity does not match the cut plan or bundle record | Required and actual counts by component, size, color and lot | Which exact shortage, excess or mixed scope must be held or recut? |
These are observation classes, not universal acceptance limits. The buyer and factory still need the criterion for the particular material, component, product and order. A measured difference has meaning only when the record says how it was measured and what approved reference it was compared with.
Separate the Lay, Cut Part and Sewn Garment
Three production stages can produce similar-looking evidence. Keeping them separate prevents one owner from absorbing every cutting-room problem.
Before cutting: the completed lay
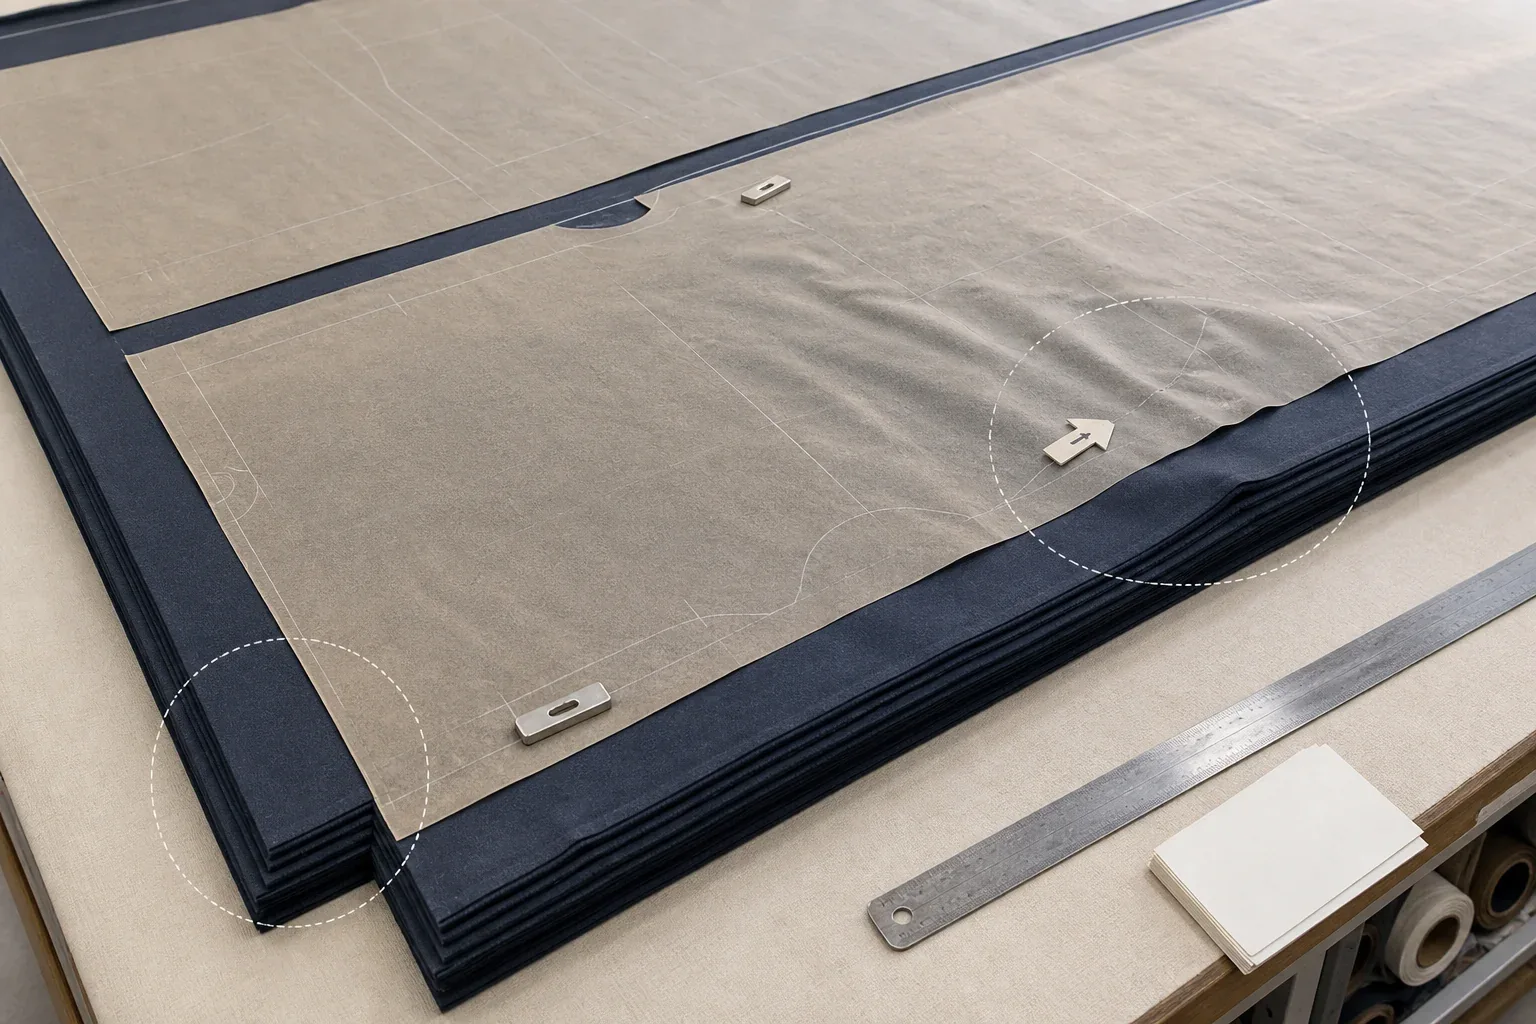
Ply count, short plies, edge drift, folds, ridges, splices, roll transitions and face/direction records belong to lay acceptance. If that evidence is unresolved, hold the named lay before the cutting step destroys or mixes its original state. A released lay is an input; it is not proof that every later panel was cut correctly.
After cutting: the component set
This article begins when the cut parts can be examined. It covers edge condition, outline agreement through the stack, corners, notches, drills, internal marks, component count and bundle identity. The J.Crew Vendor Quality Management manual provides one buyer-program example: its cutting review asks whether pieces are cut accurately, who checks them, where records are kept, and whether top, middle and bottom plies are verified against the pattern. That is evidence of one documented control approach, not a universal sampling rule.
After sewing or assembly: the garment
A twisted seam, mismatched panel, distorted placket or finished measurement can reveal a problem later, but the sewn garment contains more variables than the original cut part. Preserve the garment observation and route it back to the relevant pattern, cutting, sewing or finishing evidence. Do not call every assembled mismatch a cutting defect without the corresponding component record. When panels are already presented together and the question is wrong component identity or shape, left/right pairing, approved direction or the contract-effective revision, use the assembled garment panel-mismatch guide.
Freeze the Cut Scope Before Investigating
Do not keep issuing pieces from a questionable bundle while the evidence is being assembled. Identify the bounded scope and protect it from mixing, trimming or sewing.
Record at least:
- project, style, order and cut-plan or lay ID;
- approved pattern and marker revisions;
- material, color, roll/lot and shade group;
- component name, size, left/right or face orientation;
- bundle, ticket or numbering reference;
- known ply position or range, where the project records it;
- cutting route or equipment record actually used, without inventing a setting;
- quantity inspected and quantity affected;
- time, inspector and current physical location; and
- controlling criterion, approval sample or authorized comparison method.
Photographs should show both context and detail. Use an overall view to locate the component and defect, then a close view with a scale or approved checking reference. Retain the original affected part when the project requires physical review. A close-up of a fiber edge without the component, size and batch identity cannot support a production disposition.
Check Edge Condition Without Guessing the Cause
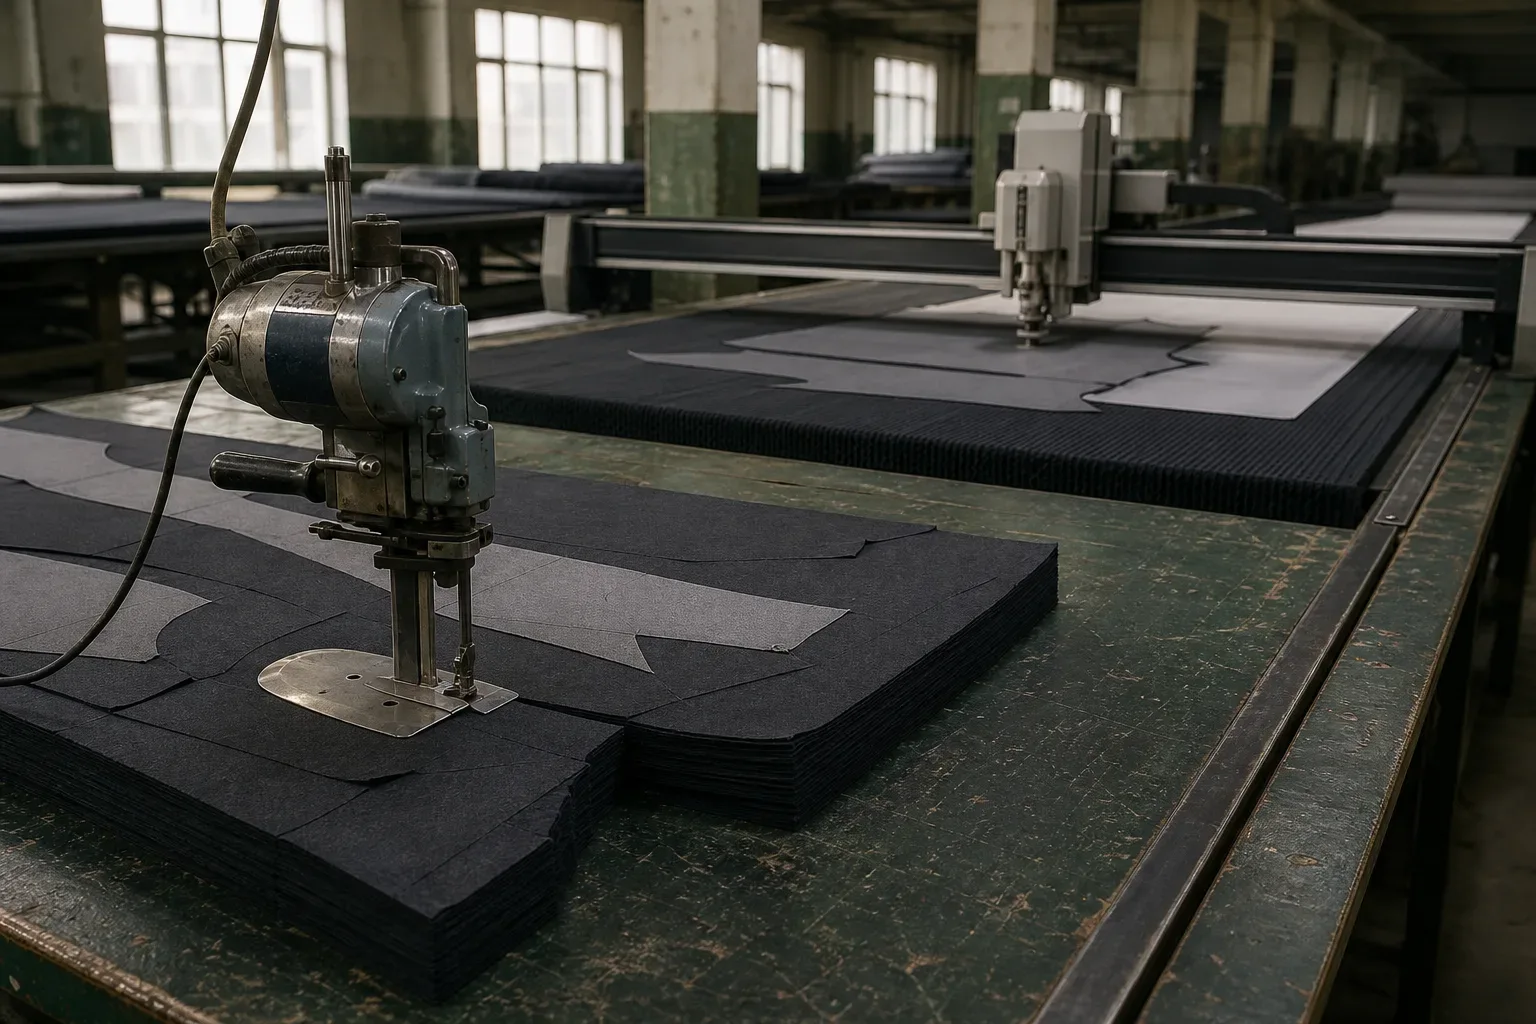
Portable and automated cutters use different blade movements, support surfaces and hold-down arrangements. Eastman's straight-knife information, for example, describes a reciprocating blade, baseplate and sharpening system for that product family. Gerber's US patents 3,548,697 and 3,765,289 document controlled X/Y motion and a penetrable vacuum hold-down bed in particular automatic-cutting architectures. Those sources explain mechanisms; they do not prove why a specific order has an irregular edge.
For an affected edge, compare:
- the same location across pieces from known parts of the cut scope;
- the visible face and back of each component;
- the actual material and cutting-route records;
- the approved outline or checking reference; and
- any corrected trial made under a documented, bounded change.
Use neutral language such as “25 mm section of the armhole edge is visibly frayed on the recorded pieces” or “edge is hardened at the named corner and differs from the approved comparison.” Avoid “increase vacuum,” “reduce lay height” or “change blade speed” unless an authorized technical owner has reviewed the actual equipment, material and result. This buyer-facing record defines the problem and the evidence needed to close it; it does not prescribe a universal machine setting.
Compare Outlines Through the Cut Scope
An accurate top piece cannot represent every ply in a stack. Soft material can move or compress while the cutting path is executed, and a deviation may vary with position in the lay. The 1907–1908 industrial cloth cutter held by the Smithsonian is useful historical evidence: the museum describes how its blade and base geometry addressed pressure, cloth displacement and resulting error. That object illustrates the engineering problem, not a current tolerance or inspection plan.
Where project records preserve ply position, compare pieces from the required locations—potentially top, middle and bottom—against the approved pattern or project checking method. Record the actual selection; do not write “all plies checked” after inspecting three. If ply identity was lost, say so and keep the uncertain scope bounded rather than assigning an unsupported cause.
Outline review may include:
- long straight or curved edges;
- tight internal or external corners;
- paired left/right components;
- intersections used as sewing landmarks;
- pattern match points for stripe, plaid or artwork; and
- any location the project identifies as critical to assembly or measurement.
The result should state which components conform, which do not and which remain uncertain. “Cutting looks okay” is not a traceable result.
Verify Notches, Drills and Internal Marks as Assembly Information
The University of Arkansas apparel-production workbook distinguishes the outer cutting line from notches and dots used to match pieces or locate construction details. That distinction matters in a cut-panel check: a correct perimeter can still hand sewing incomplete information.
For each required mark, compare the physical piece with the approved pattern revision. Record whether the mark is present, singular where required, in the intended component and distinguishable from damage or an accidental cut. A missing mark should not be recreated from memory. Route the piece through the project's authorized pattern and cutting control so the corrected location remains tied to a revision.
Treat an extra cut with equal care. A duplicate notch may be mistaken for a matching point; a drill or internal mark can affect the visible face depending on construction. The disposition depends on the component and approved criterion, not on a universal rule that every mark can be trimmed away or hidden in a seam.
Reconcile Components Before Bundle Release
Cut accuracy includes identity. A physically correct sleeve in the wrong size bundle or shade group is not a conforming handoff. Reconcile the component set against the cut plan and bundle record before sewing receives it.
Check quantities by component, size, color and any required material grouping. Confirm paired pieces remain paired and that left/right or directional identities are clear. Preserve original tickets or numbering evidence when a mixed bundle is investigated. If identity cannot be reconstructed reliably, hold the uncertain scope; do not relabel it by appearance alone.
This is also the point to connect an authorized recut to the original shortage or nonconformance. A replacement part needs its own material identity, pattern revision, cut reference and reinspection result. Otherwise, the count may be restored while shade, direction or revision control is lost.
Choose a Bounded Disposition
The disposition names both the affected scope and the next permitted action:
| Disposition | When it is usable | Minimum closeout evidence |
|---|---|---|
| Hold | Cause, scope, criterion or authority is unresolved | Named components/bundles, physical location, blocking question, owner and reopen trigger |
| Segregate | The suspect scope is known and can remain physically separate | Quantity, labels, location, permitted handling and decision owner |
| Recount or re-identify | Quantity or identity may be reconcilable without altering the pieces | Original records, reconciliation method, result and reviewer |
| Recut identified components | An authorized replacement route exists for a bounded shortage or defect | Original nonconformance, replacement material/pattern/cut identity and reinspection result |
| Release | The named scope meets the cited project criterion | Scope, criterion/revision, evidence, decision owner and time |
Recut is an action, not proof of correction. Inspect the replacement under the same applicable criteria and verify that it can rejoin the intended bundle without creating a material, shade, direction, size or revision mismatch. There is no universal allowance for how many components may be recut or when replacement material may be substituted.
Use a Corrected Trial to Test One Explanation
When the technical team changes a cutting input, keep the comparison interpretable. Identify the original and trial pieces, retain the same relevant material and approved pattern/marker revision, record the one bounded change, and compare the same edge, outline or mark locations. If several settings, the material and the pattern all change together, a better-looking piece does not establish which action mattered.
The buyer record does not have to publish confidential machine parameters. It does need a traceable trial ID, affected component, actual authorized route, before/after evidence and release decision. If the trial fixes the edge but changes outline accuracy or mark placement, the issue is not closed.
A Buyer Comment That Can Be Closed
Replace “cutting is bad—please improve” with a bounded comment:
Hold [bundle/cut scope]. On [component, size and recorded ply positions], [neutral observation] differs from [approved pattern/sample/criterion and revision] at [location]. Preserve the affected pieces and provide [context photo, scale view, pattern comparison, quantity and cut-route record]. Submit an identified corrected trial or authorized recut with the same applicable checks for edge, outline, marks and bundle identity. Reopen only when [named evidence and decision owner] confirms the bounded scope.
That comment separates the symptom, controlling reference, evidence request, correction and reopen condition. It also prevents a supplier from closing the issue with an unlinked photograph of a different component.
Frequently Asked Questions
What are the most common garment cutting defects? Useful observation groups include ragged or partly cut edges, hardened or fused-looking edges, outline differences through the cut scope, overcut or incomplete corners, missing or misplaced notches/drills, and mixed or missing component identity. These groups describe what is visible; they do not prove one universal cause.
Does a ragged cut edge always mean the blade is dull? No. Record the edge, material, component, affected scope and actual cutting route before the technical owner evaluates cause. Blade condition may be relevant, but one photograph cannot establish it or justify a universal setting change.
Why compare top, middle and bottom cut pieces? Pieces at different ply positions can provide evidence about whether an outline remained consistent through a stack. J.Crew's manual uses top/middle/bottom pattern verification in its own buyer program, but the required selection and acceptance criteria must still be defined for the project.
Can a missing notch be added after cutting? Only through an authorized correction tied to the approved pattern revision and the identified component. Do not recreate the location from memory. Record the correction and verify that the mark is unambiguous and the piece still meets the applicable criterion.
When is a recut component ready for sewing? After its replacement material, pattern revision, cut identity and bundle destination are traceable and the component passes the same applicable edge, outline, mark and identity checks. Producing a replacement does not automatically release it.
The practical rule is to protect identity before pursuing cause. A neutral, bounded cut-panel record gives the technical team something testable and gives the buyer a release decision that can be audited.
Primary Sources
- J.Crew Imports, Vendor Quality Management — one buyer program's documented cutting review, records and top/middle/bottom pattern verification.
- University of Arkansas, “Pattern Symbols,” Introduction to Apparel Production Workbook — open educational reference distinguishing cutting lines, notches and dots used for construction.
- Eastman Machine Company, straight-knife cutting systems — first-party descriptions of reciprocating blades, baseplates and sharpening systems; product-family mechanics only.
- Eastman Machine Company, replacement blades and parts — first-party blade and abrasive options; not a universal defect-cause table.
- Gerber and Pearl, US 3,548,697, “Apparatus for cutting sheet material” — primary architecture record for controlled X/Y cutting over a penetrable support.
- Gerber and Pearl, US 3,765,289, “Vacuum hold-down apparatus” — primary architecture record for vacuum hold-down and a penetrable bristle bed.
- Smithsonian National Museum of American History, “Industrial Cloth Cutting Machine, 1907–1908” — museum object record discussing blade/base geometry, cloth displacement and cutting error.
Related guides
 Fabric Spreading Defects Before Garment Cutting
 Fabric Cutting Machines: From Electric Knife to CNC
 Fabric Grain, Nap and One-Way Cutting for Apparel
 Garment Marker Efficiency: What Brands Should Ask About
 Garment Pre-Production Meeting Checklist Before Bulk
 Garment Sample Approval Checklist: One Comment Sheet, One Revision Trail