Garment Pattern Making: From Design to Production
Understand pattern pieces, seam allowances, fit revisions and grading, then use a worked T-shirt example to prepare a clear production handoff.
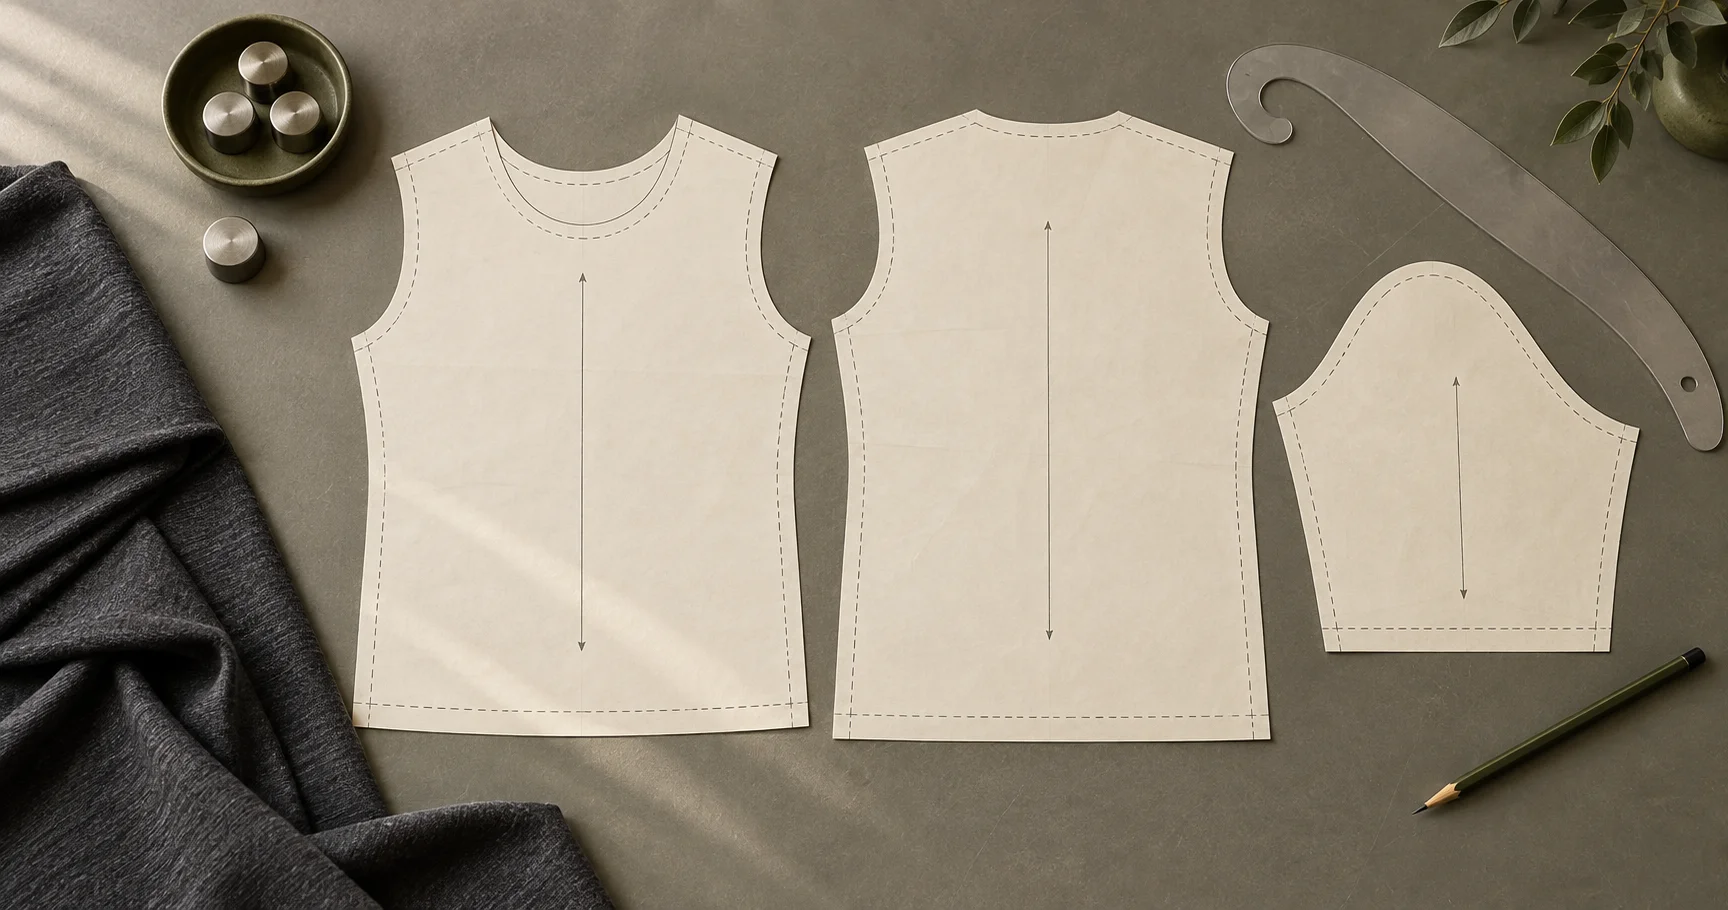
Garment pattern making turns a clothing design into shaped templates for cutting and assembling fabric. A pattern defines each component's outline and its relationship to the other pieces. Production information adds cutting directions, seam allowances, matching marks and identifiers so the intended shape can be made again.
For a clothing brand, this explains a familiar sampling problem: the chest width can match the size chart while the garment still looks or feels wrong. Shoulder angle, front-to-back balance, armhole shape and sleeve position are part of the pattern, and a few headline measurements cannot describe them all.
This guide follows the pattern from first development through fit revision and production handoff. The T-shirt example is hypothetical; its measurements are not a standard to copy.
Key takeaways
- A size chart controls selected measurements. A pattern also controls the shapes and relationships between them.
- Confirm whether a supplied pattern includes seam allowances before anyone cuts fabric.
- Review the pattern with its intended fabric, trim and finishing process. A material change can change the fit.
- Carry approved sample changes into the identified pattern revision, then validate the required size range.
Cover: AI-generated editorial illustration. It does not show a customer project or a usable sewing pattern.
What a garment pattern contains
A conventional cut-and-sew T-shirt might need a front, a back, a sleeve shape used for both arms, and a neckband piece or controlled neckband cutting specification. A lined jacket adds components such as facings, lining and interfacing. One drawn piece can produce several cut parts; the cutting instructions determine the quantity and whether a mirrored pair is required.
A block is a starting shape used to develop other styles. Some blocks are close to body shape; an established brand block can already include a particular fit. A style pattern develops the chosen neckline, panels, pockets and silhouette. A production pattern carries the resolved cutting and assembly information for the approved style. Ask what stage a file represents rather than assuming that every pattern is ready for bulk cutting.
Paper remains useful for tracing and checking, but a pattern can also be a digital CAD file. The underlying task is the same: define the parts that will become a three-dimensional garment.
Pattern, size chart, tech pack and sample
| Item | What it controls | What it leaves to other inputs |
|---|---|---|
| Design drawing | Appearance, visible details and intended proportions | Precise cutting geometry and hidden construction |
| Size chart or measurement specification | Named dimensions measured by agreed methods | Every curve, angle and distribution of shape |
| Tech pack | The coordinated design, materials, measurements, construction and decoration requirements | Physical proof that the chosen build works |
| Pattern | Component geometry, construction relationships and cutting information | Actual behavior of the sewn garment in its material |
| Sample | A physical result that can be measured and worn | Automatic approval of another material, revision or size |
A tech pack prepared for a factory quote helps align these inputs. If the pack, pattern and sample disagree, identify the intended revision before approving the next step.
How to read a pattern piece
Start with identity, then geometry. Check the style, component, size, revision, material and cutting quantity. Next establish which line is the cutting edge and which is the intended stitch line.
Seam allowance is the material between those lines. A seam-line pattern may omit it; a cutting pattern may include it. Different operations can need different allowances, and a hem turnback is a separate construction decision. Do not add an allowance to a file that already includes it.
Grainline specifies orientation on the fabric. For woven fabric, it relates to warp and weft; knits also need a controlled orientation and stretch direction. Nap, a directional print or a deliberate bias cut can impose additional rules. Turning a piece to fill a gap in the layout can change the garment's behavior or appearance.
Notches mark corresponding assembly positions. They help distinguish front from back, locate a sleeve or distribute planned easing. Internal marks can locate pockets, darts, pleats or other details. Their meaning and transfer method must be clear to the sample room and cutting room.
These are established industrial pattern tasks: Lectra's Modaris documentation describes finalizing pieces with notches, seam values, axes and production information. That does not mean every supplier's exported file includes all of them; inspect the actual deliverable.
How patterns are made: drafting, draping and digital tools
Flat drafting builds or modifies a pattern on a two-dimensional surface. A pattern maker can start from measurements or adapt an appropriate block, then develop the style lines. Moving a seam, adding volume or changing a shoulder affects related pieces, so the outline needs checking after the changes.
Draping develops shape by arranging and pinning fabric on a form. The resulting lines are transferred into flat pieces and checked for construction. It is useful when the desired volume or folds are easier to assess in three dimensions. Flat work and draping can be combined; University of the Arts London's pattern cutting and draping course explicitly teaches them together.
Developing from a reference garment starts with an existing physical shape. Record its material, size and worn or washed condition, then identify what to preserve and change. Copying only its flat measurements leaves the curves and internal construction unresolved.
CAD and 3D simulation are tools within development. CAD helps edit, check and grade pattern geometry. A 3D preview helps examine a proposed shape on a configured body, but the preview depends on the material and body inputs. It cannot show that the real garment has passed an agreed wash or sewing check. Ask for the physical verification appropriate to the project.
Why matching measurements can still produce a different fit
Two tops can have the same chest width and body length while distributing their space differently. One can put more room across the back; another can have a different shoulder slope, armhole or sleeve angle. Those differences affect the silhouette and movement.
Ease is the difference between corresponding garment and body dimensions. It includes room for wearing and the intended design effect. Some stretch garments use negative ease, relying on suitable stretch and recovery to fit around the body.
For a hypothetical example, a 120 cm garment chest circumference around a corresponding 100 cm body chest gives 20 cm of total chest ease. This is an explanation of the arithmetic, not an oversized-T-shirt rule. Ease also is not seam allowance: one affects wearing space, while the other provides material for assembly. New Mexico State University's Pattern Alteration guide likewise treats ease as dependent on the fabric, pattern and fit preference, and stresses making corresponding changes to related pieces.
An oversized style needs deliberate proportions. Increasing chest width does not automatically call for the same percentage increase in neck opening or body length. A dropped shoulder also changes where sleeve length begins. Evaluate where the sleeve ends on the wearer as well as the number measured from its seam.
Fabric, rib and washing change the pattern decision
The same geometry can hang differently in a soft jersey and a more structured knit. Stretch and recovery affect how a garment opens, moves and returns to shape. Thickness affects folded edges and layered construction. Review these properties alongside the intended fabric drape, rather than selecting a pattern from fabric weight in grams per square metre (GSM) alone.
A T-shirt neckband shows why this matters. Its cutting length depends on the neckline seam length, the rib's stretch and recovery, band width and sewing method. Specifying a rib structure does not settle all those inputs. The rib-knit trim guide covers the material and construction decisions in more detail; a universal neckband-to-neckline ratio is not an approval method.
For dimensional change, distinguish the target garment state, the tested material or garment, and the pattern adjustment. CottonWorks' Shrinkage & Skewing resource explains how yarn, construction, wet processing, finishing, apparel manufacture and laundering affect dimensional stability. Length and width need not change equally.
Suppose a finished garment must measure 70 cm long after an agreed care test, and that garment construction has a measured 3% length shrinkage under those conditions. A simplified pre-care garment estimate is:
70 cm / (1 - 0.03) = approximately 72.16 cm.
That estimate is not a cutting length. Neck construction, measuring landmarks, hems, seam allowances and other processing still need to be accounted for. Nor should a fabric-swatches-only result be assumed to predict the complete garment. Record the test conditions and verify the garment; use the cotton shrinkage and tolerance guide for the broader testing discussion.
From the first pattern to an approved fit
The pattern process is iterative. Each sample should answer a defined question and leave an identifiable result.
- Define the base. Agree the target wearer, base size, fit reference, measurements, fabric and finishing direction. Mark unresolved details so they do not become silent assumptions.
- Build the first pattern. Develop the component shapes and check their assembly relationships. Compare joining stitch lines, allowing for intentional easing, gathering or stretch; equal cut-edge lengths are not a universal requirement.
- Make and inspect a sample. Measure it by the agreed method, view it on the intended body and check relevant movements. A substitute material can answer an early construction question without approving the final drape.
- Turn observations into changes. Separate a measurement discrepancy, a desired design change and a symptom needing investigation. Link comments to the sample revision and photographs.
- Update the pattern and verify again. Temporary pinning or sample-room adjustments must be reflected in the pattern and specification when accepted. Recheck connected parts after a revision.
- Confirm the range and production reference. Establish the grading rules, required size checks and the identified pattern that corresponds to the approved sample and materials.
The labels used for proto, fit, size-set and pre-production samples vary between programs. Agree what each stage proves; the garment sample types guide explains those distinctions.
Worked example: revising a boxy T-shirt
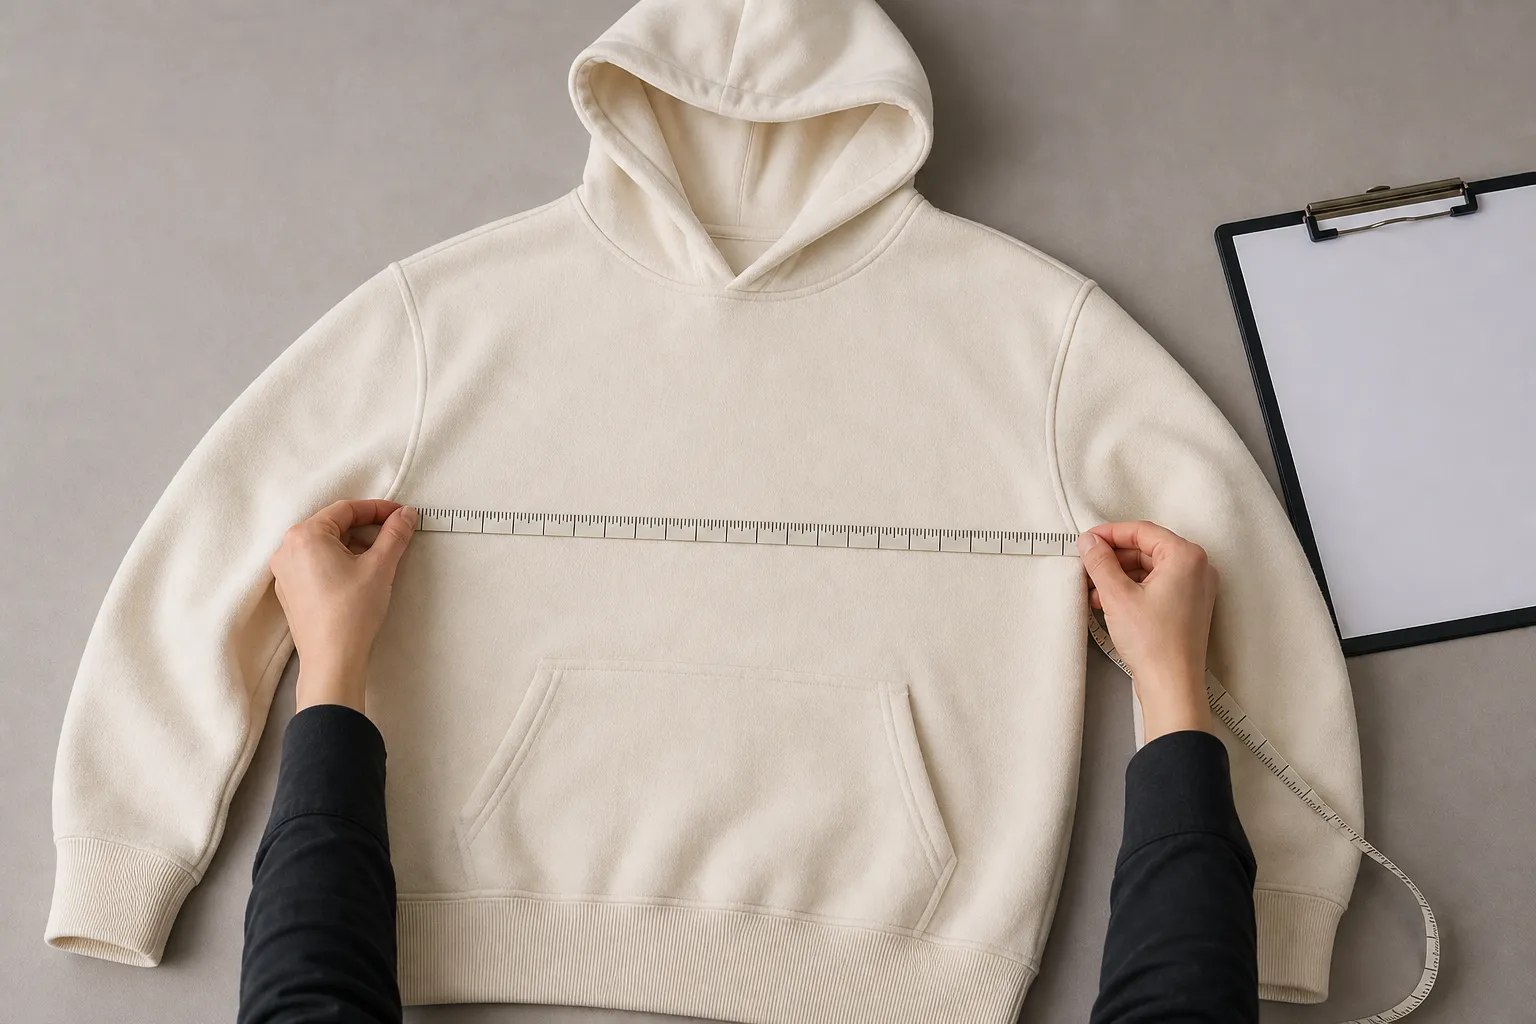
Consider an invented base-size M tee. Its specification calls for 60 cm chest width, measured flat without stretching at the agreed underarm position. The first sample meets that number, but the brand wants the body shorter and feels pulling when reaching forward.
Those are two different observations. The desired shorter body is a design decision. Pulling during movement is a symptom that needs investigation before choosing a correction.
| Observation | Evidence to record | Pattern decision to resolve |
|---|---|---|
| Chest width matches | Measurement method, sample state and measured result | Preserve this dimension unless a deliberate fit change requires otherwise |
| Body should finish higher | On-body reference and the agreed length measurement | Shorten at the appropriate location, keeping the intended hem shape |
| Pulling when reaching forward | Front, side and back views at rest and in motion | Investigate back width, shoulder, armhole and sleeve relationships alongside fabric and assembly |
| Neckline is approved | Identified sample and neck construction | Preserve its specification; recheck related geometry if shoulder changes affect it |
A useful brand comment would be:
Keep the approved chest width and neckline. Reduce high-shoulder-point body length by 2 cm using our illustrated measurement method. Photos B1 to B3 show pulling when reaching forward; please investigate the cause and propose the pattern change before the next sample.
The 2 cm change and photograph labels are hypothetical. The comment gives the factory a clear design instruction without prescribing an unsupported armhole correction.
If a revision changes the shoulder or armhole, check the sleeve connection again. If the sample maker makes a successful adjustment while sewing, record it and update the pattern before calling that version approved. A saved PDF of the first pattern does not capture a later alteration made only on the physical sample.
For a complete comment sheet and follow-through process, use the sample approval checklist.
Grading and marker making are different jobs
Grading creates the required size range from the base pattern using controlled changes at different points. It does not enlarge every line by one percentage. Gerber's Grade Rule Editor documentation records point changes as X and Y values under assigned grade rules.
The base-size fit is the starting evidence. It does not prove how the smallest and largest sizes will fit. Agree which sizes require physical review based on the span, intended body shapes, construction and material. A wide range can require more than one base fit approach. The size chart guide covers measurement definitions and size-run planning.
Marker making arranges the cutting pieces within the usable fabric width for a particular production lay. The layout must respect grain, direction, matching requirements and the planned size quantities. A pattern set describes the pieces; a marker describes how those pieces will be laid out for cutting. Changing the fabric width or size mix can require a different marker without changing the garment design.
A marker also cannot rescue an unresolved pattern. Efficient placement of the wrong revision still produces the wrong parts.
What to request with a production pattern
Agree the deliverable before comparing pattern-making prices. Development can include different combinations of a first pattern, physical sample, revisions, grading and files; one quoted fee does not establish which of these you will receive.
Use this handoff list with the supplier:
- Identity: style, base size, complete size range, revision and the approved sample reference.
- Complete components: main fabric, lining, interfacing and trim cutting information where needed, including quantities and mirrored or fold instructions.
- Construction status: seam allowances, hem turnbacks, notches, internal marks and any intentional joining-length differences.
- Material and finishing basis: approved fabric and trim references, relevant processing, measurement state and whether dimensional-change compensation is already applied.
- Usable files: agreed editable format plus any full-scale viewing or plotting export. Check units, 1:1 scale and actual opening or import in the receiving system.
- Size development: grade rules or graded pieces as agreed, plus the record of required size verification.
- Service scope: included revisions, sample charges, additional changes and whether pattern files are supplied for your intended future use.
A PDF can be useful for full-scale viewing or printing when exported correctly. It does not automatically provide editable CAD data or grading rules. Equally, receiving a file with a familiar extension does not prove a correct conversion. Open it, confirm the units and check key dimensions and markings before using it.
Questions brands ask before pattern development
Can a factory start with a photograph?
A photograph can communicate the desired look. It usually leaves scale, hidden construction, back details and material behavior unresolved. Add the base size, a measured reference or measurement specification, and notes on what matters most. Expect those open points to be resolved during development.
Can I reuse an approved pattern with a new fabric?
It can be a starting point. Compare stretch, recovery, thickness, drape, finishing and dimensional change, then verify the new build. Reusing the file does not transfer approval to a materially different garment.
Does paying for a sample include the pattern files?
Confirm the deliverables in the quote. Ask separately about physical samples, editable files, full-scale exports, grading and future reuse. Do not assume that every sample-development price includes all of them.
When is the pattern ready for bulk?
When the required fit, material, construction and size checks are closed, and the released pattern corresponds to the approved sample and specification. Cutting, sewing and finishing still need their own controls; pattern approval does not eliminate production variation.
For a Jiashun project, prepare your reference garment or tech pack, base size, intended size range, fabric direction and the proportions you want to keep or change. Our pattern and fit development service is the next step for reviewing that brief and connecting the pattern work to your custom clothing order.