Presser-Foot and Feed-Dog Marks in Garment Sewing
A surface mark beside a seam does not prove one machine fault. Map the face, reverse, yarn condition, contact path and production stage before approving a corrected sewing trial.
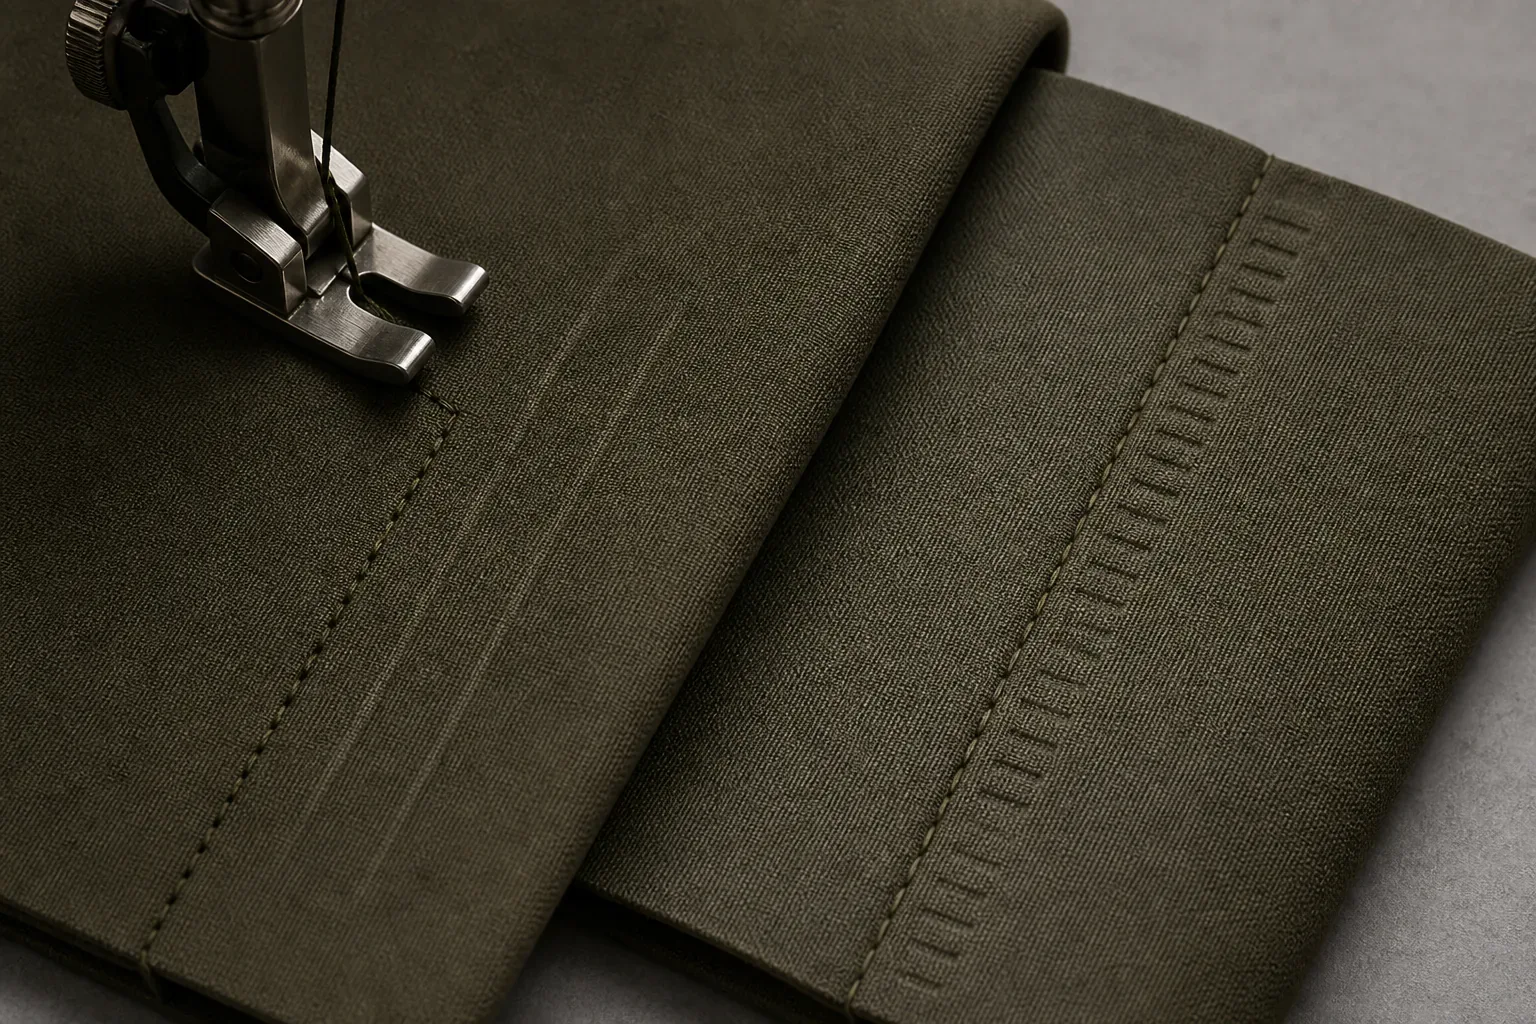
A presser-foot or feed-dog mark is an unintended surface change first found along a sewing operation while the fabric yarns remain intact. It may appear as a smooth rail on the upper face, a repeated tooth-like impression on the reverse, flattened nap, displaced surface finish or a track that becomes visible only under directional light. The signature is evidence to map—not proof of one pressure, height, attachment or operator error.
This guide covers that narrow buyer decision: preserve the marked garment, distinguish upper- and lower-contact clues, define the affected scope and approve a production-representative comparison. It does not diagnose abrasion, holes, cut yarns or pulled loops; prescribe machine settings; publish an operator SOP; or absorb seam puckering, finished-garment pressing imprints or roll-level needle and feeder lines from knitted-fabric production.
Confirm the Surface Is Marked Before Naming the Contact
Begin with yarn continuity. View the area under normal and directional light, then use backlight or magnification when the surface makes the yarn path difficult to see. A compressed, polished or imprinted surface with intact yarns belongs in this investigation. Abraded or weakened fibers, a severed yarn, hole, spreading run, melted edge or pulled loop belong with needle-damage diagnosis, even if a feed dog or foot is later found to be involved.
Record the appearance in plain language:
| Visible signature | Evidence to capture | What it does not prove |
|---|---|---|
| Smooth or reflective rail near a sewn path | Full zone, raking-light close-up, upper face and approved comparison | Excessive presser-foot pressure |
| Repeated tooth-like impressions on one side | Reverse and face in the same orientation, complete repeat path and stitch line | Incorrect feed-dog height or damaged teeth |
| Flattened nap or pile | Hand direction, unaffected adjacent area and before-sewing control where available | Permanent damage or one universal correction |
| Local finish displacement at a seam crossing | Layer-stack map, entry and exit from the crossing, both garment faces | That the crossing alone caused the mark |
| Broad ripple or one ply longer than another | Whole seam laid flat, ply relationship and timing | A surface-contact mark; this may be feed puckering |
| Hole, cut yarn, snag or run | Yarn close-up, penetration relationship and affected ply | An intact-yarn pressure mark |
A mark can be unacceptable without its root cause being known. The buyer first needs a reproducible observation and a bounded hold. The technical team can then test the actual contact system without turning a photograph into a machine instruction.
Map the Upper Face and Reverse as One Evidence Pair
In a common drop-feed arrangement, the presser foot and lower feed system contact opposite sides of the material as it advances. That makes face-versus-reverse mapping useful. It does not make it conclusive: attachments, folders, top-feed systems, folded components, garment orientation and later handling can change which surface contacted which part.
Use one orientation marker in every photograph. Identify the garment face, reverse, sewing direction, needle line and start/end landmarks. Then ask:
- Does the upper-face track follow the complete operation or only a bulky transition?
- Does the reverse carry a repeated geometry that corresponds to the same span?
- Is the mark centered on the stitch line, offset from it or outside the material path?
- Does the signature start and stop with one operation?
- Was the same surface clean immediately before sewing?
SCHMETZ's technical sewing guidance connects feed selection with fabric surface and density and warns that small damage to feed-system parts can contribute to material damage. American & Efird's maintenance bulletin likewise treats feed-dog condition, suitability, presser-foot wear and even pressure around the needle as separate checks. Those sources support inspecting the complete contact path; they do not authorize a buyer to call one component defective from a tooth pattern alone.
Route Similar-Looking Conditions
Several conditions can share the same seam zone. Route the dominant evidence before asking for a correction.
| Dominant evidence | Canonical investigation | Boundary |
|---|---|---|
| Intact yarns with a compressed, polished, imprinted, nap-flattened or finish-displaced surface first seen at sewing | This guide | Upper/lower contact map, controlled trial and disposition |
| Abraded or weakened fibers, severed yarn, hole, melted edge, pulled loop, snag or spreading knit run | Needle damage in garment sewing | Material integrity and needle/material-path damage |
| Ripple, gathering or unequal ply length held along the seam | Seam puckering causes | Structural, tension, feed or dimensional-change pucker |
| Shine, hidden-component outline, shape loss or crease first found after final pressing | Garment pressing defects | Finished-garment pressing evidence |
| Continuous needle line or circumferential feeder band already present in knitted yardage | Fabric-production investigation | Roll, course/wale, machine-position and lot evidence before cutting |
The knitted-yardage branch in the last row belongs to the needle-line and feeder-mark guide, while this page stays with sewing-contact marks first observed around an operation.
Coats defines feed pucker as variations created when two plies are not fed uniformly and then held by the stitches. That is different from an intact-yarn surface impression. A garment can show both, but a flat seam with a visible tooth track should not be called pucker, and a gathered ply should not be closed merely because its surface looks clean.
Preserve the Pre-Sewing and Immediate Post-Sewing States
Evidence collected only after washing, pressing or packing leaves too many stages open. When a mark appears during development or inline review, preserve the first identified example and build a matched sequence:
- Input state: identified material, color, finish, face/back, direction, lot and a clean control before the operation.
- Operation state: seam or component name, layer stack, sample or bundle identity, machine/attachment identity as recorded by the factory and the mark's exact start and end.
- Immediate result: face, reverse, full context and directional-light close-ups before re-pressing, brushing or washing.
- Required later state: the same marked zone after only the treatment or care exposure that the project actually requires.
Do not rub, steam or brush the first affected piece simply to see whether the mark disappears. That may answer a recovery question while destroying the evidence needed to locate the stage. Keep the original held garment or complete photographs and retain an unaffected comparison from the same identified scope.
Material and Garment Geometry Change the Question
The technical review should match the actual material and operation. Raised surfaces can show flattened direction; smooth or finished surfaces can reveal local polish or finish displacement; elastic or mobile materials can respond differently from stable layers; and a thick intersection can alter local contact compared with a flat panel. These are investigation branches, not universal material rankings.
JUKI's DDL-9000B manual provides one machine-specific example: its presser-foot micro-lifting feature is described for reducing slippage or material damage on fluffy material such as velvet, while the same manual warns that using the mechanism can reduce feed force. The useful buyer lesson is the trade-off. A change intended to reduce one surface mark still has to preserve feeding, stitch formation and seam appearance on the actual operation. The manual's adjustment instructions are not a transferable setting for another machine or garment.
Product pages can help a team point to visible sewing zones. A heavyweight boxy T-shirt shows long hems and neckline areas; baggy washed denim pants show pockets, waistband and thicker intersections; and a French-terry essentials hoodie shows body, rib and pocket transitions. These are visual and location references only. Their photographs and titles do not prove the hidden layer stack, material finish, feed system, machine setting or acceptance result for another order.
Build a Controlled Comparison Instead of Requesting a Setting
The buyer should state the result to prove, while the responsible factory technician selects and records the product-specific correction. A useful comparison keeps the important inputs traceable:
- the same identified material article, color, finish, direction and representative layer stack;
- the same seam or operation and relevant attachment relationship;
- a retained affected sample, an approved appearance reference and a corrected trial;
- the actual variables changed, recorded by the technical owner without converting them into a website recipe;
- upper-face, reverse and stitch-line views under the same lighting;
- stitch formation, seam alignment, ply feeding and any new surface effect; and
- the same required finish, movement or care exposure that the approved garment will receive.
A trial does not pass merely because the original track becomes fainter. It also fails if it creates skipped or imbalanced stitches, unstable feeding, a gathered ply, distorted dimensions, new material damage or unacceptable seam appearance. The stitch and seam quality guide keeps stitch-class and seam-performance decisions separate from this surface record.
Do not ask a supplier to copy a pressure value, feed-dog height, tooth count, speed or attachment from a public guide. SCHMETZ, JUKI and American & Efird all discuss these relationships within particular machines, materials or applications. The release evidence must come from the actual production-intent combination.
Define the Held Scope and Release Evidence
One marked sample does not automatically condemn every garment, and one clean correction panel does not release an entire lot. Use the order's inspection authority to define what is held, how related work is identified and what evidence can release it.
Capture at least these fields:
| Record field | Buyer-useful entry |
|---|---|
| Product identity | Style, order, color, size, sample/garment and material lot |
| Operation map | Seam/component, sewing direction, layer stack and relevant equipment/attachment identity |
| Surface signature | Upper/reverse location, geometry, sheen, flattening or finish-displacement description and yarn continuity |
| Detection state | Before sewing, immediately after sewing, after treatment, after care or final inspection |
| Scope | Quantity checked, quantity affected, bundles/lots/operations held and segregation location |
| Controlling reference | Approved sample, visual standard, tech-pack/comment revision and allowed variation if defined |
| Corrected trial | What the technical owner changed and which matched inputs were preserved |
| Verification | Face/reverse comparison, seam result and required post-treatment evidence |
| Disposition | Hold, accept, reject, rework under an approved instruction or request more evidence |
| Authority | Named approver, date, revision and exact released scope |
The sample approval checklist governs the comment revision and physical development decision. The garment inspection and AQL guide governs any finished-lot sampling plan and acceptance rule. This page supplies the defect-specific evidence that those records can reference.
Buyer Checklist Before Releasing the Operation
- The mark is photographed on the upper face, reverse and in full garment context.
- Yarn continuity is confirmed, or material damage has been routed to the needle-damage investigation.
- The exact operation, direction, layer stack, material lot and detection stage are identified.
- A pre-operation or unaffected comparison is retained where available.
- The held quantity and potentially related scope are recorded without assuming the whole lot is affected.
- The factory's corrected trial states what changed and preserves the production-intent inputs.
- Surface appearance, feeding, stitch formation, seam shape and required after-treatment state are all rechecked.
- The decision names the approver, date, revision and exact scope released.
Frequently Asked Questions About Presser-Foot and Feed-Dog Marks
What do presser-foot marks look like on a garment?
They can appear as a smooth or reflective rail, flattened surface character, a narrow compression path or local finish displacement near a sewing operation. Inspect the reverse, stitch relationship and yarn continuity before assigning the upper contact as the cause. Route abrasion or weakened fibers to the needle-damage investigation.
Do tooth marks on the reverse prove that the feed dog is set incorrectly?
No. Repeated geometry on the lower face is a useful correlation clue, but it does not prove height, condition, timing or suitability from a photograph. Preserve the path, identify the operation and require a matched technical comparison.
Is a shiny line beside a seam always a presser-foot mark?
No. Directional reflection, a finish change, abrasion, a hidden seam allowance, later pressing or handling can create similar appearances. Record when the line first appeared and compare both sides with an approved or unaffected control.
Can a mark be accepted if it fades after the garment rests?
Only under a defined project decision. Record the initial state, evaluation interval and final approved appearance instead of assuming every temporary-looking compression will recover. The required care or finish route may also need to be repeated before release.
Are feed marks the same as seam puckering?
No. This guide concerns an intact-yarn surface track or impression. Feed pucker is a seam-shape problem in which unequal ply feeding is held by the stitches. A garment may show both, so record surface and seam geometry separately.
What evidence should a buyer request before bulk sewing resumes?
Request the held-scope map, face/reverse images, material and operation identity, preserved affected sample, corrected production-representative trial, the recorded change, seam and surface verification after the required treatment, and a named disposition for the exact scope being released.
An evidence-led decision starts with a narrow observation: intact yarns, mapped contact surfaces and a known sewing stage. Preserve that state, let the technical owner test the actual material and operation, and release only the scope supported by the corrected comparison.
Primary and Technical Sources
- SCHMETZ. Sewing Focus: Technical Sewing Information—Ladies Wear. Feed-system selection, material-dependent relationships and damaged feed-component risk. Accessed August 17, 2026.
- JUKI Corporation. DDL-9000B Instruction Manual. Machine-specific presser-foot micro-lifting example, material-damage context and feed-force trade-off. Accessed August 17, 2026.
- American & Efird. Sewing Maintenance Check List. Feed-dog condition/application, presser-foot wear and pressure-related maintenance checks. Accessed August 17, 2026.
- Coats Group. Eliminating Seam Puckering. Feed-pucker mechanism and unequal-ply boundary. Accessed August 17, 2026.
- American & Efird. Reducing Needle Cutting on Knits. Yarn-cutting, ply/location and material-path evidence used to separate needle damage from intact-yarn surface marks. Accessed August 17, 2026.
Related guides
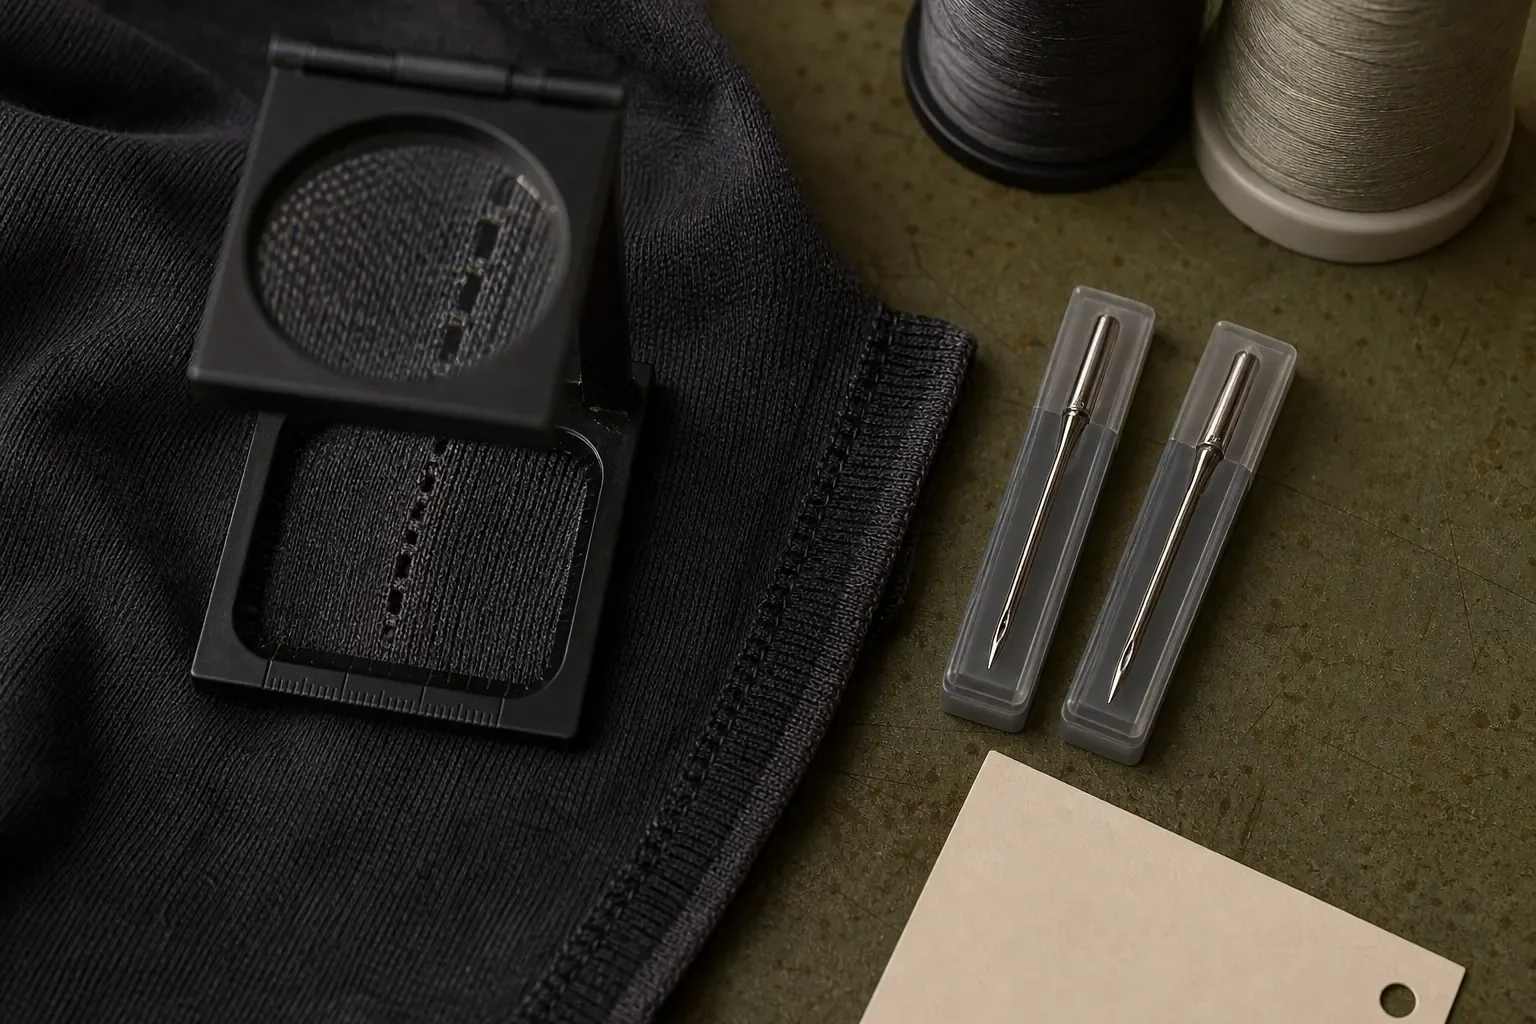 Needle Damage in Garment Sewing: Holes, Cuts and Snags
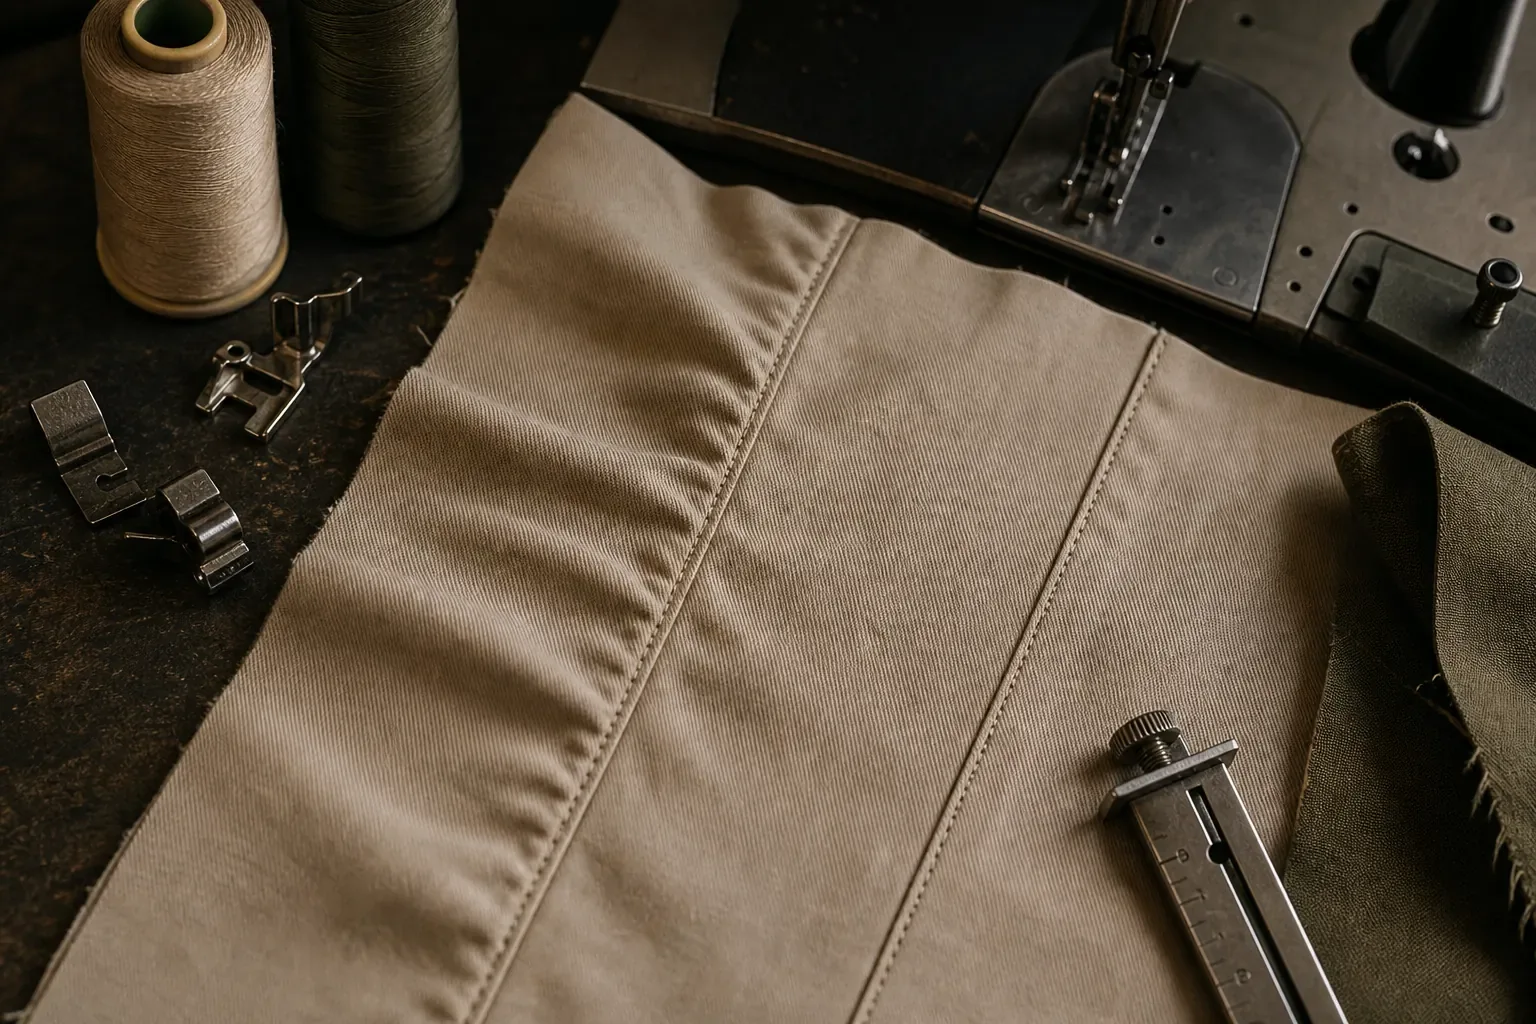 Seam Puckering Causes: A Brand QC Guide
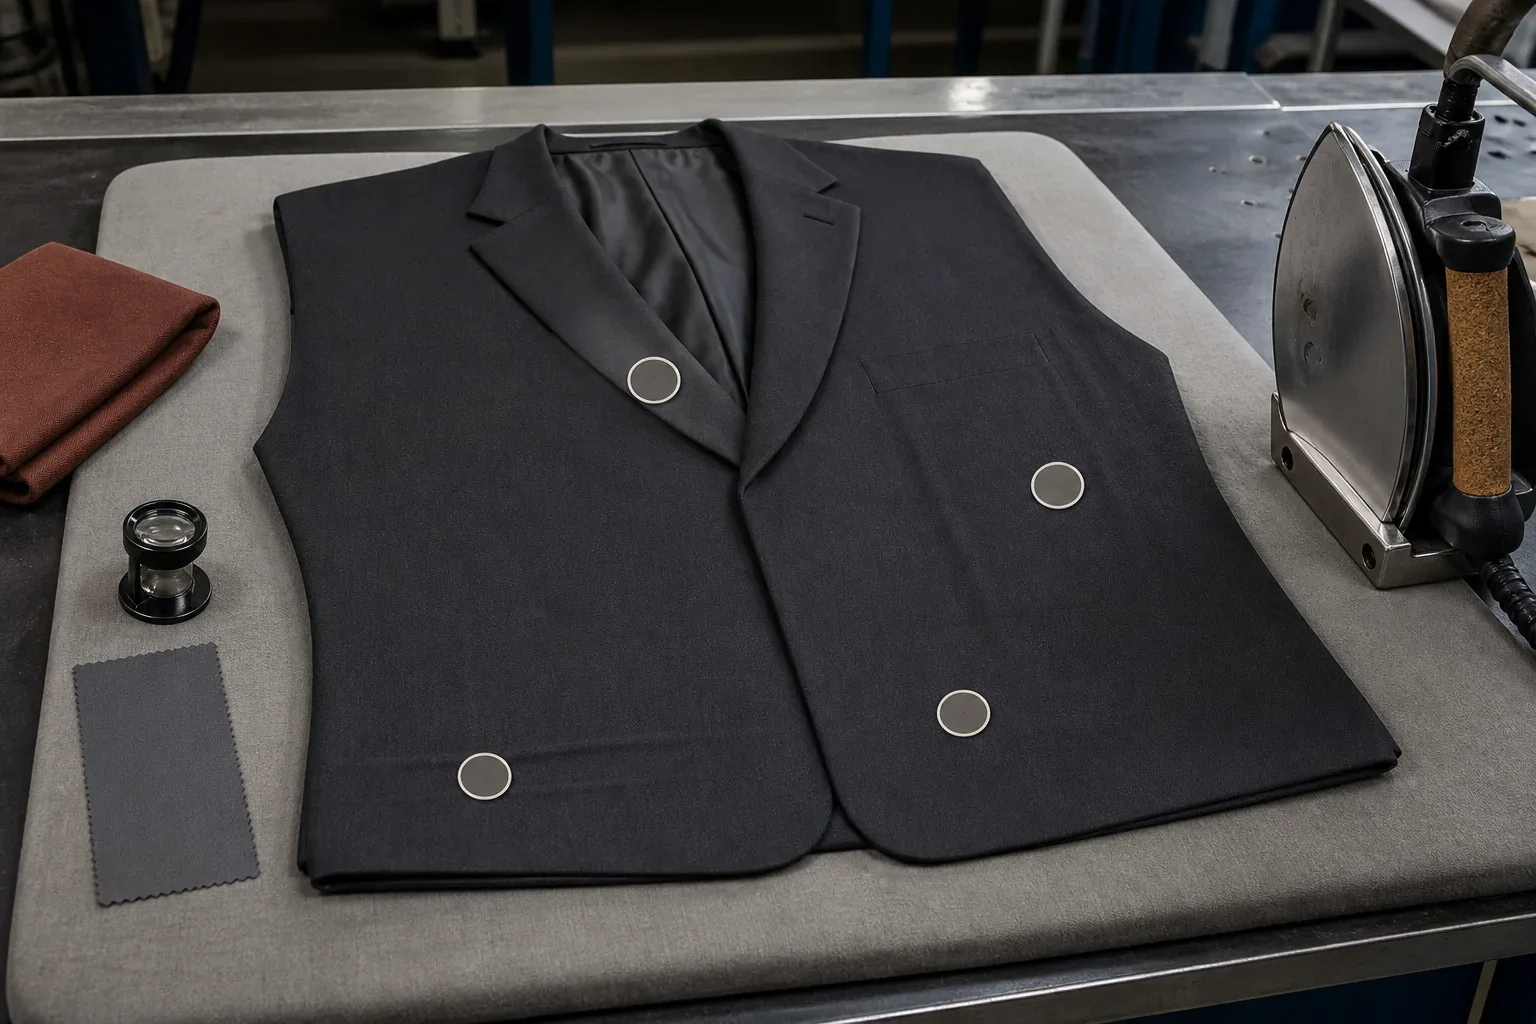 Garment Pressing Defects: Shine, Imprints and Shape Loss
 Stitch Types and Seam Quality: A Garment Approval Guide
 Garment Sample Approval Checklist: One Comment Sheet, One Revision Trail
 AQL 2.5 Explained: What Garment Buyers Should Specify