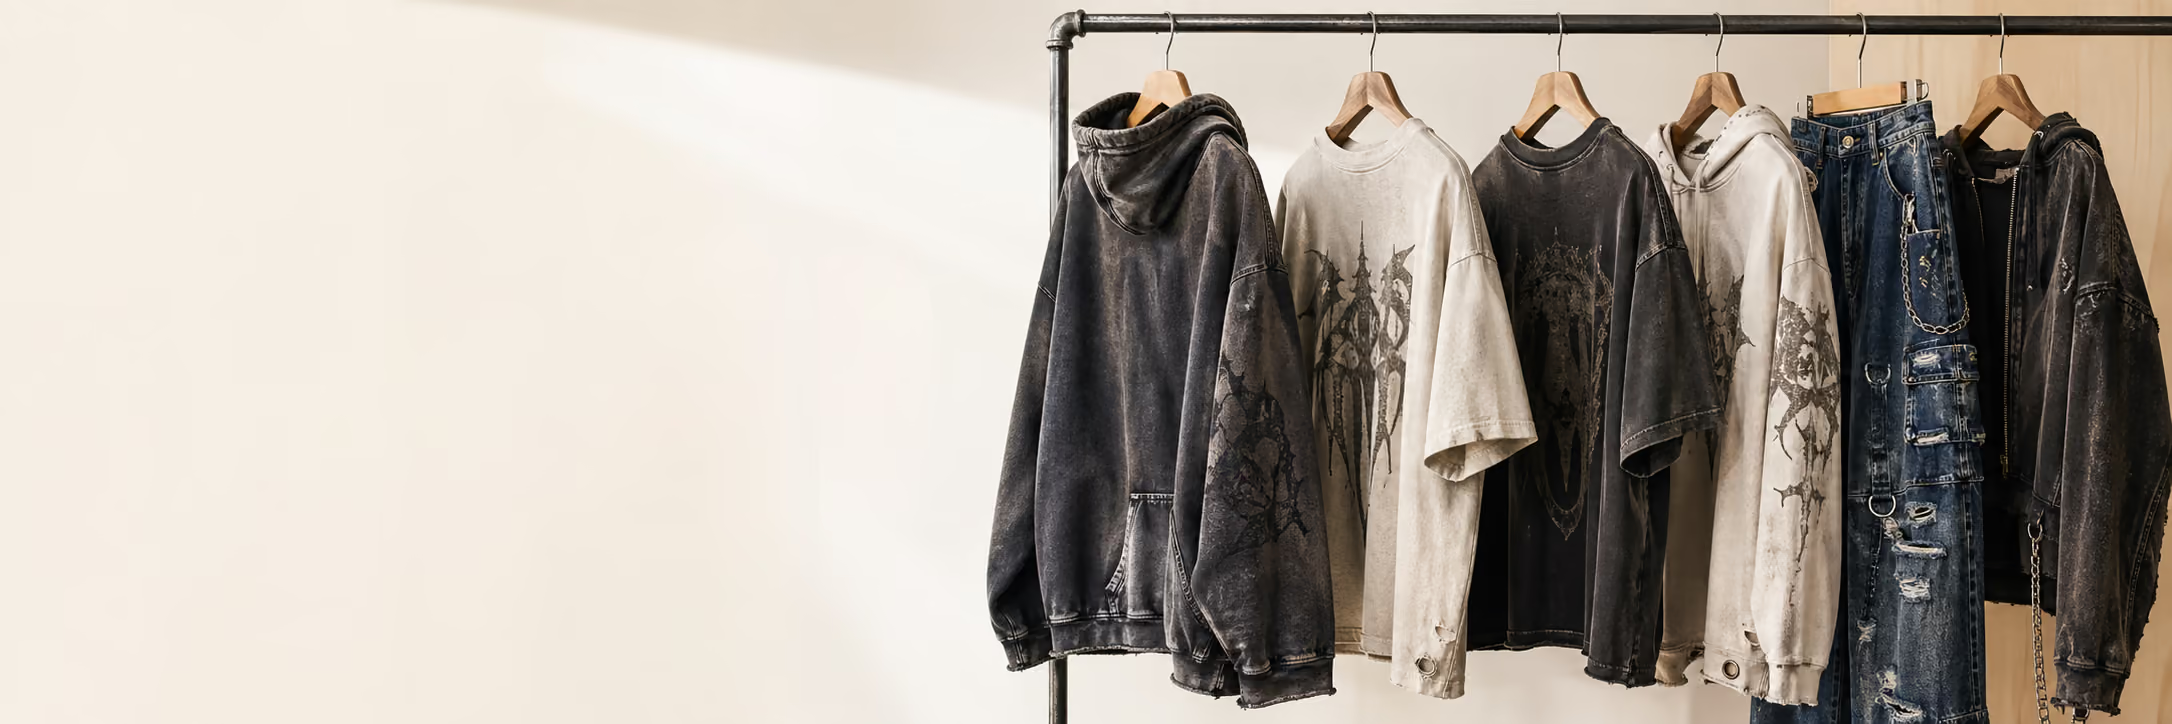
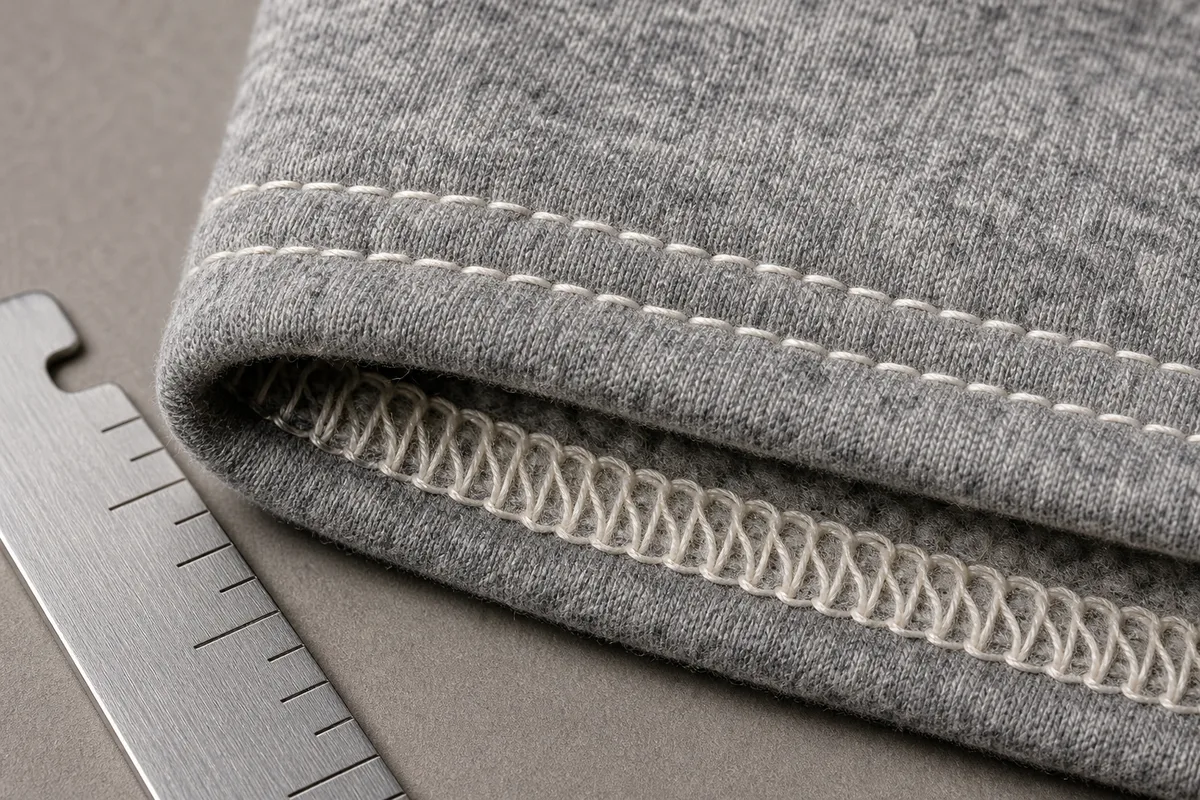
Every seam on a garment is one of a few ISO-classified stitch types, each with a signature you can read by flipping the garment inside out. The field guide, the SPI numbers, and what to spec.
Fabric gets all the attention; seams do all the work. Every stress your customer puts on a hoodie — pulling it over a head, stretching at the elbows, a hundred wash cycles — lands on stitches, and the industry long ago classified exactly which stitch belongs where. Buyers who can read seams can judge a sample in ninety seconds flat. This guide teaches that literacy: the stitch classes, their visual signatures, and the density number that separates quality construction from cost-cutting.
There is a standard for this: ISO 4915
Every stitch a sewing machine can form has a three-digit number under ISO 4915 (Textiles — Stitch types — Classification and terminology). The first digit is the family: 300s are lockstitches, 400s multi-thread chainstitches, 500s overedge stitches, 600s covering stitches. Five members of those families build essentially every tee and hoodie on earth.
Technical detail. The family logic is thread geometry: lockstitches interlock a needle thread with a bobbin thread (tight, flat, limited stretch); chainstitches loop needle threads through looper threads (faster, stretchier, more thread); overedge stitches wrap the fabric edge itself; covering stitches lay flat networks of thread across a seam on one or both sides. Geometry dictates behavior — stretch, bulk, unraveling risk — which dictates where each belongs. Forming that stitch is already mechanized; separating, aligning and steering flexible panels is the harder garment-automation problem.
The field guide: flip it inside out
| Stitch | Where it lives on a tee/hoodie | Why that stitch there |
|---|---|---|
| 301 lockstitch | Topstitching, labels, plackets, wovens | Tightest and flattest; least prone to unraveling; low stretch |
| 401 chainstitch | Long structural seams | Faster and stretchier than 301; uses ~2× thread; must be secured at ends or it can run back |
| 504 overlock (serge) | Fabric edges; knit side/shoulder seams | Wraps the raw edge; excellent stretch; the loops you see inside every tee |
| 516 safety stitch | Seam + edge in one pass | A 401 and a 504 sewn simultaneously — the five-thread workhorse of knit assembly |
| 406 coverstitch | Hems and sleeve cuffs | Two parallel needle rows outside, looper zigzag inside — stretches with the hem instead of popping |
| 607 flatseam | Premium fleece and base layers | Butts two edges together with a flat thread network — no seam ridge at all |
"Flatlock": the word means two different things
True flatseaming (the 600-class, machine makers index it as ISO 607) butts two fabric edges together — no seam allowance, no ridge, a flat ladder of thread on both faces. It is why premium fleece and activewear feel seamless at the shoulder. What is often sold as flatlock is a mock flatlock: a coverstitch run over a conventional serged seam, flat-looking from outside with the allowance still folded underneath. Both are legitimate constructions at different price points — but they are different constructions, and a spec that just says "flatlock" leaves the difference to chance. Say true flatseam or mock flatlock coverstitch, and check the inside: true flatseam has no fabric ridge under the threadwork.
SPI: the density number nobody specs and everybody feels
Stitches per inch is the quality dial of sewing. Industry technical guidance is unusually concrete here: 10-12 SPI for jersey tees, polos and fleece, 14-18 for high-stretch knits, 7-8 for heavy denim.
More stitches per inch means each stitch bites less fabric and shares load with more neighbors — seam strength scales roughly with SPI times thread strength — and knit seams gain stretch with density, which is what stops "stitch cracking" when a hem extends.
So why would anyone sew at 7 SPI on a tee? Speed: the same seam at low density sews nearly twice as fast and uses meaningfully less thread. Low SPI on a knit garment is one of the most reliable cost-cutting tells in the industry — and one of the easiest to check with a ruler. We sew knits at the 10-12 standard and put the number in writing when asked; every buyer should ask.
Proving a seam: the test standards
Seam performance has its own lab framework, and the woven/knit split matters: ASTM D1683 and ISO 13935 measure sewn-seam tensile strength on wovens; knits are better characterized by bursting strength (ASTM D3786), because knit seams fail by multidirectional extension, not straight pull. The knit-specific failure modes worth knowing by name: seam grinning (stitches visible when the seam is stretched — tension or density set wrong) and stitch cracking (thread snapping when the fabric stretches past the seam's give — wrong stitch class or SPI for the fabric). Both are exactly what a stretched-seam check at final inspection exists to catch.
Thread is the last variable: corespun thread (a filament core wrapped in staple fiber) runs roughly 30-40% stronger than spun polyester at the same size, and coverstitch loopers often run textured filament for coverage and softness against skin.
Thread sizes are specced in Tex numbers — a real spec line reads like "401 seam, 10-12 SPI, corespun Tex 27," and a factory that nods along without blinking is a factory that sews to spec.
The ninety-second seam audit
Flip the sample inside out: match the seams to the field guide above; stretch a hem gently and watch for grinning; tug a chainstitch end for runback; count SPI with a ruler on the main seams; run a finger over the shoulder seam of anything premium — flat network or folded ridge tells you true versus mock flatseam. Construction choices like these are engineered at the pattern stage, which is why they belong in the same conversation as fit — our pattern and fit development treats stitch selection as part of the garment's architecture, not an afterthought. The construction vocabulary pairs with our hoodie and tee build guides.
FAQ
What is the difference between overlock and coverstitch? Overlock (504) wraps and seams fabric edges — the looped threads inside every tee seam. Coverstitch (406) decorates and secures hems — two parallel rows outside, zigzag network inside. They are complements, not competitors: a typical tee uses both.
Is flatlock stitching better than a regular seam? For seam comfort and flatness on fleece and base layers, true flatseaming is the premium option — no ridge against the skin. For general assembly, a well-sewn 516 safety stitch at proper SPI is every bit as durable. "Better" is placement-specific, which is why specs name stitches per seam.
What SPI should I ask for on hoodies and tees? 10-12 SPI on the main seams is the industry quality convention for jersey and fleece. Below that range, ask why — the honest answers are cost, and there are better places to save.
Why did my hem stitching pop when I stretched it? Stitch cracking: the hem was sewn with a stitch class or density that stretches less than the fabric. Knit hems want a coverstitch at proper density, not a lockstitch — it is the textbook example of why stitch class selection matters.
References
- ISO 4915:1991, Textiles — Stitch types — Classification and terminology — iso.org; class families and stitch numbers per A&E's ISO stitch terminology matrix
- A&E (American & Efird) technical bulletins — SPI conventions by garment type, seam strength relationship, stitch selection
- Coats technical resources — stitch class mechanics (301/401/504/406/600), seam pucker causes, thread construction (corespun vs spun), Tex sizing
- Pegasus sewing machinery documentation — ISO 607 flatseaming applications
- ASTM D1683 / ISO 13935 (woven seam tensile); ASTM D3786 (bursting strength, knits) — standards catalogs at astm.org and iso.org
- Threads Magazine — true vs mock flatlock distinction
Next steps
Continue your sourcing research
Connect this guide to the relevant production service, then compare the related decisions before sending a brief.
Pattern & Fit Development
Translate references, measurements and fit notes into sample-ready patterns for men's custom apparel.
Review this service →Related buyer guideHoodie Fits and Construction Explained: What to Spec Before Sampling
Oversized, boxy, drop-shoulder, cropped — defined by measurements, not vibes. A factory guide to speccing hoodie fit, construction and fabric face before sampling.
Read guide →Related buyer guideT-Shirt Fits Explained: Oversized, Boxy, Cropped and What to Spec Before Sampling
A precise T-shirt brief must align cut, fabric weight, neckline, and stitching because every construction choice is visible. This guide translates those decisions into factory-ready terms so the first sample matches the intended fit.
Read guide →Related buyer guideWhy Sewing Robots Still Struggle With a T-Shirt
The needle is not the hard part. The real problem is making a robot separate, align, tension and steer fabric that changes shape every time it is touched.
Read guide →Need this turned into a production quote?
Send your target style, fabric notes, decoration details and quantity so Jiashun can review the production path.