Types of Zippers for Clothing: What Brands Need to Spec
Coil, molded plastic and metal describe only the zipper elements. This buyer's guide shows how to combine element type, opening configuration, size, slider, length and approval evidence in a factory-ready clothing specification.
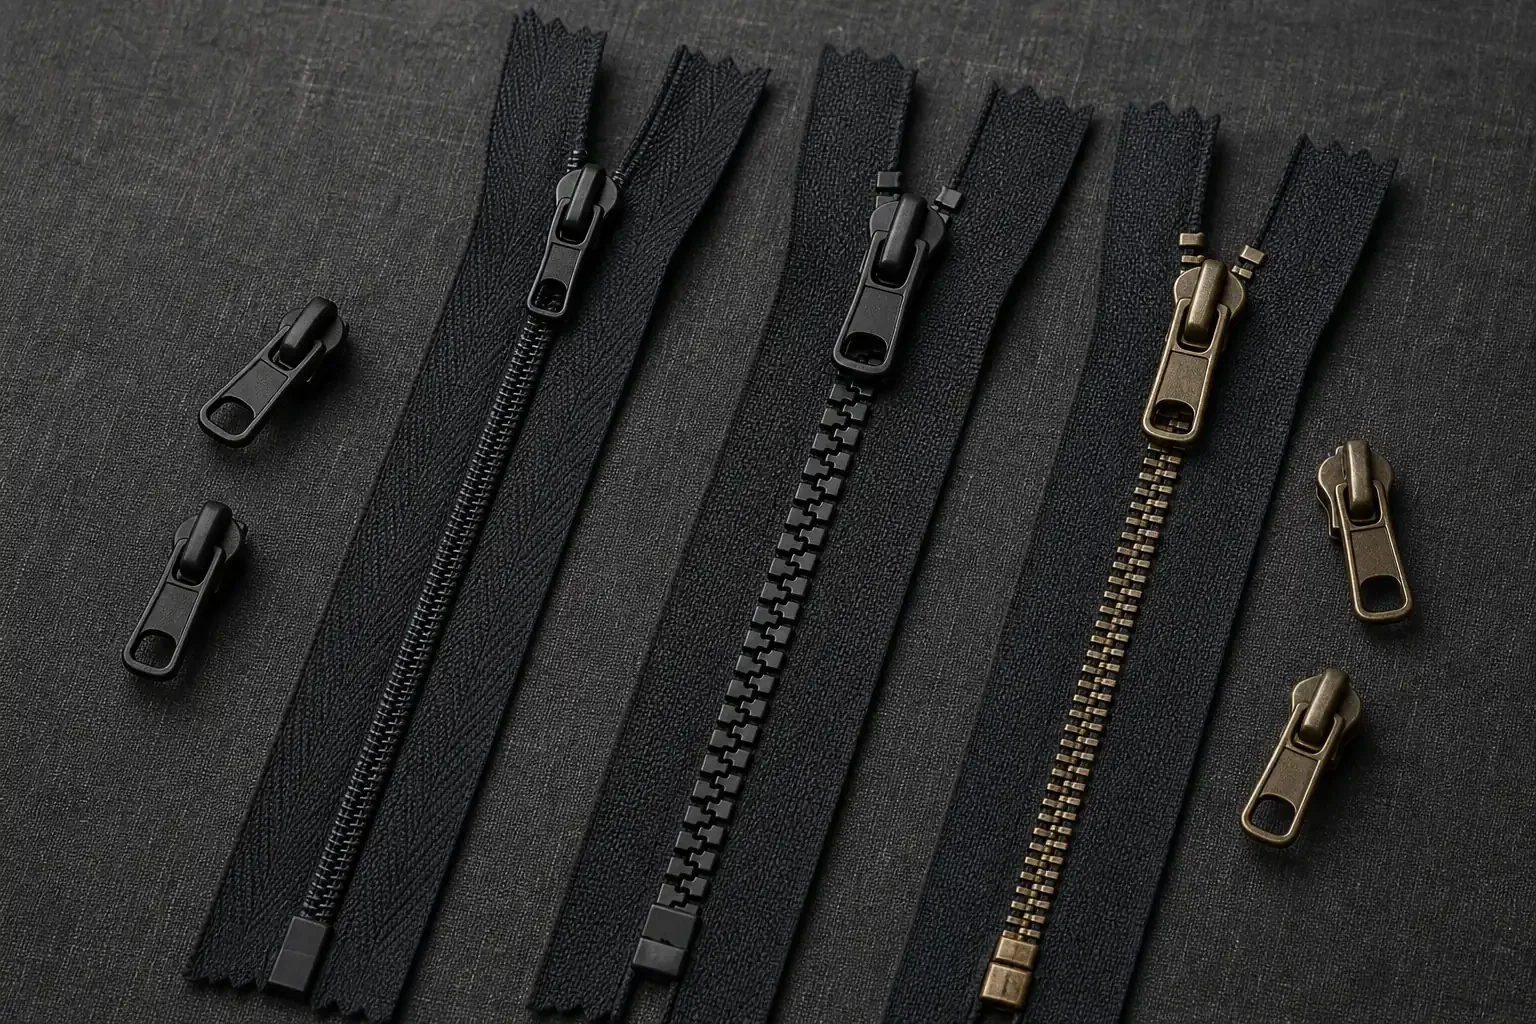
The three main zipper element types are coil, molded plastic and metal. That is not enough to order one for a garment. A complete choice also defines the opening configuration, visibility, size, slider, finished-length convention and what the sample must prove.
Names such as invisible, two-way and metal describe different things: presentation, operation and element construction. Brands get a clearer quote and a more reviewable sample when those separate specification fields become one trim line.
What Are the Main Types of Zippers?
A zipper has two textile tapes, interlocking elements, and a slider moved by a pull or puller. Top and bottom stops limit the slider's travel on a closed-end zipper. A separating zipper adds an open-end assembly, commonly described with a box and insertion or separable pin. Terminology varies by supplier, so the approved product drawing remains the final reference.
Element construction is only the first of several fields to define:
These fields should be completed separately, but not every combination is available. Concealed or invisible and reverse-use examples are commonly coil products, while coated options depend on the supplier's product series. Confirm the available combination before locking the specification. The model also prevents a common brief such as “use a heavy-duty invisible zipper.” Invisible is identifiable, but heavy-duty has no agreed product, dimension, application or acceptance condition behind it. A supplier code or approved sample turns the adjective into something both sides can check.
How Do Coil, Molded Plastic and Metal Compare?
The element types differ in construction and appearance, but none is universally best. Start with the garment position and intended use, then confirm the properties of the exact product under consideration.
| Element construction | What it changes | Common apparel starting points | What to verify |
|---|---|---|---|
| Coil | A continuous synthetic coil creates a flexible, relatively low-profile chain | Hoodies, pockets, concealed openings and curved placements | Slider compatibility, tape behavior, pressing and intended-care response |
| Molded plastic | Separate injected elements give the chain a more pronounced profile | Casual jackets, sports-inspired outerwear and visible front closures | Bulk against the fabric, box/pin operation, climate and care requirements for the selected product |
| Metal | Individual metal elements create a distinct visual and tactile finish | Trouser or jeans flies, jackets and other exposed details | Element and slider finish, fabric interaction, garment wash or dye route, and corrosion requirements if relevant |
YKK's own technical introduction uses coil, metal and injected-plastic categories; VISLON® is YKK's trademarked molded product name, not the generic name for every molded plastic zipper. Likewise, “nylon zipper” is often used casually for coil, although the actual filament material must come from the selected supplier's data.
Avoid turning the table into a durability ranking. A larger coil product may suit one load better than a smaller metal product, while a visually substantial molded chain may still be wrong for a light, soft panel. Element type, size, slider, tape, end configuration, installation and care route work as a system.
Which Opening Configuration Fits the Garment?
Choose the opening behavior before choosing a decorative finish.
- A closed-end zipper stays joined at the bottom. It is the usual starting configuration for a trouser fly, pocket or concealed dress opening.
- A one-way separating zipper comes apart at the bottom and uses one slider. It is the familiar starting point for a zip hoodie or jacket front.
- A two-way closed zipper has two sliders but does not separate. Depending on slider orientation, it can provide access from either end of a closed opening.
- A two-way separating zipper can open from the top or bottom and come fully apart. A long coat may use it to release the lower front while seated, but the garment design must actually require that behavior.
The word two-way does not automatically mean separating. The slider arrangement and open-end parts must be named. A live zip-up hoodie shows why the front opening needs a different configuration from a pocket. A reversible hooded puffer with a zipper front adds another question: which face or faces must operate and present correctly? That answer belongs in the product specification, not in an assumption made from the style name.
Invisible, reverse and exposed describe presentation or orientation. A coated tape is another treatment choice. None of those words alone establishes a finished garment as waterproof; that claim needs defined evidence for the chosen component, its seams and the assembled product.
What Do Zipper Size and Slider Choices Mean?
A nominal zipper number identifies a size family within a supplier's system. Within the same product family, a #5 is nominally larger than a #3, but the number should not be converted into an exact cross-brand chain width. Confirm the actual dimensions, tolerances and compatible components on the selected product sheet.
The slider is equally specific. Record whether it locks in position or moves freely, whether there is one slider or two, the required orientation, pull shape and finish. A slider that looks similar is not necessarily compatible with another chain construction or size. If a logo pull is required, approve both its artwork and its functional relationship to the slider rather than treating it as decoration added at the end.
Finished length also needs a convention. Closed-end, open-end and two-way products can use different reference points. Write the endpoints in words and connect them to a garment point of measurement: for example, from the named slider or stop reference to the named box or bottom-stop reference when the zipper is closed and laid flat. The supplier drawing should resolve any terminology difference.
How Should a Zipper Be Written in a Tech Pack?
One controlled trim line is better than a page of reference photos. Use this as a template, replacing every bracket with an approved decision:
Front zipper — [approved supplier and product code, or approved equivalent]; [coil / molded plastic / metal]; [closed-end / one-way separating / two-way closed / two-way separating]; nominal size [#]; [single / double] [locking / non-locking] slider with [pull description]; finished length [value] measured from [named endpoint] to [named endpoint] with zipper closed and flat; tape [color standard]; elements and slider [finish]; [stops or box/pin description]; placement [garment location]; intended care or performance requirement [defined route]; evidence [supplier sheet, agreed report or prototype]; approved at [sample ID and revision].
That line controls five different questions:
- Identity: the supplier/code or the written attributes an approved equivalent must match.
- Geometry: element construction, opening configuration, nominal size, length and endpoints.
- Operation: slider count, direction, locking function, pull and open-end parts.
- Appearance: tape color, element/slider finish, exposure and exact garment placement.
- Evidence and approval: intended care or performance need, supporting document, sample ID and revision.
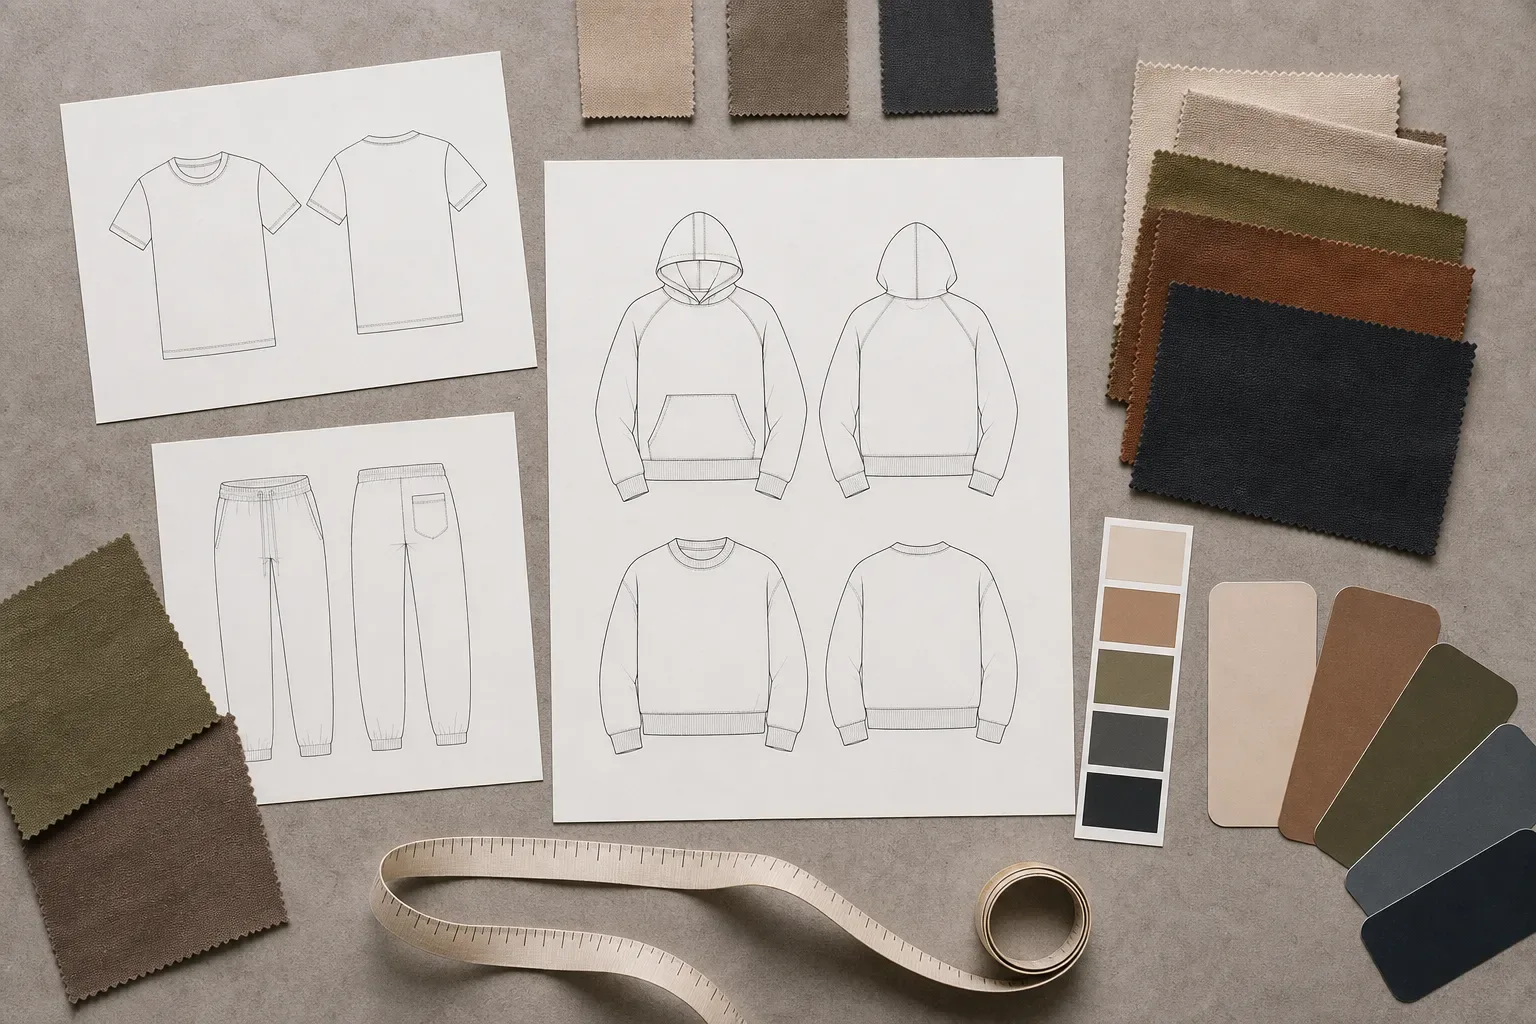
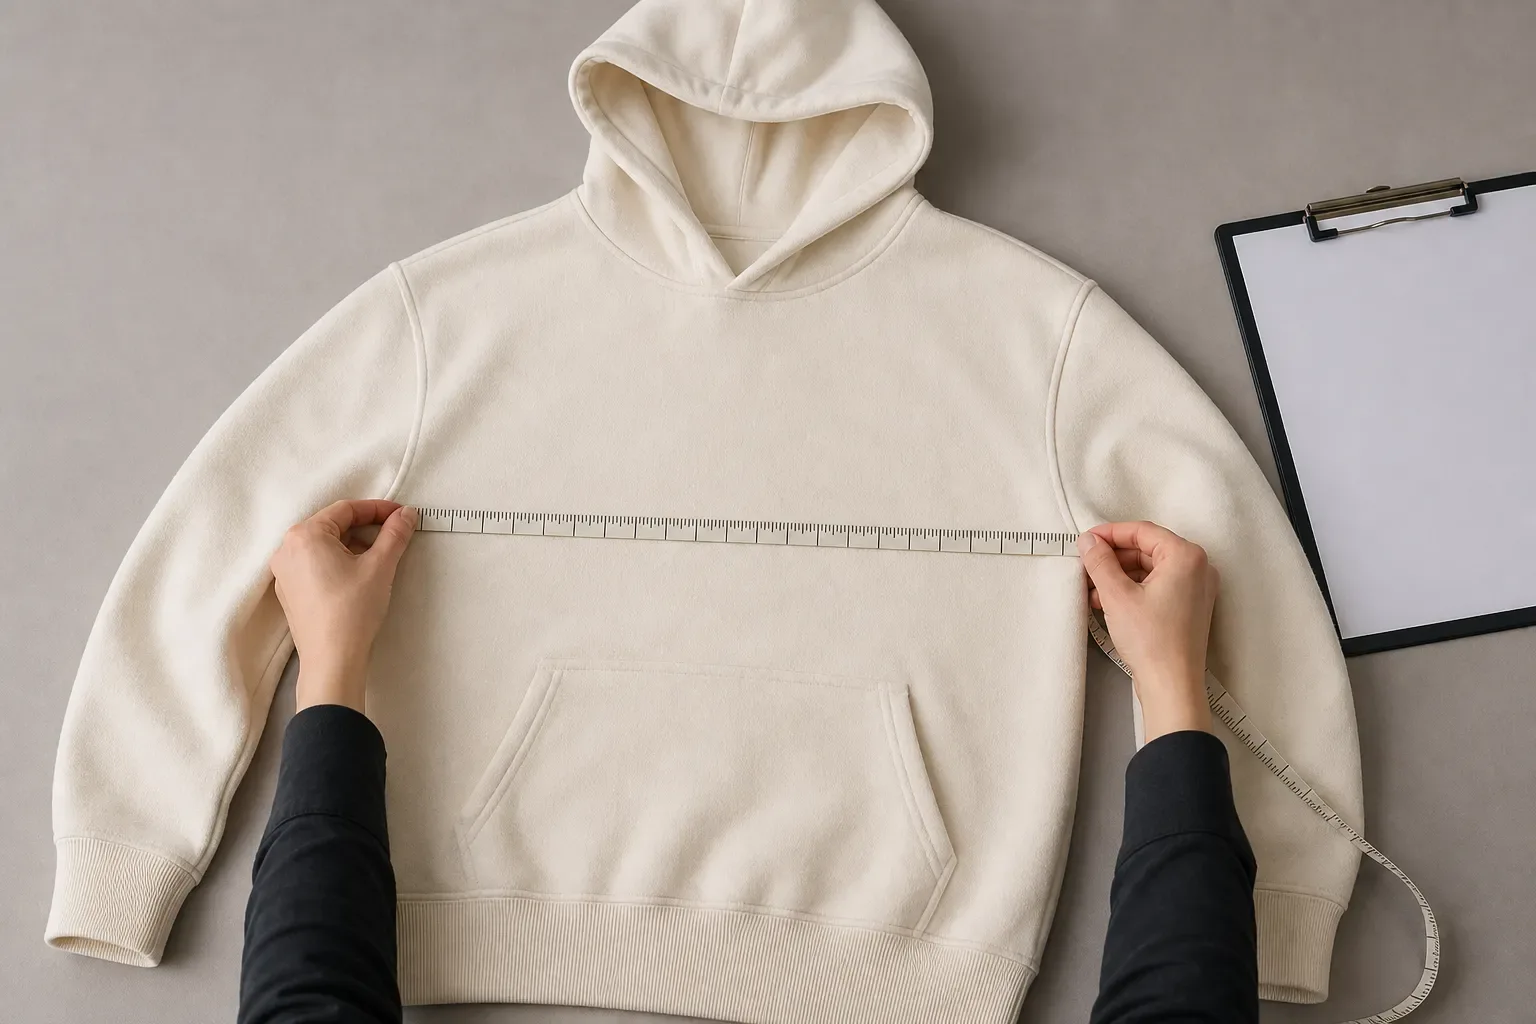
The factory-ready tech-pack guide explains how this trim line fits beside fabric, measurements, artwork, quantity and decoration. Keep the BOM, drawing and sample comments on the same revision. “Approved equivalent” should mean equivalent against the written fields, not simply the closest zipper currently available.
A Garment-by-Garment Selection Matrix
Use this matrix to start the specification discussion. It does not replace the selected supplier's product data or the garment sample.
| Garment position | Opening need | Likely starting configuration | Design risk | Sample check |
|---|---|---|---|---|
| Jeans or trouser fly | Open the rise without separating the garment | Closed-end; element type and size selected with fabric and appearance | Bulk under the fly, finish after intended wash, stop placement | Fly lies flat; slider travels cleanly; stops and top closure align |
| Zip hoodie or jacket front | Fully separate the front | One-way separating; two-way only when the design requires lower opening | Box/pin access, left/right level, front-edge wave | Insert, close and open while worn; compare hem and neckline levels |
| Long coat | Separate the front; sometimes release the lower section | One-way or two-way separating after movement need is decided | Slider orientation, lower-front opening and layered fabric bulk | Walk, sit and bend; confirm both slider positions and front balance |
| Secure an opening without separating the panel | Closed-end, with exposure chosen for the pocket construction | Opening too short, fabric caught in slider, seam puckering | Operate with the pocket empty and filled; inspect corners and seam flatness | |
| Concealed dress or skirt opening | Create access while hiding the chain | Invisible closed-end is a common starting point | Seam distortion, visible chain, stress at the end | Close on body or form; check concealment, end reinforcement and smooth travel |
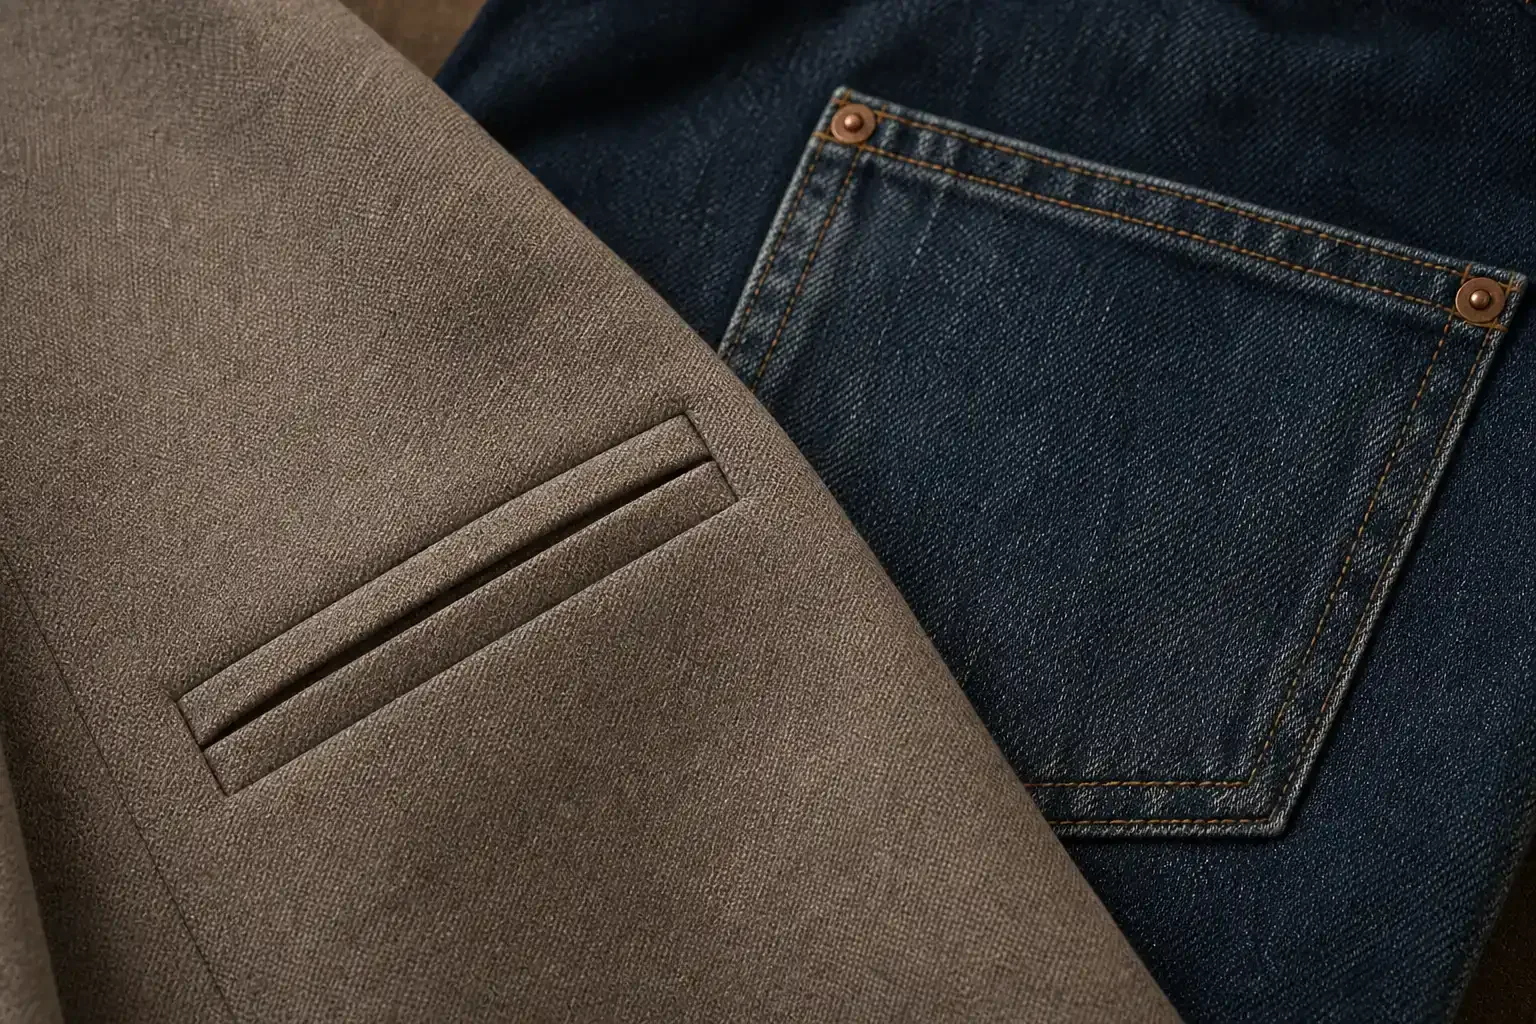
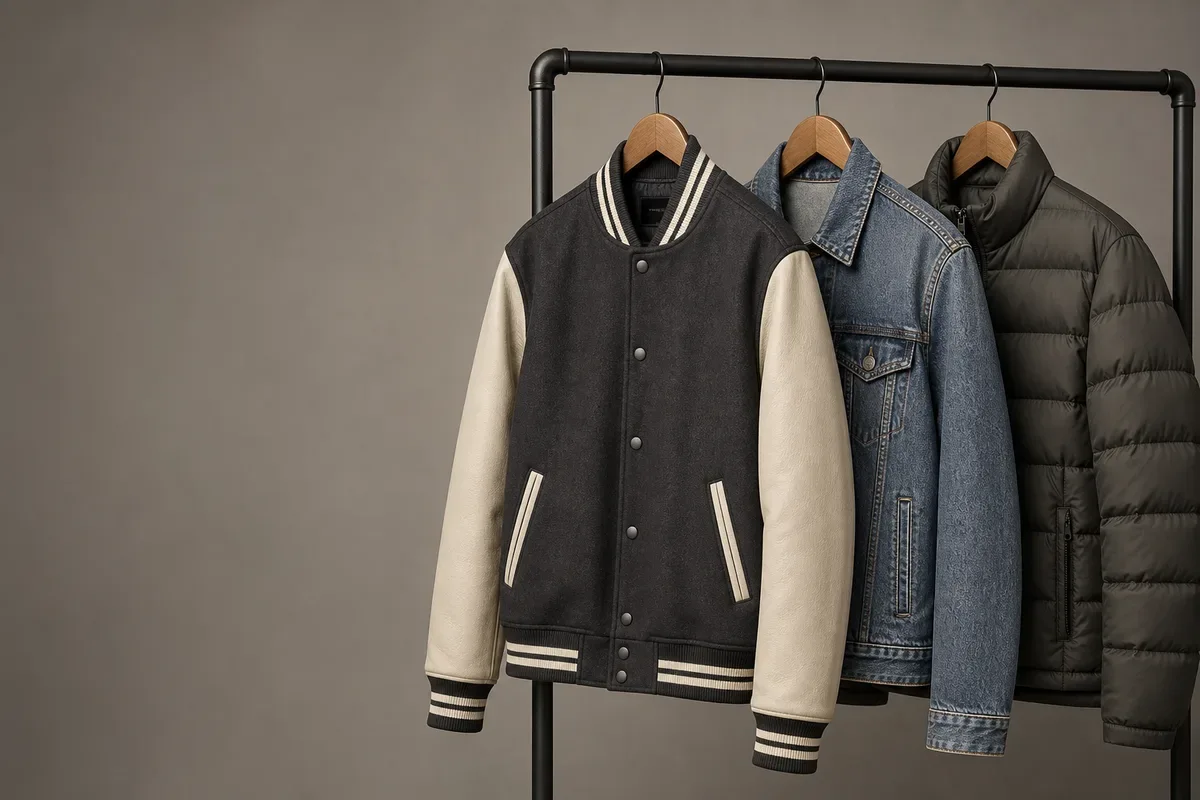
A zipper is a closure laid over a pocket construction, not a fourth pocket family; the pocket-types guide maps those families. Compare jacket construction families and the outerwear manufacturing guide before treating the zipper as an isolated trim.
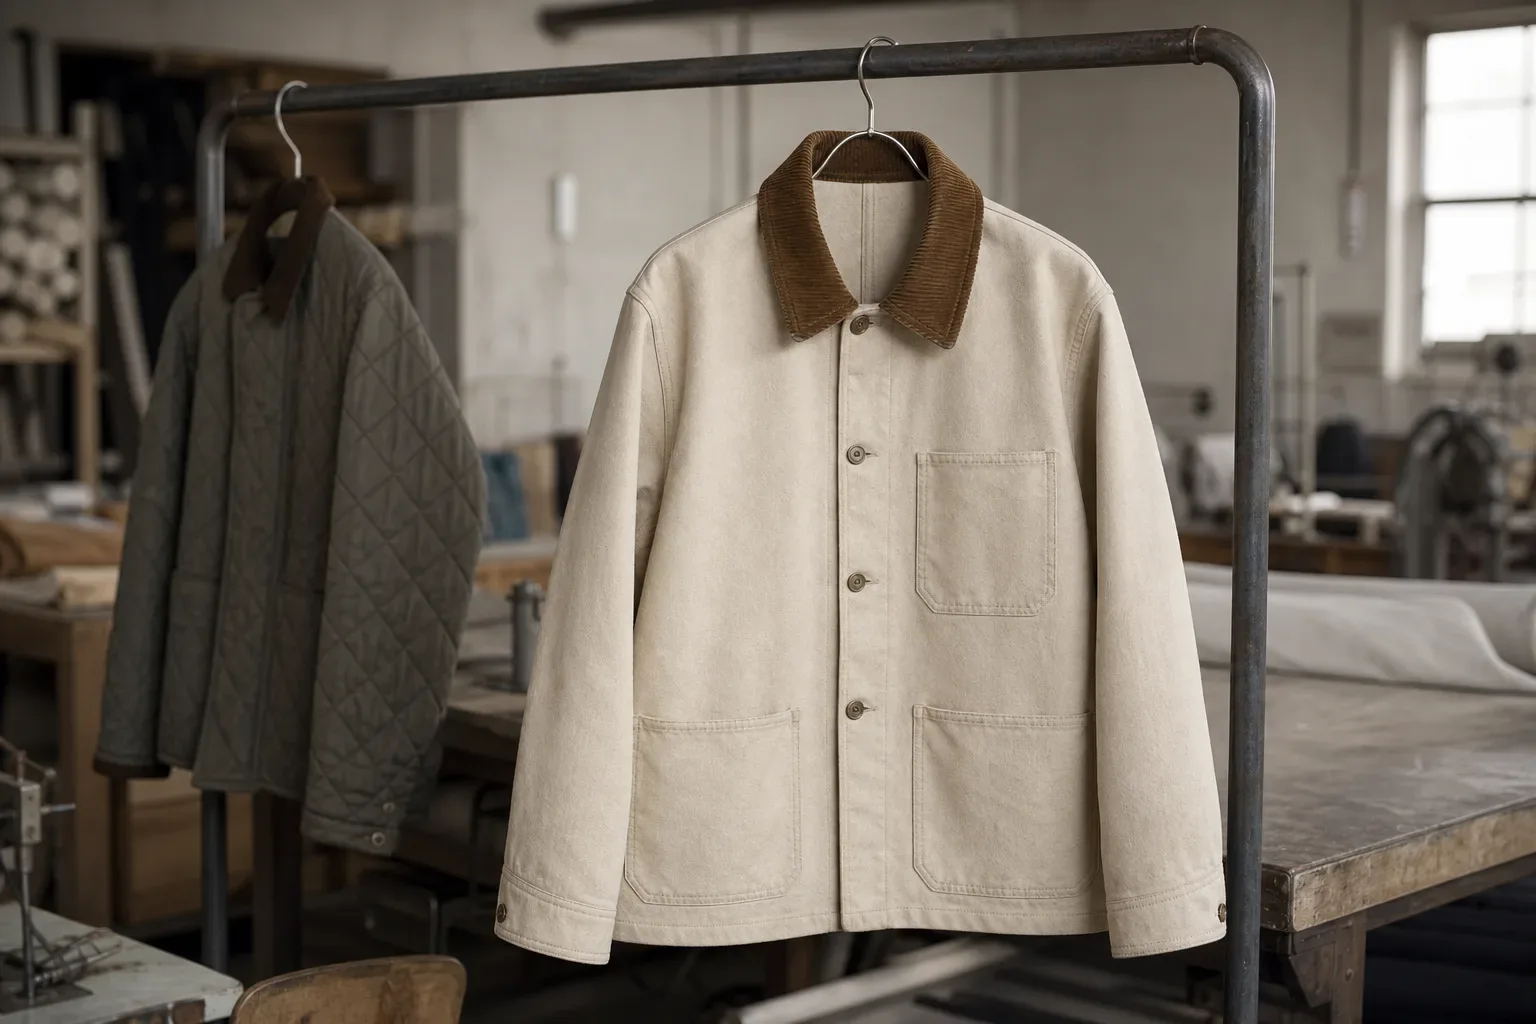
For a visible application reference, this canvas work jacket with zipper pockets shows how one garment can use the closure at a different scale and position from its front opening.
What Should Be Checked Before Bulk?
Check the approved component and the finished garment. A pre-bulk review records:
- product identity, BOM attributes and finished length against the physical trim;
- smooth travel through the complete installed path, without fabric entering the slider;
- stop and box/pin engagement where applicable;
- left/right level at neckline, waist, hem, pocket ends or other landmarks;
- chain straightness, panel wave, seam puckering and pull presentation;
- specified locking behavior and compatibility with the intended care route or agreed claim.
When a problem appears, diagnose the system before replacing the material category:
| Symptom | Check first |
|---|---|
| Hard or uneven travel | Chain/slider compatibility, caught fabric, seam allowance, curvature and sewing tension |
| Wavy zipper or puckered panel | Zipper and pattern length, feed during sewing, tape/fabric behavior and seam construction |
| Neckline or hem ends do not meet | Placement marks, pattern balance, left/right sewing level and open-end assembly |
| Chain opens behind the slider | Component compatibility, damage, chain alignment and the exact product specification |
| Finish or adjacent fabric changes after care | Selected finish, fabric chemistry, wash/dye/heat route and prototype evidence |
How to Investigate Zipper Waviness Without Guessing
A wavy zipper edge or rippled placket is a finished-garment observation, not a diagnosis and not a request for a home repair. The zipper, garment panels, installation and care route form one system. Preserve the approved component identity and record when the wave appears before changing the zipper type, applying heat or altering sewing inputs.
Compare the same closure at defined stages
Use one named sample and the same landmarks at each relevant stage:
| Observation stage | What to record | What the comparison can establish |
|---|---|---|
| Loose zipper before installation | Product code, nominal size, specified length endpoints, tape/chain appearance and flat open/closed photographs where applicable | A component baseline before garment sewing; not proof of how it will behave when installed |
| Basted or trial installation | Panel and zipper identities, temporary assembly method, endpoint and landmark alignment, open/closed views | Whether the proposed component and panel geometry can be reviewed before the final operation |
| Installed, garment flat and unzipped | Left/right placket or panel landmarks, seam line, reinforcement stack and resting shape | Whether distortion is visible without the chain being closed |
| Installed, garment flat and zipped | Endpoint levels, chain path, local wave locations and slider travel | Whether closing changes alignment or exposes a local geometry/operation problem |
| On the approved form or wearer | Neckline, waist, hem or opening landmarks; front balance; open/closed operation | How the installed closure behaves in the product's intended three-dimensional state |
| After the specified press/rest point | Sample identity, actual stage and repeat photographs | Whether the visible state changed after that documented production step |
| After the intended care or treatment route | Exact sample, treatment/report reference, before/after landmarks, wave and operability observations | Whether the assembled zipper/fabric system changed during the tested route |
Not every project needs every row, but the review must name the stages it did use. Do not compare a loose zipper from one lot with a washed garment from another and present the difference as a controlled result. The YKK usage manual notes, for example, that cotton zipper tape can shrink differently from garment fabric under processing and recommends testing the garment sample with the specific treatment before bulk. That is product- and route-specific evidence, not permission to assume that every ripple is shrinkage.
Record zipper and placket geometry together
When waviness appears, connect the trim record to the installed garment:
- approved zipper supplier/product code, element type, nominal size and slider configuration;
- actual finished-length endpoints under the specified measurement convention;
- left and right panel or placket lengths between named pattern landmarks;
- notch, endpoint, neckline, waist, hem or pocket-reference alignment;
- seam allowance and reinforcement or facing stack as documented for the approved revision;
- sample ID, pattern revision, material/lot and zipper lot where available;
- whether the photograph shows the closure loose, basted, installed, open, closed, flat, on form or after care; and
- the location and extent of the visible wave, plus operation observations through the installed path.
These fields keep two questions separate: does the component match its approved specification, and does the installed system match the approved garment? A straight loose chain does not prove the sewn placket will lie flat. A flat open garment does not prove that endpoints align when zipped or that the slider travels through the complete installed path.
Route the observation to the right owner
Use the stage evidence to decide what must be investigated, without claiming cause from appearance alone:
| Evidence pattern | Route for investigation |
|---|---|
| Loose component differs from its supplier drawing, approved sample or specified endpoints | Component identity and zipper-supplier review |
| Zipper and panel endpoints or landmarks do not agree before the final operation | Pattern, length-convention and placement review |
| Ripple becomes visible along the sewn line while component identity and landmarks remain controlled | Seam-puckering evidence review, including the actual plies, feed and sewing record |
| Appearance changes only after the documented press, wash, dye or care route | Component/material dimensional-change and treatment evidence review |
| Slider travel, separator engagement or stop behavior is abnormal | Exact zipper-system compatibility and operability review |
Several routes can remain open at once. The general seam-puckering owner explains structural jamming, thread tension, differential feed and dimensional-change mechanisms. This page does not reproduce that diagnosis. It owns the zipper-specific identity, endpoints, placket landmarks, observation stages and installed-closure approval record.
Require a corrected installed-prototype comparison
A proposed correction should return as an identified garment trial, not as an isolated loose zipper or an unlabeled after-photo. Keep the approved zipper/material/pattern/finish route constant where the test requires them, record one bounded change, and compare the same locations at the same stages.
The trial record should contain:
- original and corrected sample IDs, pattern/BOM revisions and affected zipper position;
- the original neutral observation and stage at which it appeared;
- the one authorized change under review and the technical owner who set it;
- paired open/closed, flat/on-form or before/after-care views required by the issue;
- endpoint and landmark alignment plus full-path slider operation; and
- a decision covering appearance, operation and any new side effect.
A flatter edge is not a complete pass if the correction moves the neckline or hem, hides the chain incorrectly, restricts travel, changes the planned opening behavior or fails after the intended treatment. ASTM D3692 recommends evaluating a zipper in a prototype of the care-labeled item, while ASTM D2061 and D2062 define specific strength and operability methods. Naming a standard still does not prove that a specimen was tested or passed; retain the agreed method, specimen, condition, criterion and report.
Close the issue with a bounded decision
A usable sample comment can read:
On sample [ID/revision], the installed [zipper code and position] shows [neutral wave/ripple observation] at [named location] when [open/closed, flat/on form, production/care stage]. Hold approval for this closure. Provide the zipper identity and endpoint measurement, left/right placket landmarks, installation-stage evidence and one corrected installed-prototype comparison. Reopen approval when the named reviewer confirms both appearance and full-path operation at [required stages].
Do not write “iron the zipper flat,” “stretch the panel” or “reduce tension” as the buyer decision. Those are possible actions only after an authorized technical review of the actual product and route. The approval record should preserve the symptom, evidence, bounded change and corrected result.
ASTM D2061 catalogs strength methods and says no single test determines suitability for a specific end use. ASTM D2062 covers opening and closing, separator function and sticking at stops. Citing either method does not prove a product was tested or passed. Agree the specimen, condition, acceptance criterion, report and responsible party before making a claim.
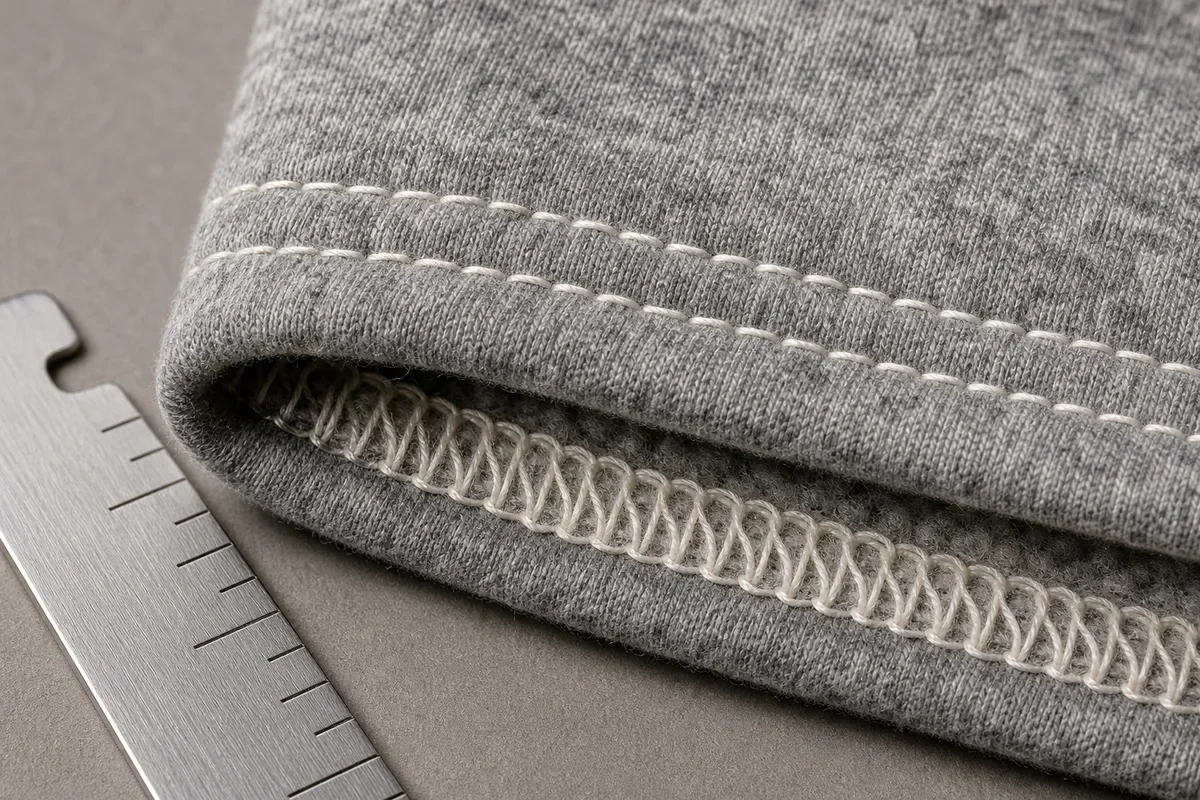
ASTM D3692 recommends confirming a zipper in a prototype care-labeled item; the US FTC requires a reasonable basis for finished-garment care instructions. Component evidence may not cover interactions among zipper, fabric, finish and care. Record the evidence in the sample approval checklist and inspect installation against the stitch and seam specification.
Frequently Asked Questions About Zipper Types
What are the three main zipper element types? Coil, molded plastic and metal. These describe how the interlocking elements are made. Closed-end, separating, two-way, invisible and reverse describe other selection axes, so add them separately to the specification.
Which is bigger, a #3 or a #5 zipper? Within one supplier's relevant product family, #5 is nominally larger than #3. Do not assume an exact cross-brand millimeter value or interchangeability. Confirm chain dimensions, slider compatibility and the product code with the selected supplier.
Which zipper type is most durable? There is no universal winner. Suitability depends on the exact product, size, slider, opening configuration, installation, garment load, environment and care route. Define the end use and acceptance evidence instead of choosing from material name alone.
How can you identify a zipper type? Inspect the element construction, whether the bottom is closed or separates, the number and orientation of sliders, visibility, stops or box/pin parts, and any supplier markings. Then match those observations to a product sheet; a pull logo alone is not a complete specification.
What does YKK mean on a zipper? YKK is a brand mark used on YKK components. The mark alone does not authenticate a zipper, prove that every component belongs to one approved assembly, or state the size, opening configuration, slider function, performance grade or approval status. If a YKK product is required, specify and approve the relevant product code rather than relying on the pull mark.
The practical rule is simple: choose the garment behavior first, specify the complete zipper system second, and approve it in the actual garment before bulk authorization.
References
- YKK Corporation, “What's the structure of a zipper?” — elements, slider and tape; basic opening and closing mechanism.
- YKK Corporation, “Vol. 2: Various YKK Fasteners” — YKK's official classification of metal, coil and injection-molded VISLON® fasteners, including its trademark notice.
- YKK Americas, “What kind of two-way zipper do I need?” — two-way closed and separating configurations.
- YKK Americas, “What is the difference between concealed and reverse-use coil zippers?” — concealed and reverse-use coil constructions; availability remains product-specific.
- YKK Fastening Products Group, Zipper Usage Instruction Manual — configuration-specific dimensions and product-use precautions; values are supplier-specific.
- ASTM International, ASTM D2061-07(2021), Standard Test Methods for Strength Tests for Zippers.
- ASTM International, ASTM D2062-03(2021), Standard Test Methods for Operability of Zippers.
- ASTM International, ASTM D3692-89(2021), Standard Practice for Selection of Zippers for Care-Labeled Apparel and Household Furnishings.
- US Federal Trade Commission, Clothes Captioning: Complying with the Care Labeling Rule — reasonable basis and finished-garment care evidence.
Related guides
 How to Prepare a Tech Pack a Factory Can Actually Quote
 Garment Sample Approval Checklist: One Comment Sheet, One Revision Trail
 Pocket Types: A Factory Guide from Patch to Welt
 Custom Jacket Styles Compared: Choosing the Right Build for Your Brand
 Coat and Outerwear Manufacturing: From Reference to Production
 Stitch Types and Seam Quality: A Garment Approval Guide