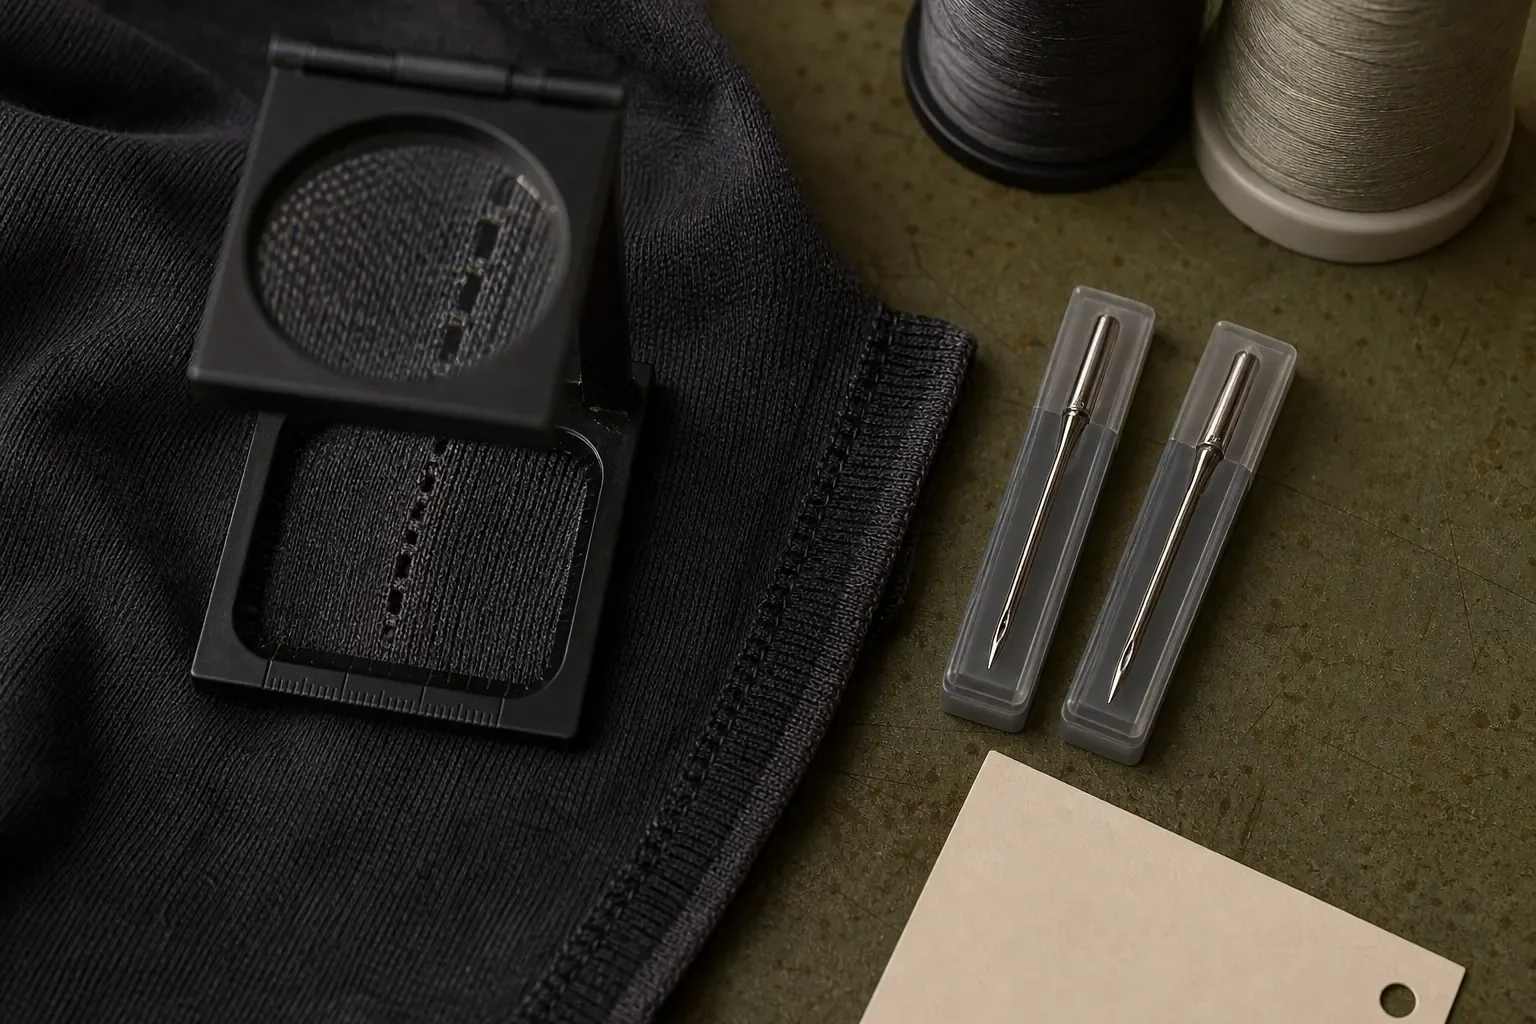
Seam Slippage vs Thread Break vs Fabric Tear: A Garment Failure Guide
An open garment seam can come from displaced fabric yarns, ruptured sewing thread or torn body fabric. Learn the visible signatures, evidence record and test questions that separate the three before corrective action.
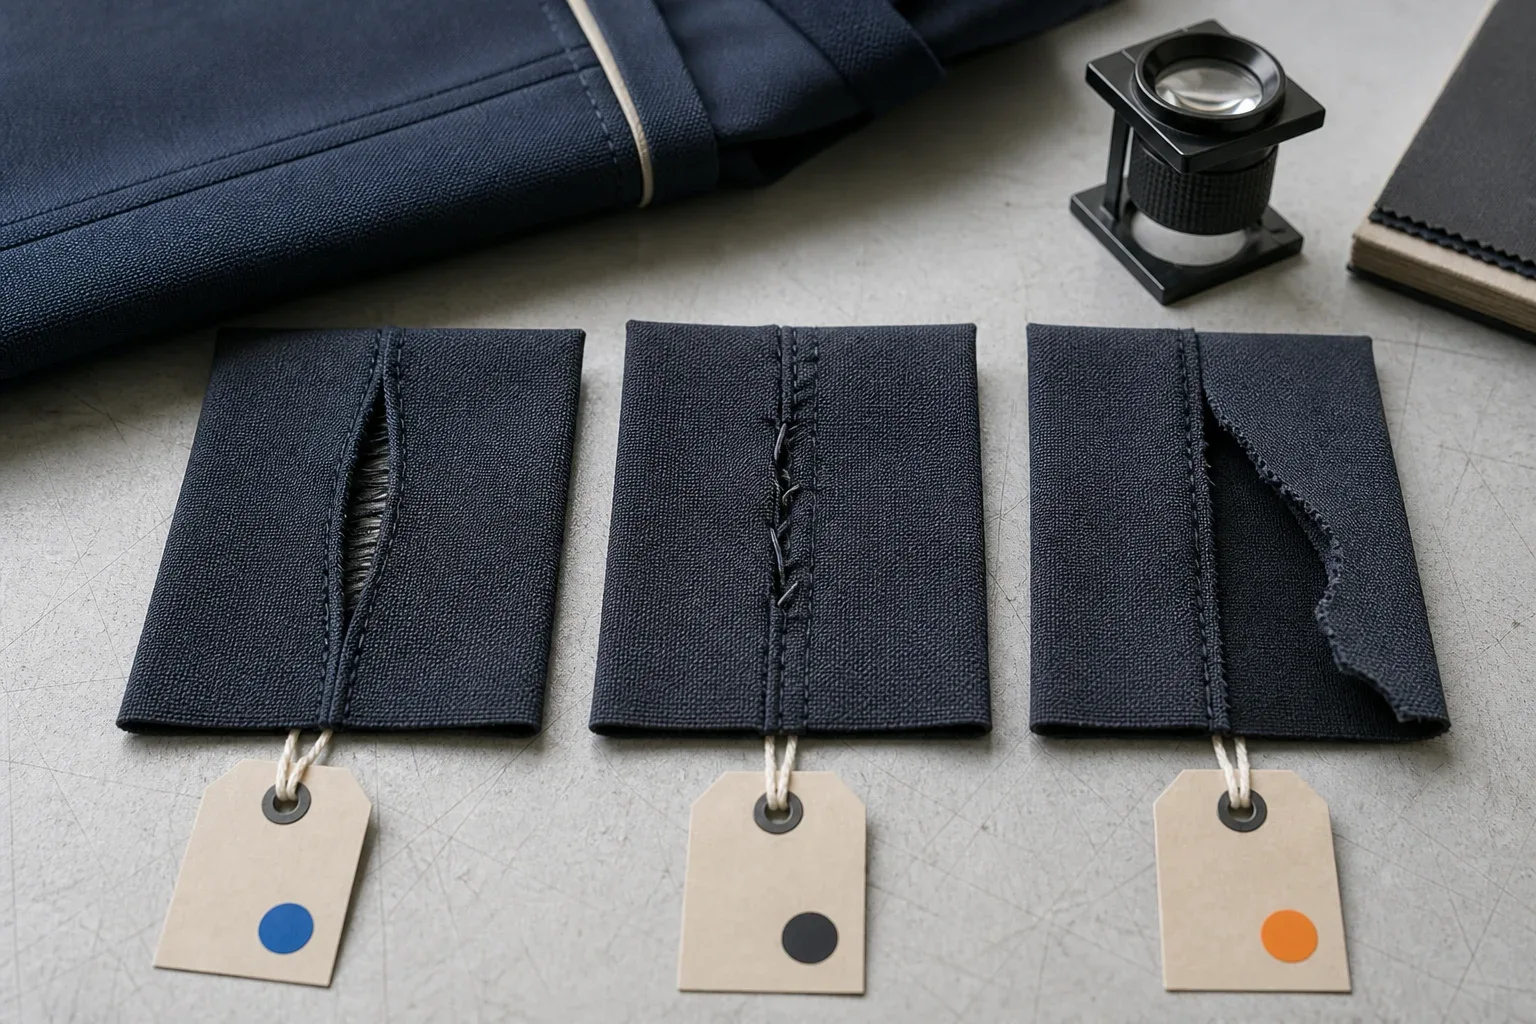
Seam slippage in garments means fabric yarns have moved away from a sewn seam without first breaking, leaving a gap or distorted weave beside stitching that can remain intact. That is different from a sewing-thread rupture, where the stitch system breaks while the body fabric remains substantially intact, and from a fabric tear, where the garment's own yarns rupture.
All three can produce an “open seam,” but they do not share one corrective path. Before requesting a change, identify what failed, where the load entered and which evidence preserves the original condition.
Read the Failure Signature Before Naming the Cause
Begin with the relaxed garment and inspect both faces. Do not pull the damaged area harder to “see what happens”; that can extend the opening and erase the first-failure evidence.
| Failure signature | What may remain intact | What has visibly changed | First owner to involve |
|---|---|---|---|
| Seam slippage | Much or all of the sewing-thread path; the fabric yarns themselves may be unbroken | Warp or filling yarns withdraw, bunch or shift away from the stitch line, creating a persistent gap or weave distortion | Fabric-and-seam assembly review |
| Sewing-thread rupture | Body-fabric yarns around the original stitch path | Needle, bobbin or looper thread breaks, unloops or runs back; the joined plies separate along the stitch path | Thread and stitch-formation review |
| Body-fabric tear or rupture | Part or all of the sewing thread, sometimes including a visually complete reinforcement | Ground-fabric yarns break; the tear may cross or grow away from the seam line | Material, geometry and load-path review |
These are diagnostic families, not mutually exclusive final states. A thread can break after fabric yarns have already slipped. A tear can start at a damaged needle line and then travel into the body. The final photograph may show the largest failure, not the first one. Record the sequence when a sample can be observed during controlled handling, and mark “sequence unknown” when it cannot.
An open seam also is not automatically one of these three. A temporary gap that closes when a light handling load is removed can be seam grin rather than retained yarn displacement. Rippling without an opening belongs with the seam-puckering diagnosis. Holes, cut loops or laddering at needle penetrations require the needle-damage review. Keep those conditions separate even if they appear beside the same stitch line.
What Does Seam Slippage Look Like in a Woven Garment?
This guide uses seam slippage in the woven-fabric sense addressed by ISO 13936 and ASTM D1683/D1683M. A woven fabric contains two interlaced yarn systems. When force opens a seam, yarns in one system can move relative to the other and withdraw from the stitch line instead of rupturing. The result may look like a narrow ladder, a combed-open band, curved yarns accumulating beside the gap or local distortion that remains after the load is removed.
Direction matters. Record the seam direction and visible yarn movement rather than writing only “fabric slipped.” Confirm warp or filling from the controlled pattern, marker or fabric record when that distinction affects the investigation.
Slippage is not proven by a wide opening alone. Look for continuity:
- Does the sewing thread still follow its original path?
- Are the body-fabric yarns intact but pulled away or crowded beside the seam?
- Does the opening follow the stitch line, and does the weave show retained displacement after the area is relaxed?
- Is there sufficient seam allowance still inside the garment, or has a cut edge simply escaped the stitch?
- Are yarns actually broken at the edge of the opening?
A missed ply, off-position stitch line or inadequate captured margin can create an open edge without proving yarn slippage. Preserve the inside view before trimming fibers or opening the seam.
How Do Thread Rupture and Fabric Tear Differ?
A sewing-thread failure follows the stitch system. Look for broken thread ends, missing loops, runback, an interrupted line of needle or looper thread and fabric yarns that remain in their original woven positions. The thread may have failed during sewing, finishing, handling or use; its appearance alone does not identify which thread construction or machine variable should change. Route that decision through the sewing-thread specification guide and the existing stitch and seam vocabulary owner.
A body-fabric tear breaks the material being joined. You may see snapped warp or filling yarns, a jagged path into the panel, a split beside an intact stitch row or a line of damaged yarns at penetrations. Location helps frame the next question: a tear growing beside an intact reinforcement points to the complete load path, while repeated broken yarns exactly on needle penetrations may require a needle-damage investigation. Reinforcement choice and placement remain with the bartack and stress-point guide; this page only identifies which failure signature should reach that owner.
Map the Garment Zone and Load Direction
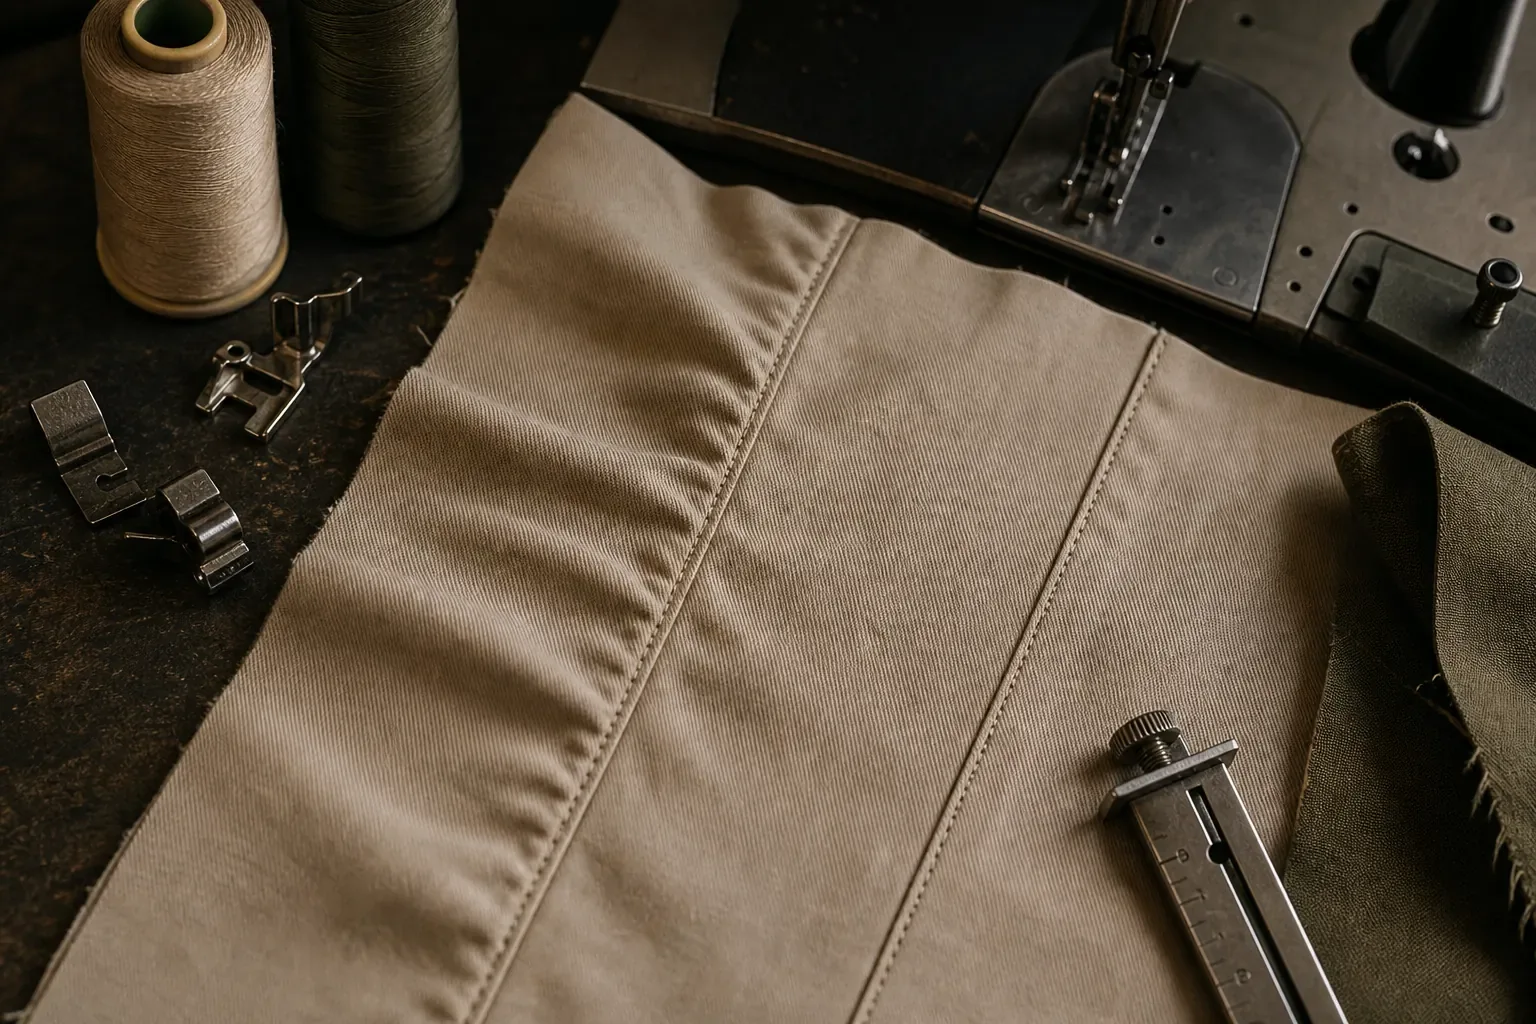
The same fabric can behave differently where seam direction, curvature, layer count and handling change. Build a location map before changing the whole garment.
| Garment zone | Load and construction questions | Evidence to keep |
|---|---|---|
| Shirt side seam, armhole or yoke | Does movement pull across the seam, and is the same yarn system affected at each location? | Whole-garment fit view, inside/outside close-ups, seam direction and pattern revision |
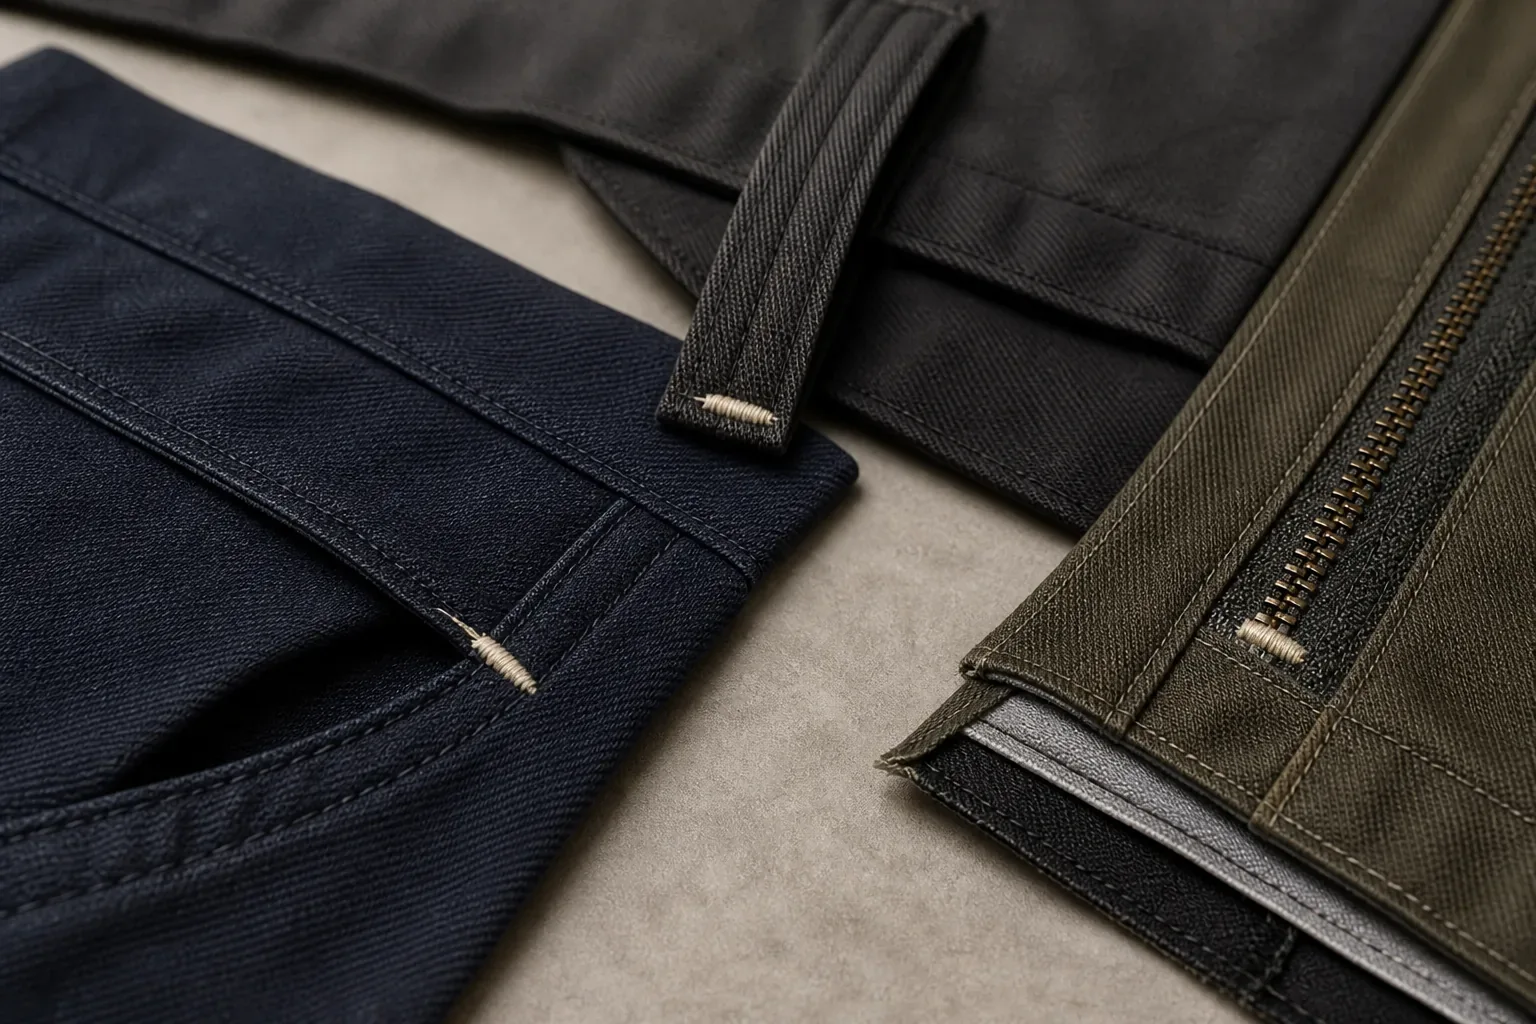
| Pocket opening or zipper edge | Does the hand, pocket contents or closure transfer load into a short edge or corner? Which layer moved first? | Pocket/closure position, layer capture, backing status and failure start point |
| Trouser seat, rise or inseam | Is the opening at a high-mobility zone, and does it follow one direction or a local transition? | Worn-position map, size and fit state, grain direction and both sides of the seam |
| Washed or finished assembly | Was the area intact before processing? Did material hand, dimensions or surface condition change? | Matched before/after images, process identity and retained comparison sample |
A boxy plaid button-up supplies side seams, a yoke and curved armholes. A canvas work jacket with zipper pockets adds openings and layer transitions. An acid-washed wide-leg denim style adds trouser mobility zones and garment finishing. These pages show geometry only; they do not prove a failure, test result or universal seam construction.
Build a Non-Destructive Evidence Record First
Use a failed sample, retained unit or purpose-made trial when possible. Keep the approved reference intact unless destructive work is authorized.
- Identify the garment. Record style, size, colorway, stage, available material lot and controlling revisions.
- Mark the location. Name the seam, garment side and affected span; pair a whole-garment image with the close-up.
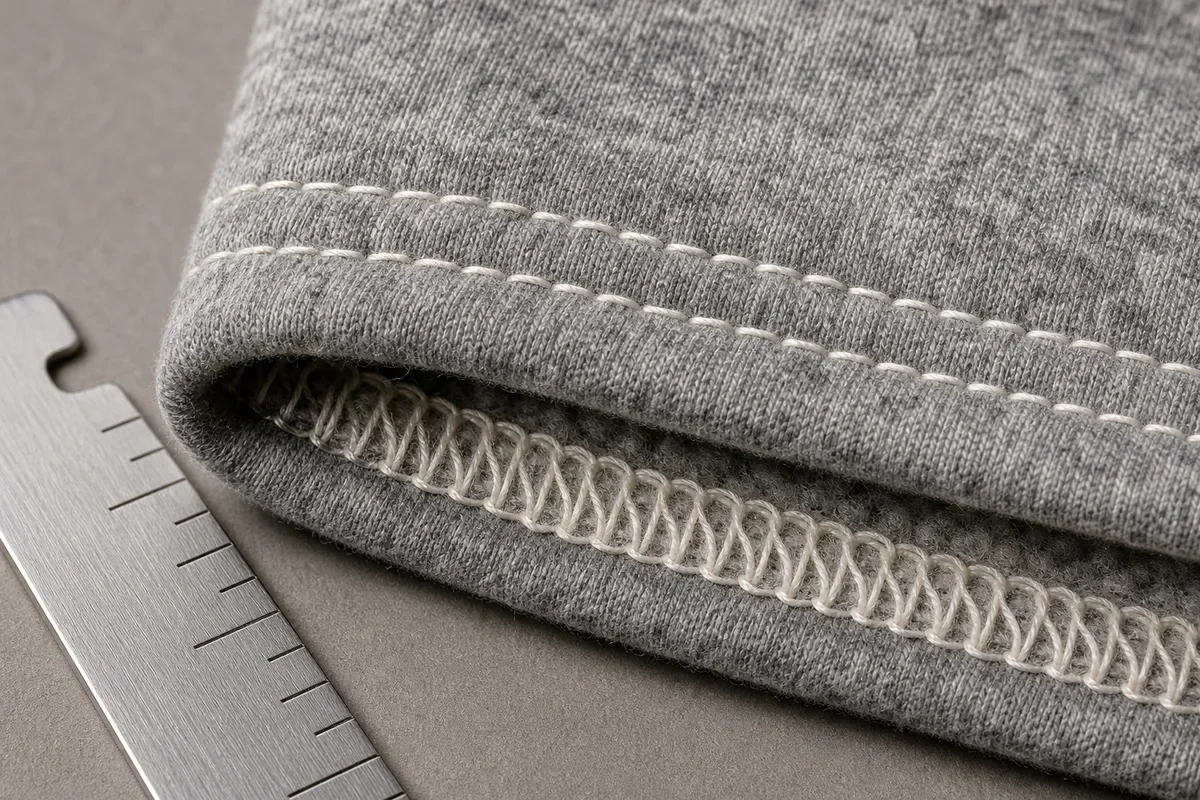
- Photograph both faces relaxed. Include a scale without covering the yarns or thread path, and retain unmarked originals.
- Trace thread and body yarns separately. Note intact or broken stitch threads, then withdrawal, bunching, rupture, fraying or penetration-aligned fabric damage.
- Record direction and stage. State when the condition appeared and how normal product action loaded the seam; avoid an improvised maximum pull.
- Compare like with like. Use the approved sample and an unaffected unit in the same known state, then route the evidence to the indicated owner.
The sample approval checklist owns the disposition and revision chain. Lot definition, defect class, sample size and acceptance remain in the order's inspection plan and the garment AQL guide; diagnosing one failed seam does not create a statistically valid bulk conclusion.
Which Standard Answers Which Seam-Slippage Question?
Naming a standard is not the same as reporting a result. Method, edition, specimen, direction, seam assembly, treatment and agreed criterion must travel together.
ISO 13936-1:2004 is the fixed seam opening part of the ISO series for resistance of yarn systems in woven fabric to slippage at a sewn seam. ISO 13936-2:2004 is the fixed load part; ISO's public abstract says it is suitable for apparel and upholstery woven fabrics, including stretch fabrics containing elastomeric yarn. The two parts frame different measurement routes. A report that says only “ISO 13936” leaves the selected part—and therefore the question—unclear.
ASTM D1683/D1683M-22 measures sewn-seam strength in woven fabrics with force applied perpendicular to the seam. Its official scope includes identifying stitching failure without fabric damage and identifying force associated with slippage or displacement of warp and filling yarns. ASTM also states that the method does not predict actual wear performance. It therefore cannot be turned into a lifetime claim or a pass threshold copied across products.
Before accepting a report, ask for:
- the exact standard, part and edition;
- fabric article, lot, color or finish and treatment state;
- specimen source, seam direction and warp/filling orientation;
- seam assembly and any approved departure from the named method;
- conditioning, wash or finishing state where relevant;
- reported result, agreed product criterion, disposition, laboratory and report date.
This is a buyer-side evidence checklist, not a claim that Jiashun operates an in-house textile laboratory or that every order requires these tests. Special tests and third-party evidence are agreed for the product and order when needed.
Turn the Diagnosis Into a Controlled Corrective Action
The corrective-action request should preserve the observed failure and ask the responsible owner for a comparison. It should not preselect a universal machine setting.
| Confirmed or working diagnosis | Controlled next question | Boundary to preserve |
|---|---|---|
| Fabric yarns displaced without rupture | Which fabric, seam direction, captured margin, geometry or assembly variable should be compared on the same material and finish route? | Do not declare that more stitches or stronger thread will prevent slippage |
| Sewing thread ruptured | Which approved thread identity, stitch formation, seam extension and operation evidence changed? | Thread selection and SPI belong to their dedicated owners |
| Body fabric ruptured | Did the tear start in the panel, beside a stiff transition or on a penetration line, and what material/load evidence is required? | Do not turn one tear into a generic fabric-strength grade |
| Sequence unclear or mixed | Can a controlled trial preserve the first visible change under the intended product action? | Record uncertainty instead of forcing one cause |
A useful response names the changed variable, unchanged controls, comparison specimen, treatment and closing evidence. “Operator retrained,” “stronger seam” or “fabric improved” cannot be audited. Reopen approval when fit, geometry, material, thread, reinforcement or finishing changes.
Claims to Avoid in a Garment Failure Review
- Do not call every open seam poor sewing workmanship.
- Do not use “seam slippage,” “seam grin,” “broken stitch” and “fabric tear” as interchangeable labels.
- Do not prescribe one SPI, needle, thread size, seam allowance, pull force or pass value for every fabric and garment zone.
- Do not assume the strongest thread creates the safest assembly; the failure can move into the body fabric.
- Do not present a hand pull, wear trial or photograph as a named laboratory test.
- Do not say a method predicts consumer wear when its scope does not.
- Do not infer a whole lot's acceptance from one diagnosed unit; keep sampling and disposition in the inspection plan.
Jiashun can compare a production-intent garment with its approved sample and identify the visible failure signature. Finished garments receive basic appearance and workmanship checks before packing; special testing, measurement scope, AQL and third-party inspection remain project-specific. That is a quality-control and packing boundary, not an in-house-laboratory claim.
FAQ
What does seam slippage look like in a garment?
It commonly appears as a persistent gap or distorted band beside a sewn line where woven yarns have withdrawn or bunched while much of the sewing thread remains intact. Check both faces because a missed ply, escaped edge, broken stitch or temporary grin can also create an opening.
Is seam slippage the same as broken stitching?
No. In seam slippage, fabric yarns move without first rupturing. In sewing-thread failure, needle, bobbin or looper thread breaks or runs back while the fabric structure may remain intact. Both can occur in sequence.
Is seam slippage a fabric defect or a sewing defect?
It is an assembly-performance question, not a label that assigns blame. Fabric construction, finish, yarn and seam direction, captured margin, geometry, processing and product loading can interact. Compare controlled specimens before assigning cause.
Will stronger thread or more stitches prevent seam slippage?
Not necessarily. Stronger or denser stitching can remain intact while fabric yarns move, and concentrated penetrations can create another damage path. Assess changes on the actual fabric, seam, garment zone and finish route.
Which standards cover seam slippage in woven apparel fabrics?
ISO 13936-1:2004 uses a fixed seam opening method and ISO 13936-2:2004 uses a fixed load method for yarn slippage resistance at a seam in woven fabrics. ASTM D1683/D1683M-22 addresses failure in sewn seams of woven fabrics under perpendicular force, including slippage and yarn displacement, and explicitly does not predict actual wear performance. The buyer and testing party still need to name the part, specimen, direction and project criterion.
A useful seam-failure report ends with a visible signature, not a guess: which thread or yarn system changed, where it changed, when it appeared and what controlled comparison will decide the next action.
References
- International Organization for Standardization, ISO 13936-1:2004, Textiles — Determination of the slippage resistance of yarns at a seam in woven fabrics — Part 1: Fixed seam opening method — official title, status and public scope; retrieved 2026-08-07.
- International Organization for Standardization, ISO 13936-2:2004, Textiles — Determination of the slippage resistance of yarns at a seam in woven fabrics — Part 2: Fixed load method — official title and stated applicability to apparel and upholstery woven fabrics, including stretch wovens with elastomeric yarn; retrieved 2026-08-07.
- ASTM International, ASTM D1683/D1683M-22, Standard Test Method for Failure in Sewn Seams of Woven Fabrics — perpendicular-force woven scope, seam failure and yarn-displacement uses, and the actual-wear limitation; retrieved 2026-08-07.
- American & Efird, Seam Engineering technical bulletin — visual distinction among sewing-thread failure, fabric rupture and yarns sliding out of a seam; supplier recommendations require product-specific validation; retrieved 2026-08-07.
- Coats Group, Seam Types — seam-class context and the distinction between seam slippage strength and opening by thread or sewn-material breakage; retrieved 2026-08-07.